Hey party peeps!
Hope you’re having a great week! Since Valentines Day is right around the corner, I wanted to share with you a really easy, delicious dessert that is rumored to be the next “dessert trend.” So, let’s jump on that trend wagon, shall we?
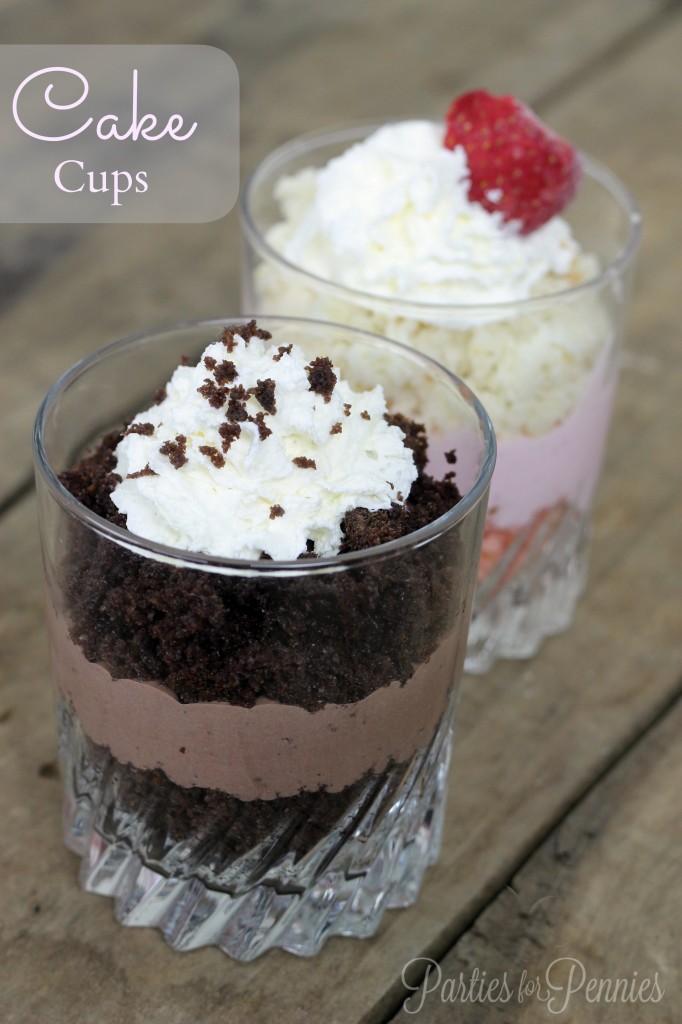
They’re called Cake Cups!
Taylor from the morning show, Kevin & Taylor in the Morning on 104.7The Fish, sent me a news story about a bakery in New York that began selling cake cups. It consists of the same things a cupcake does, but without the wrapper. It takes away the awkwardness of eating a cupcake and adds a little class to it.
Cake cups have answered the age-old question: “How do you get the right amount of cake with just the right ratio of icing?” Cake cups give you no need for a cupcake carrier! Just line them in a tupperware container, cover and you’re on your way. No fancy schmancy icing tips or bag? No worries. These look beautiful on their own! Cake cups are the perfect solution to those people that prefer more cake to their icing…and yet still satisfy those that prefer more icing.
So…I’m gonna make a declaration…Cake Cups are the new “it” dessert! And…here’s how you make your own…
Here’s what you’ll need:
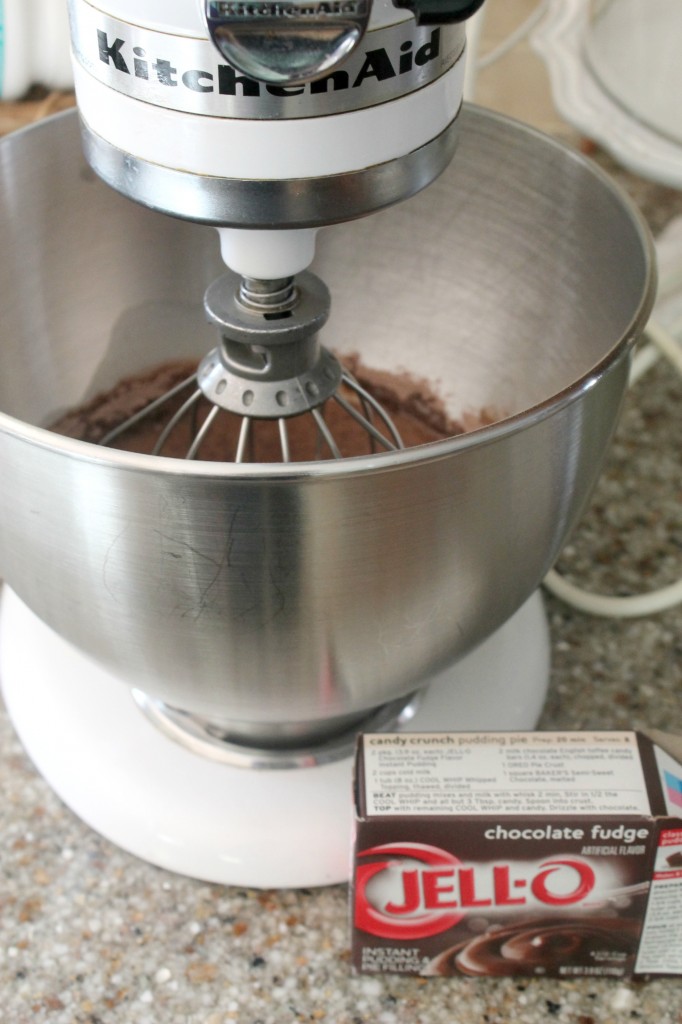
Box of cake mix (For mine, I used chocolate fudge, strawberry and white/vanilla)
Ingredients to make the cake (eggs, oil, water)
Cool Whip (12 oz container, plus more for garnish)
Chocolate Instant Pudding (if you’re doing the strawberry, get strawberry jello mix)
Small Glasses (bourbon glassees or even plastic party glasses)
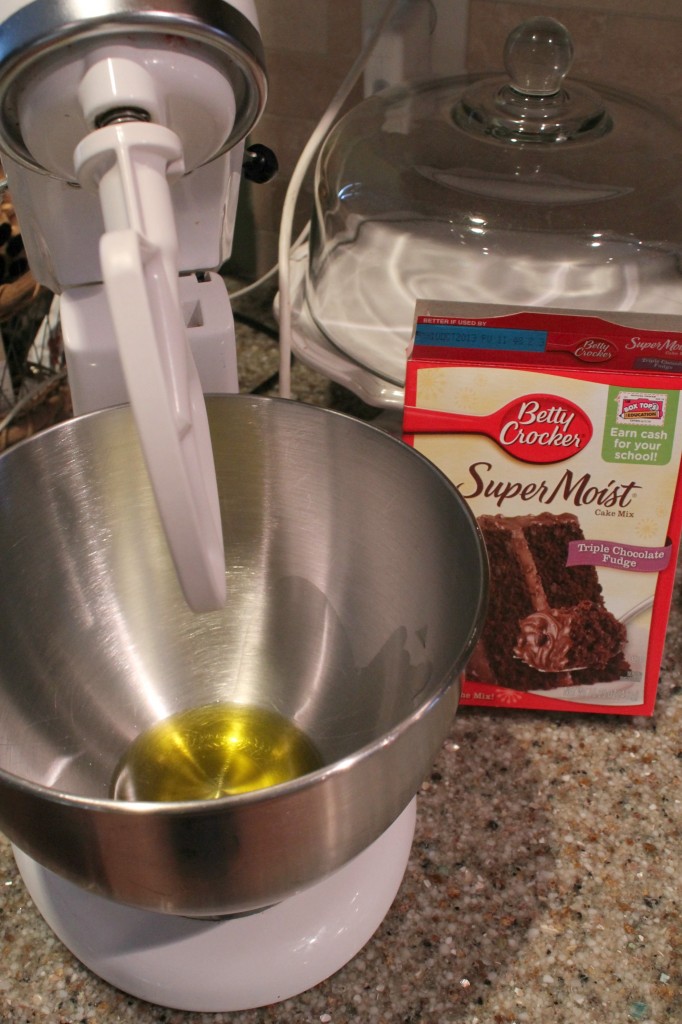
1) Mix your cake mix as directed. I always add the oil first because it helps coat the bottom of the bowl so the cake doesn’t “gunk” up on it (SAT word, right there ;p)
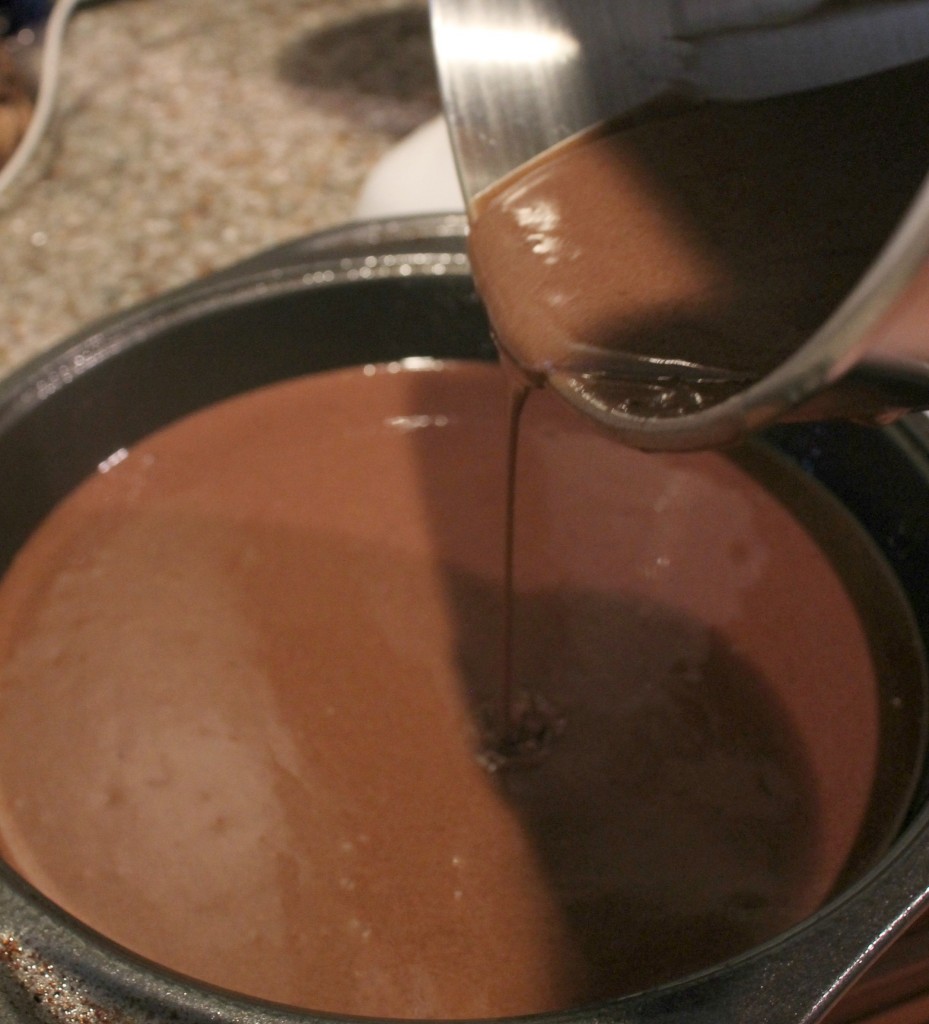
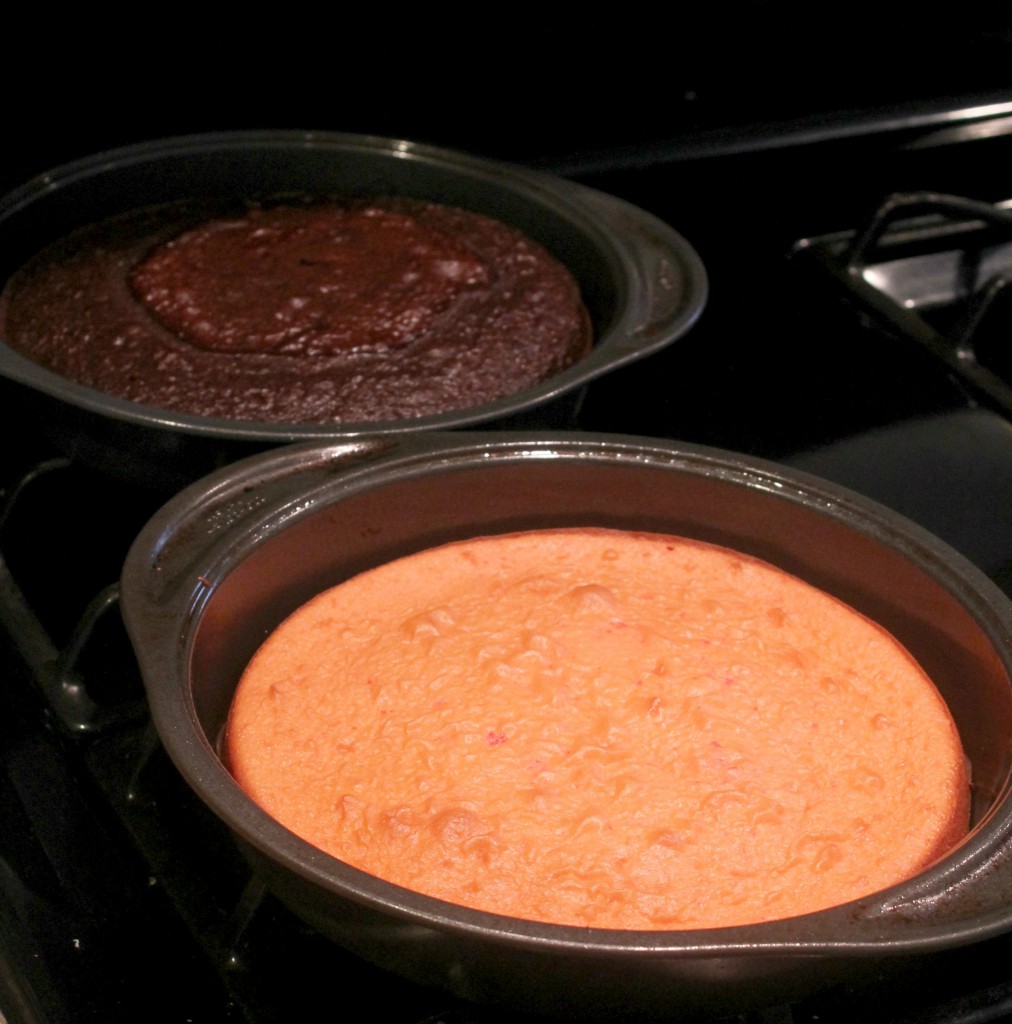
2) Bake cake as directed. Be careful NOT to brown it too much.
3) While the cakes are baking, mix your chocolate pudding (or strawberry jello) as directed. Allow both to set for a a few minutes. (Note on the strawberry – put in the refridgerator for about 5 minutes or so. This will help it thicken slightly and cool down)
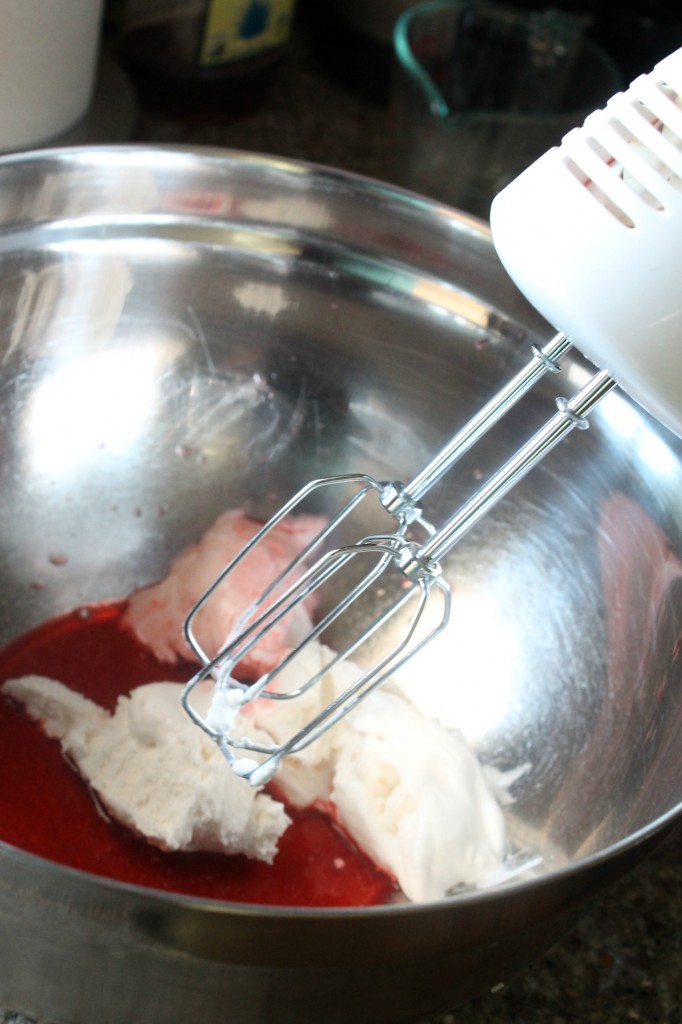
4) Mix in your container of cool whip to the chocolate pudding. This will become a chocolate mousse. For the strawberry, add the cool whip to the bowl first then spoon tablespoons of the jello mixture into the cool whip. Start with 1-2 tablespoons and add more as preferred.
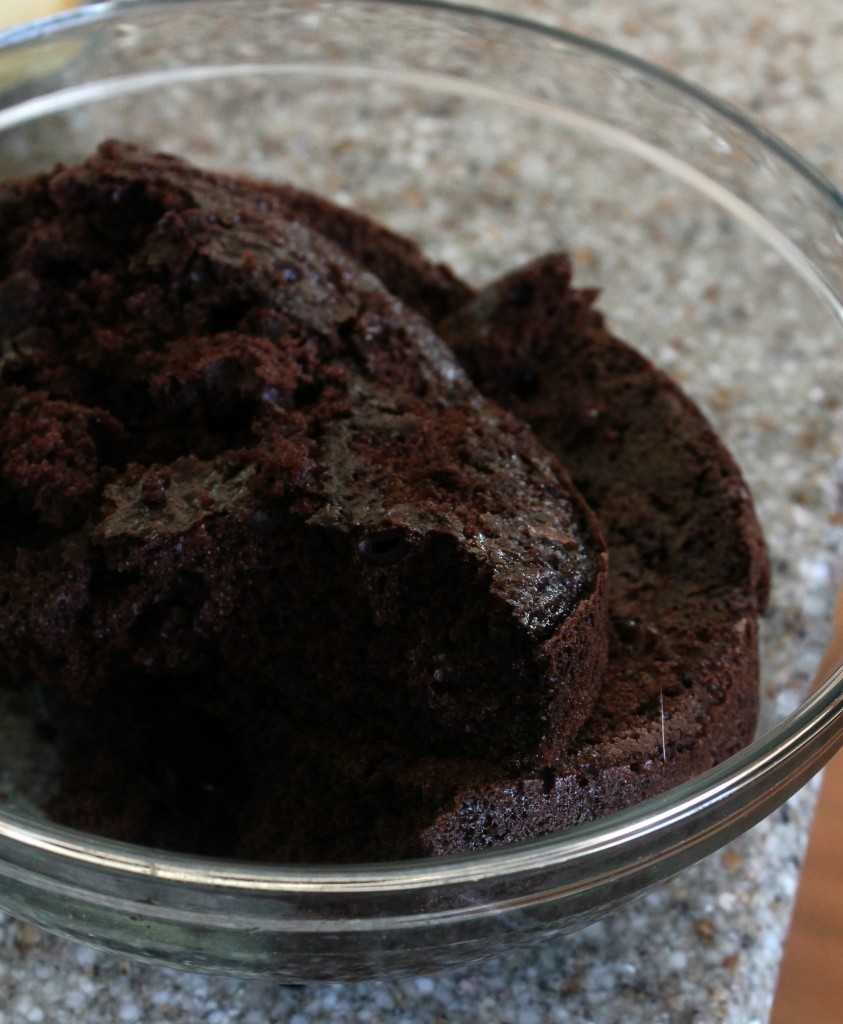
5) Set aside the pudding/mousse mixture and take out your cakes. Cut off any browned areas, so you’re left with the very light cake “insides.”
6) With your hands or a fork, mash the cake so it becomes just crumbles. Now you are ready to assemble your cake cups.
Add a layer of cake crumbles (I used an ice cream scoop and that worked perfectly), a layer of mousse/icing and top with another layer of cake crumbles. Add some whipped cream or icing on the top and they’re ready to be served.
You don’t have to go with the chocolate. That’s one of the things that makes these so fun. They’re your own creation. The mousse filling gives it more of a light taste, while icing would be a little heavier. Either way, you’re going to end up with a perfect distribution of yummy goodness. Here’s a guide to help you create your own:
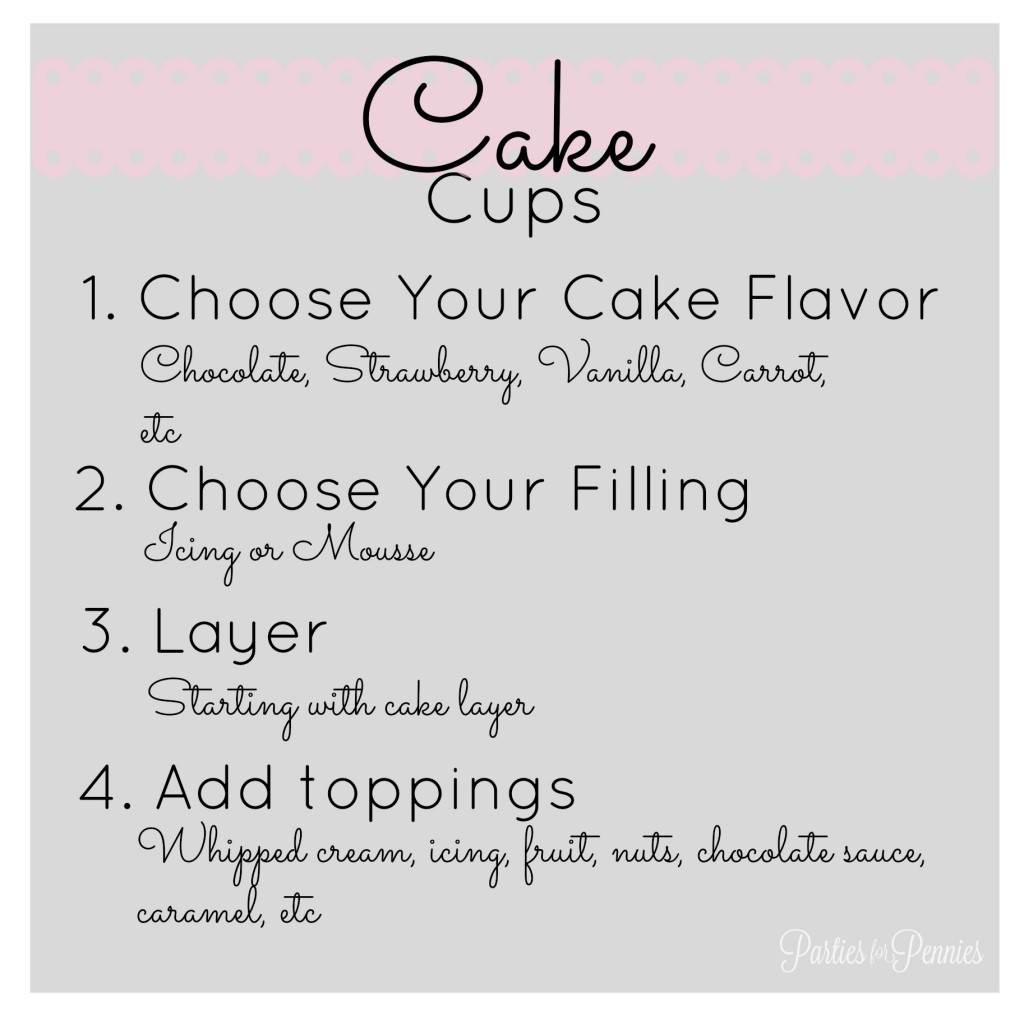 One tip I’d give you is to always cover the glasses before serving…or at least until you add the toppings. The cake could get a little stale, if you leave them out for long.
Regarding serving size: One box of cake mix made 12 cake cups for me but you can go lighter on the layers and get more out of the mix.
So, there you have it. The next big thing in the world of party desserts – Cake Cups!
Are you planning on making any desserts for Valentines Day? Do you usually go out to eat or stay in for Valentines Day? Mike and I are doing something a little different for V-day. I’ll have to share later what we’re doing. I may end up with bruises.
I’ve got some news I’ll be posting about this week, as well as a Valentines Bouquet that you can DIY & save some moola!
Unil then…Party On!

p.s. This is YOUR official invite to the party… on the PartiesforPennies facebook page! Click here.



Hey and if you want a gluten free version try this:Crack an egg in a mug. Add 1/4 cup powdered sugar and 1.5 Tablespoons cocoa. Stir together with a fork. Sprinkle choc chips or peanut butter chips (or both!) on top. Heat in the microwave for 1 minute. TADA!!! Gluten free chocolate cake! 🙂 Enjoy!
Oh my goodness that sounds awesome! Thanks Katie! My tummy really thanks you! <3 Heidi
Do you have directions for the pergola you made for the secret garden baby shower? Love it and would maybe like to do something like it for my daugters baby shower this spring. Thanks!!!
Hey Kim! I don’t have a specific tutorial for the pergola. 🙁 This was mainly because I was flying by the seat of my pants. I took two long branches about the same length for one side, two branches about the same length for another side and tied these together with twine. At this point, it was looking like a rectangular. Then, I took branches paralell to the shorter ends and filled in the triangle foundation. I just filled it in from there. Hope this helps a little. Let me know if you have any questions! Thanks Kim! <3 Heidi Rew
I love this Cup Cakes!! Thank you for sharing the recipe and idea! Can’t wait to make them for a party!! 🙂
Thanks Jamie! Let me know how they turn out!! <3 Heidi Rew
Love these cake cups you made. The perfect parfait treat. I’m trying to do something with panna cotta today…baking is fun, although this is a no bake treat. Light and sweet too.
Thanks Karen! Hmmm Panna Cotta! Delicious! <3 Heidi