Hey party people!
Is Father’s Day a hard gift-giving holiday for you? Do you always get stuck on what to get dad?
This year…make him something that will blow his socks (the ones you got him last year for Fathers Day) off!
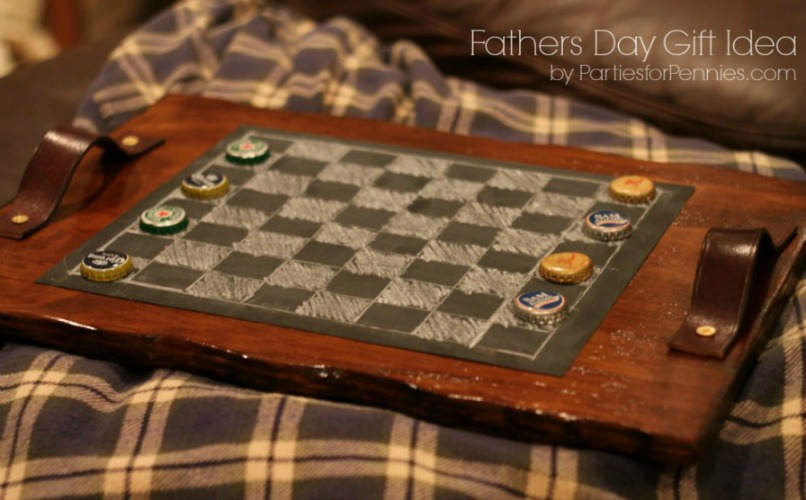
…with this Fathers Day Homemade Gift idea. This tray is actually pretty simple to create. I will say that the sanding made it a bit more time consuming that I had thought. (Just to be completely honest with you) But I love how it turned out & it certainly is an inexpensive project.
First off, here’s what you’ll need:
– Piece of plywood (or whatever kind you prefer…this was leftover from another project)
– Saw to cut the wood (or have someone at Home Depot/Lowe’s cut it for you)
– Sander (I used an electrical sander but if you want to tone up your arm muscles go for just sandpaper. The sandpaper may be a fun “helper” portion of this project that your kids could do…depending on the age.)
– Stain & Poly Finish (exact one used shown below)
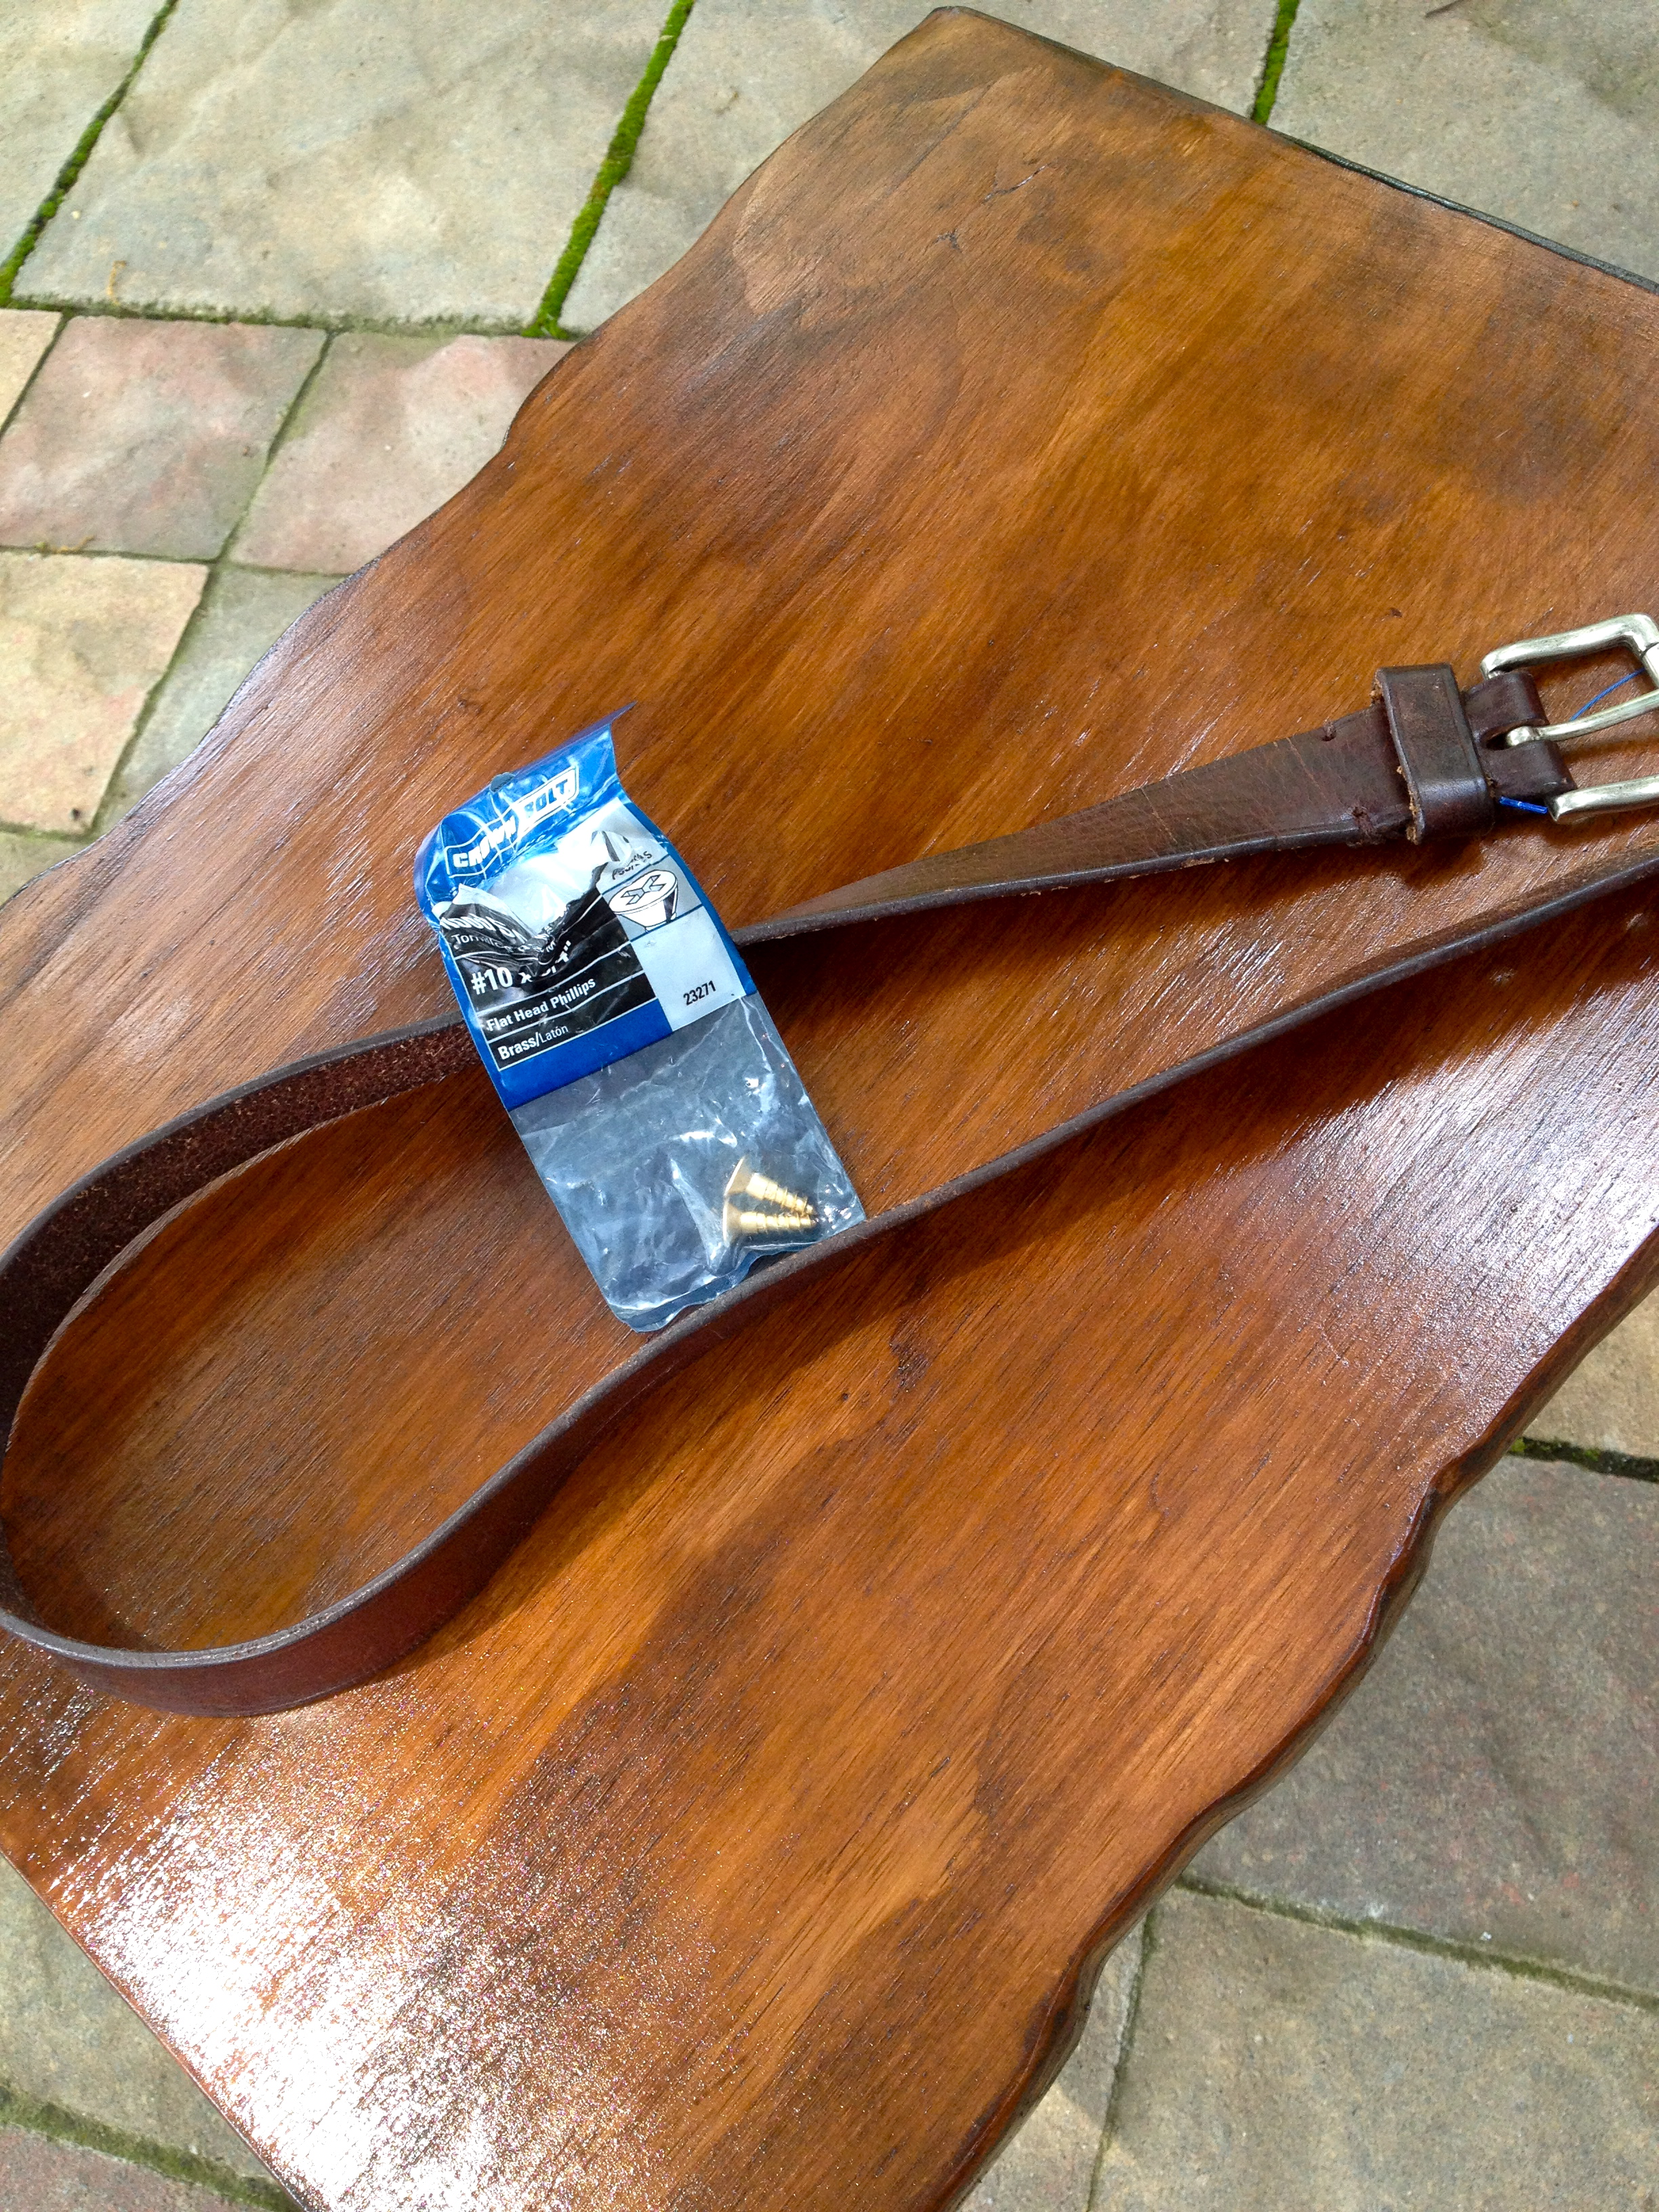
– Old Leather Belt (I bought mine for less than $1 from the thrift store)
– #10 x 3/4″ Brass Flat Head Phillips Screws (4)
– Drill & Screwdriver
– Chalkboard paint or Vinyl
1) Measure your tray – mine was 14″ x 16″
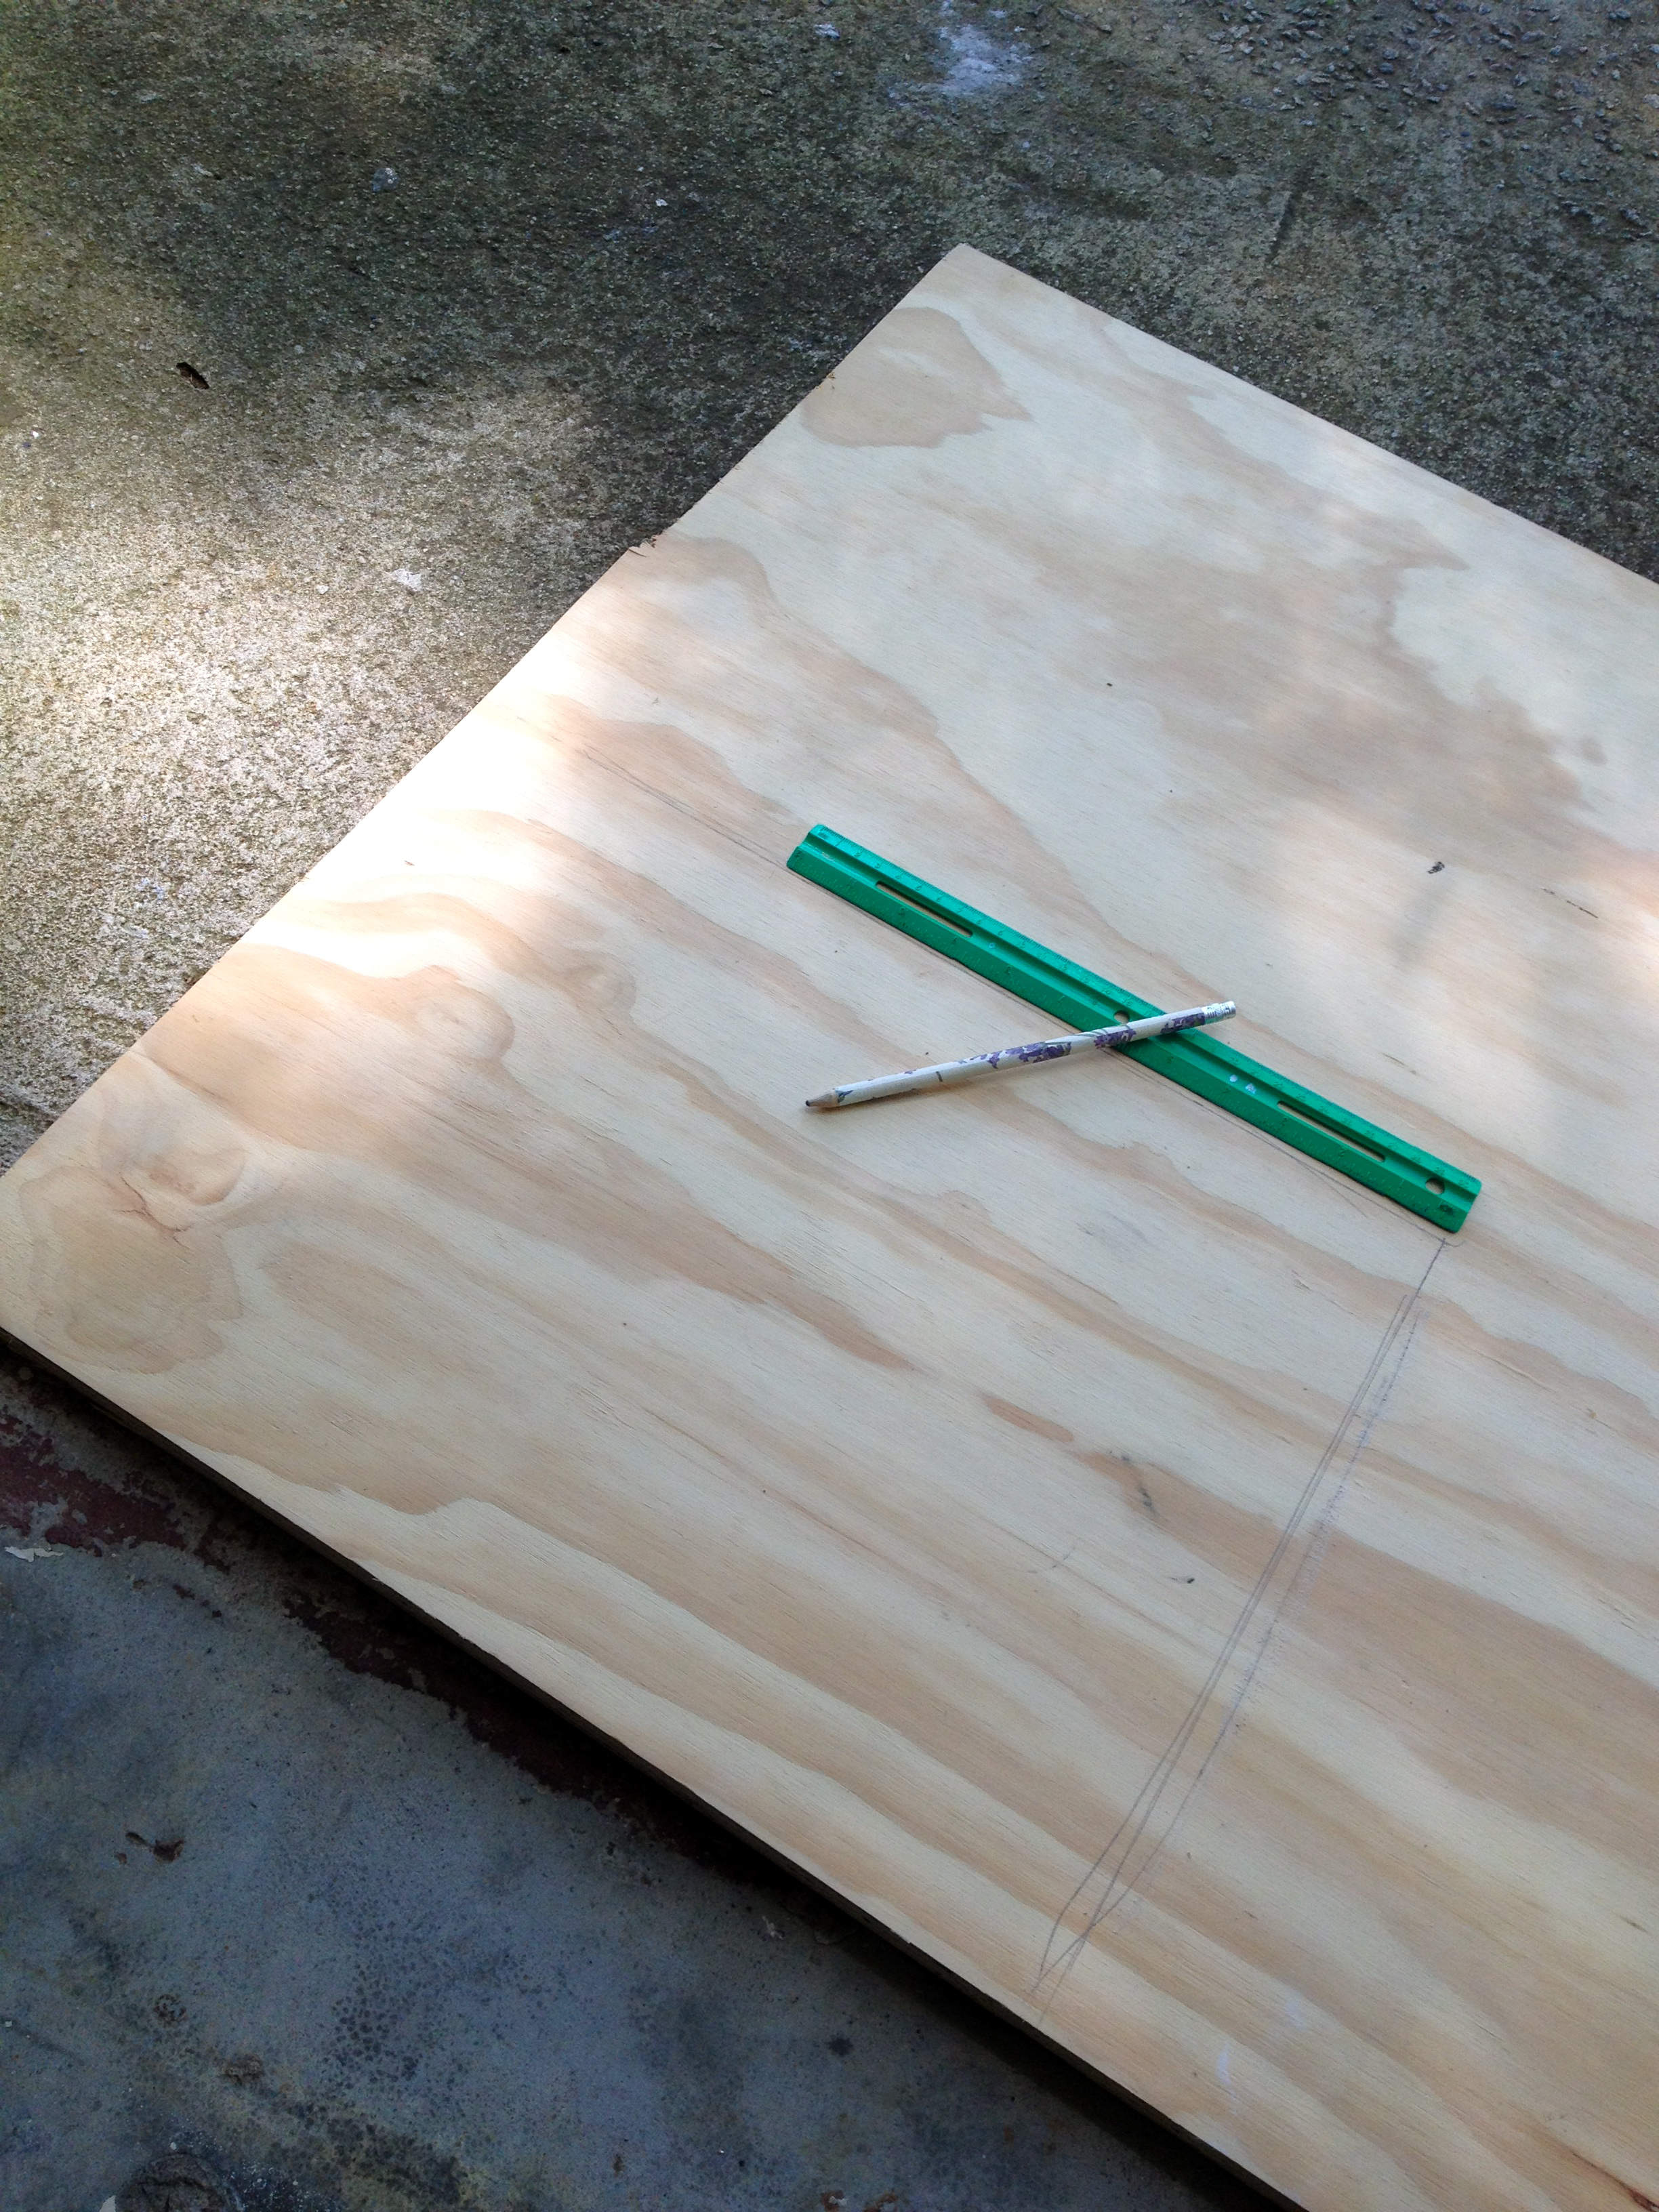
2) Cut the wood – Mike actually helped me with this but you can do this yourself…if you have a saw. He just secured the wood to a sawhorse & cut on the lines I drew. If you do cut the wood yourself…please becareful & use safety precautions!
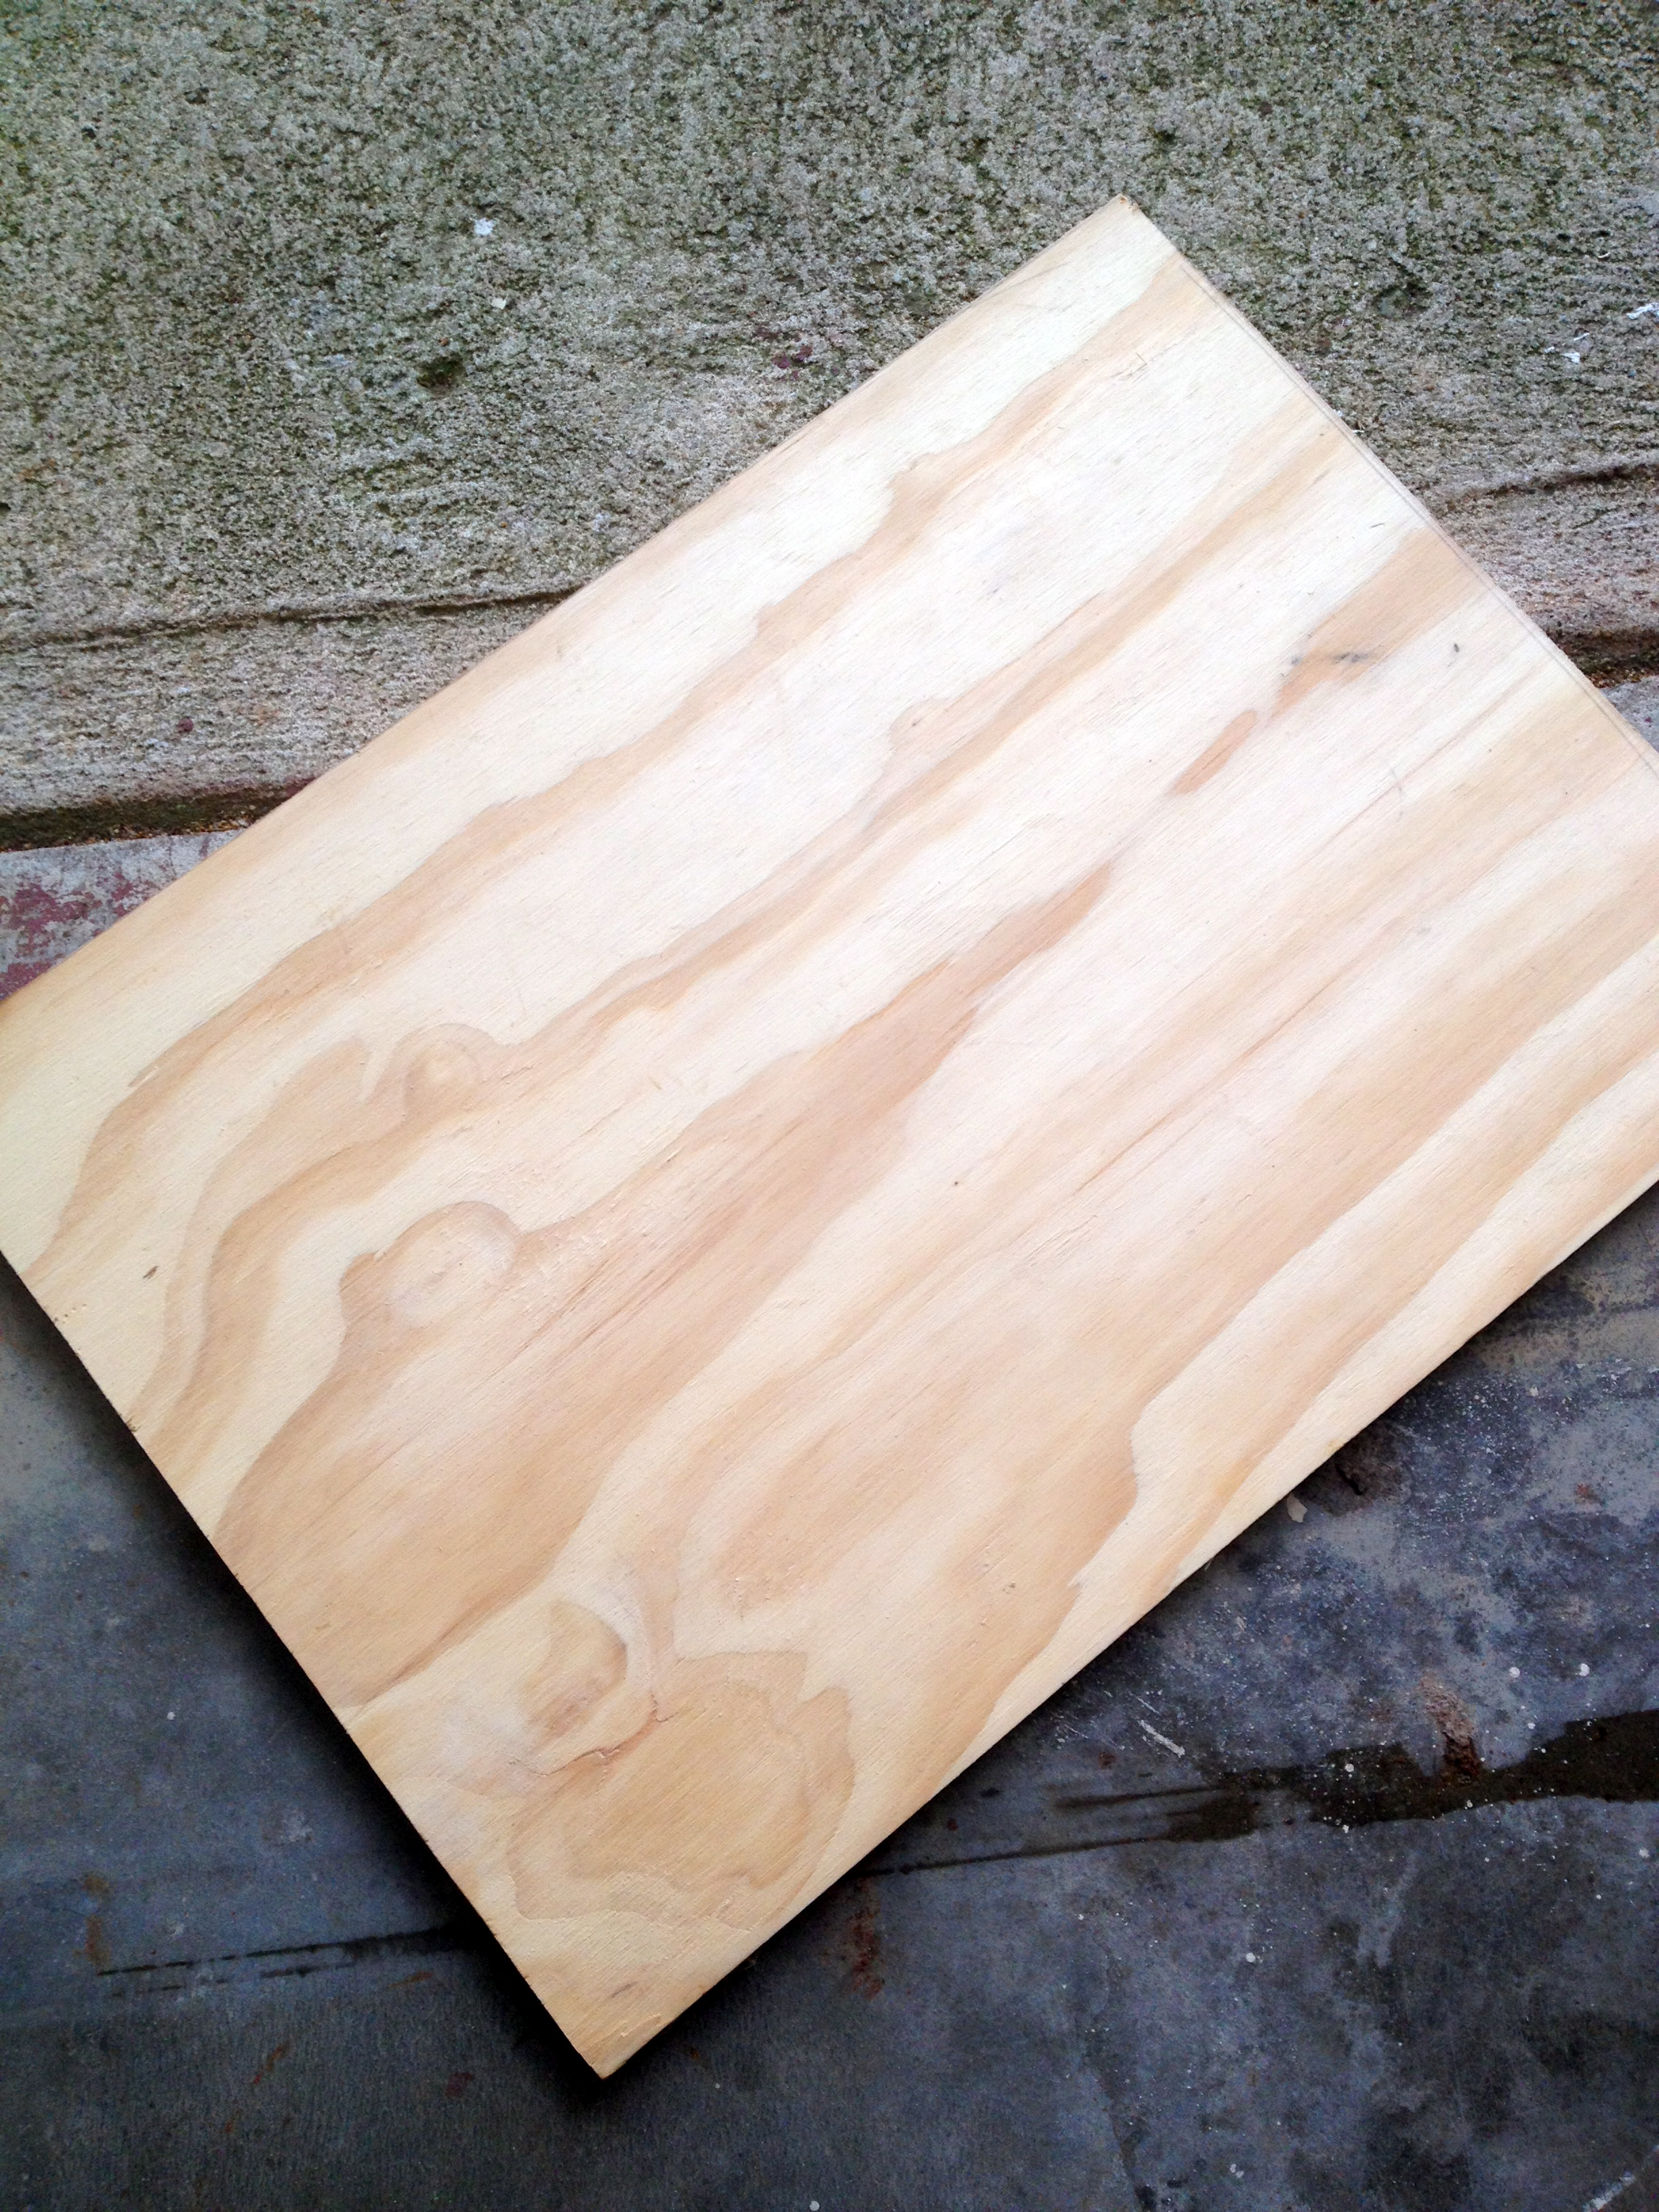
3) Sand that baby smooth!! I used my electrical sander using a medium sanding attachment (Sorry…I am not sure of the exact grit)
4) Once you’ve sanded all the flat surfaces…use your sander to create little craters along the longest sides. I did end up using my dremel for part of this process but I honestly preferred the electrical sander (it just took longer). I had no certain pattern for this part, I just went with my gut.
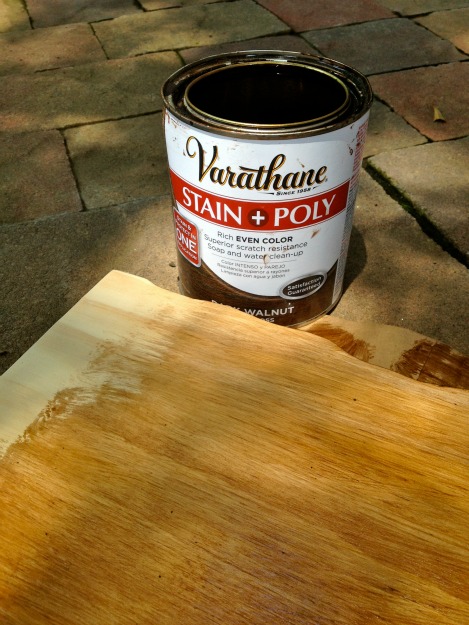
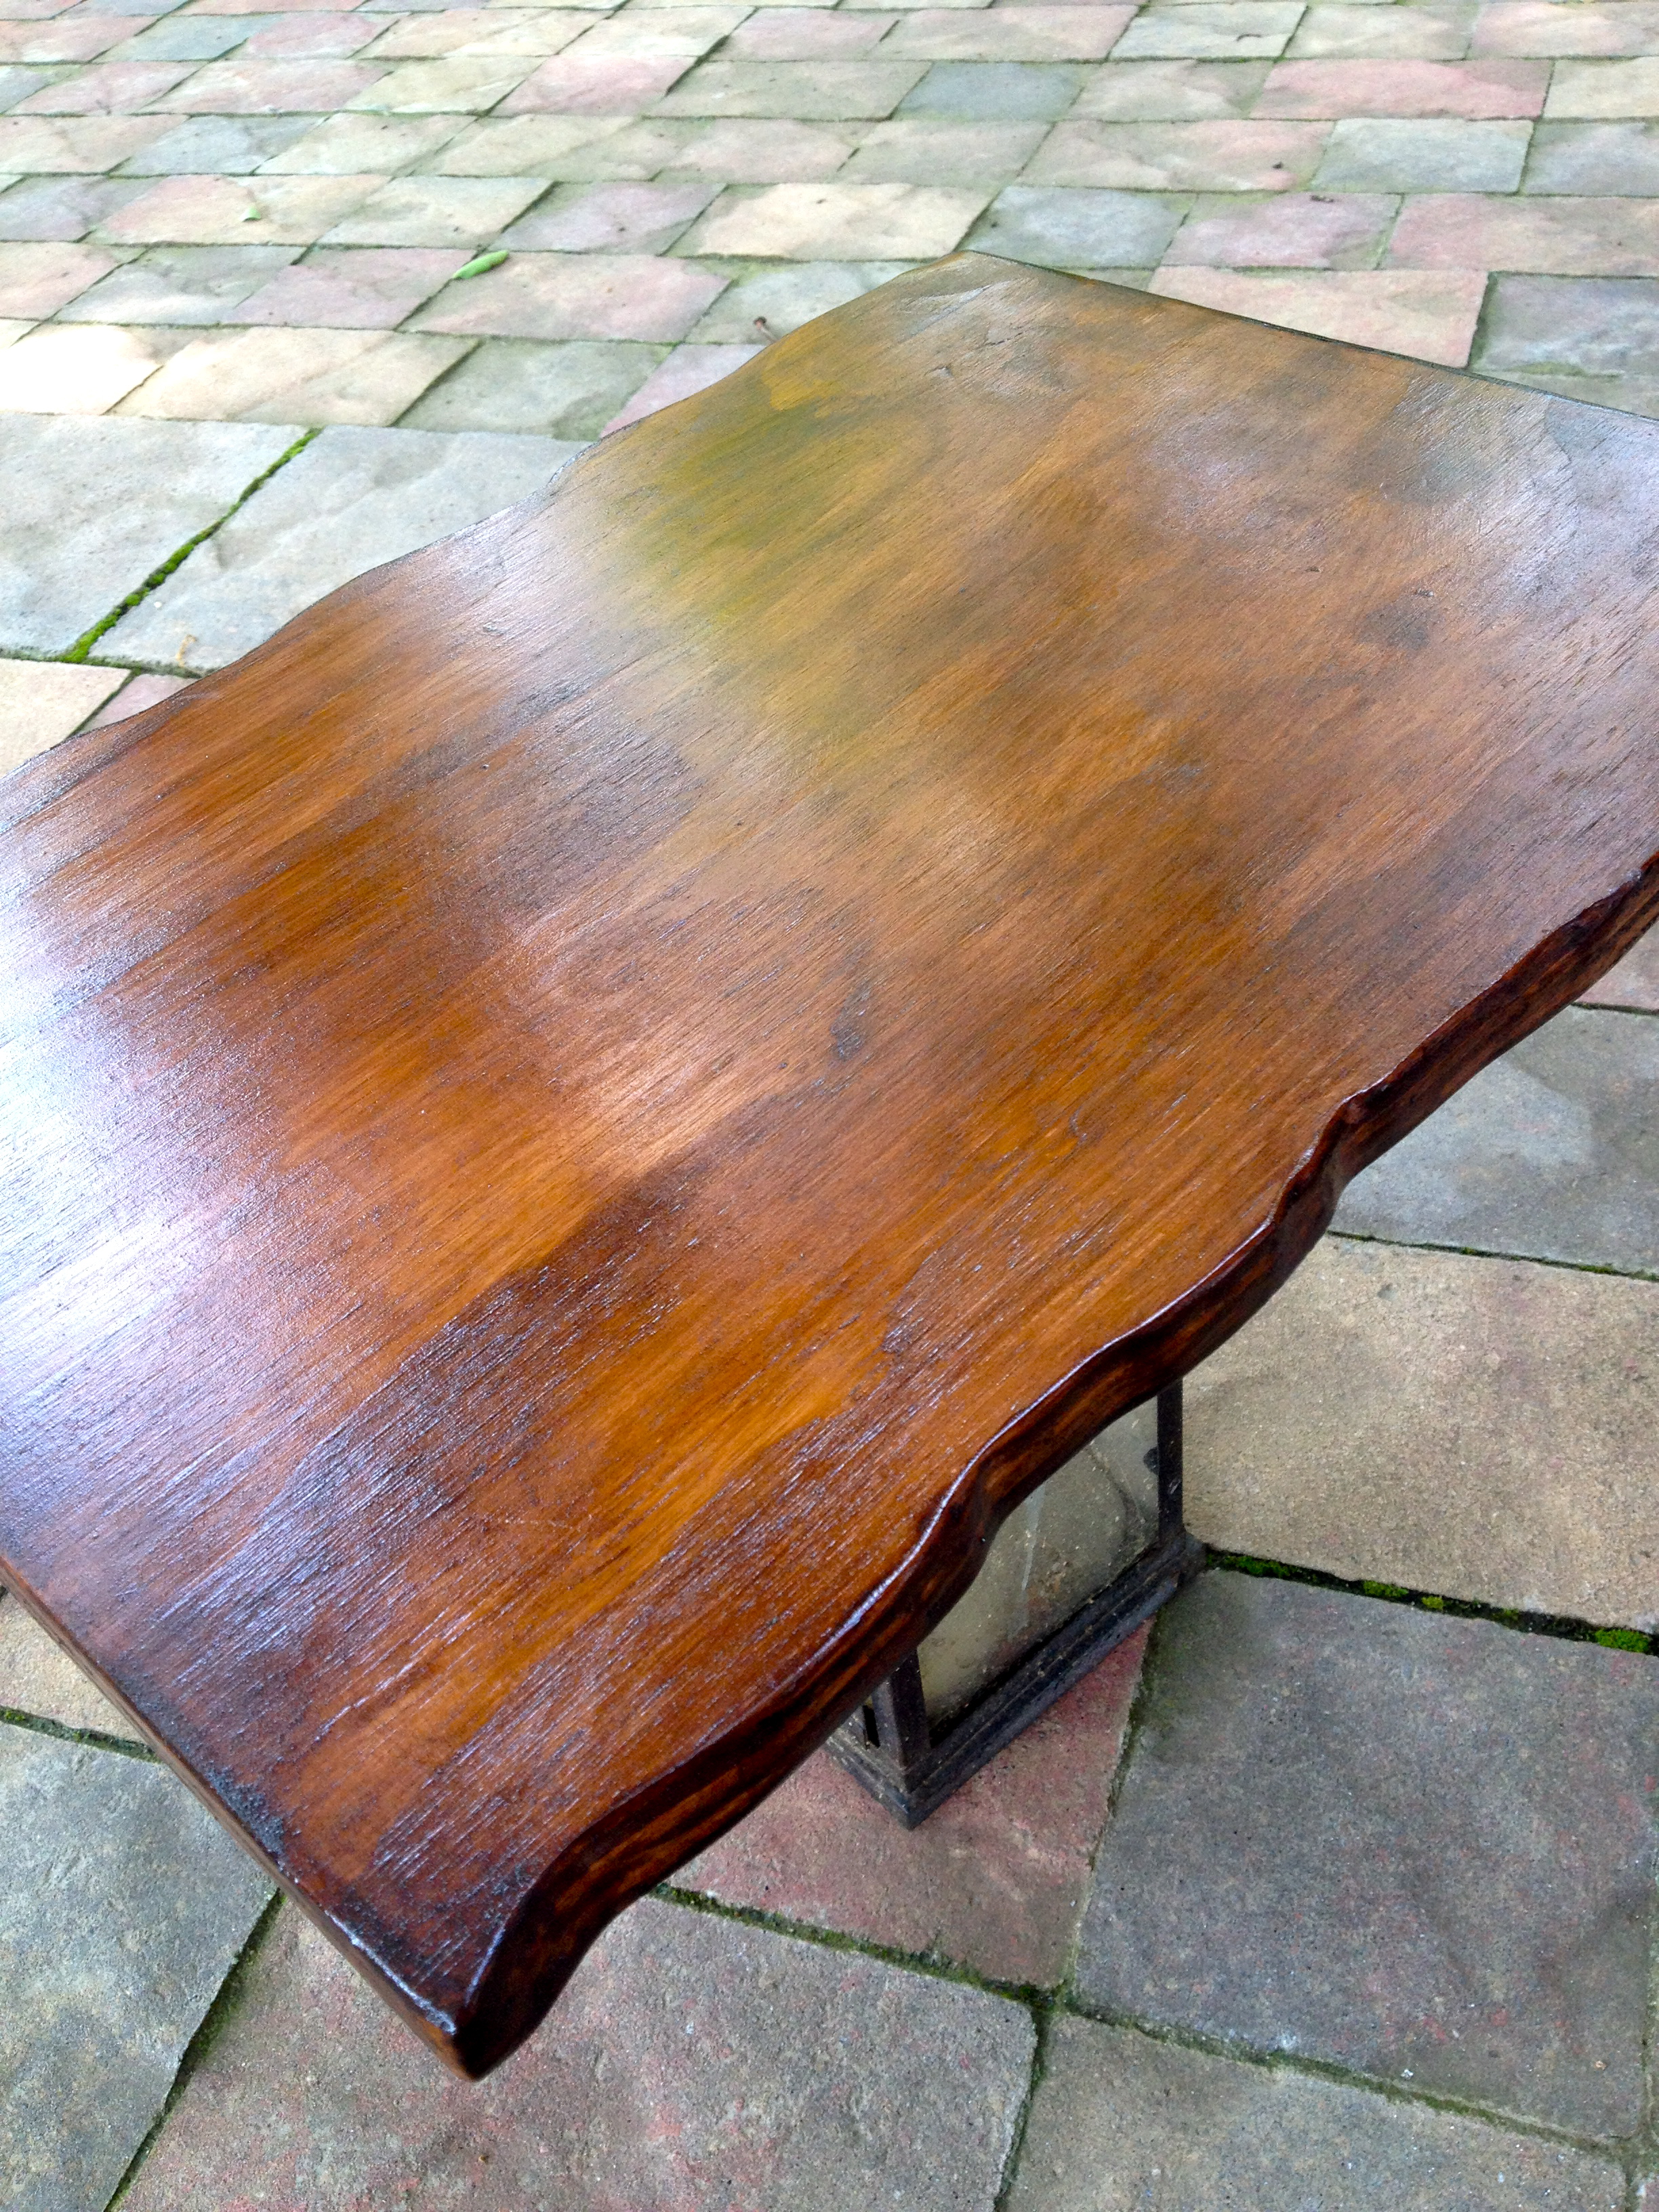
5) Wipe down your board with a dry rag & then start to stain your tray. I used the stain & poly combo (in dark walnut) & I like how it worked. I used a cheap paint brush I had to throw away afterwards, though…be warned. I took me about 4 coats to get it to where I wanted.
Here’s the “after.”
Here’s the leather belt I bought from a thrift store. It was really well-worn, which I loved! That made it very easy to bend.
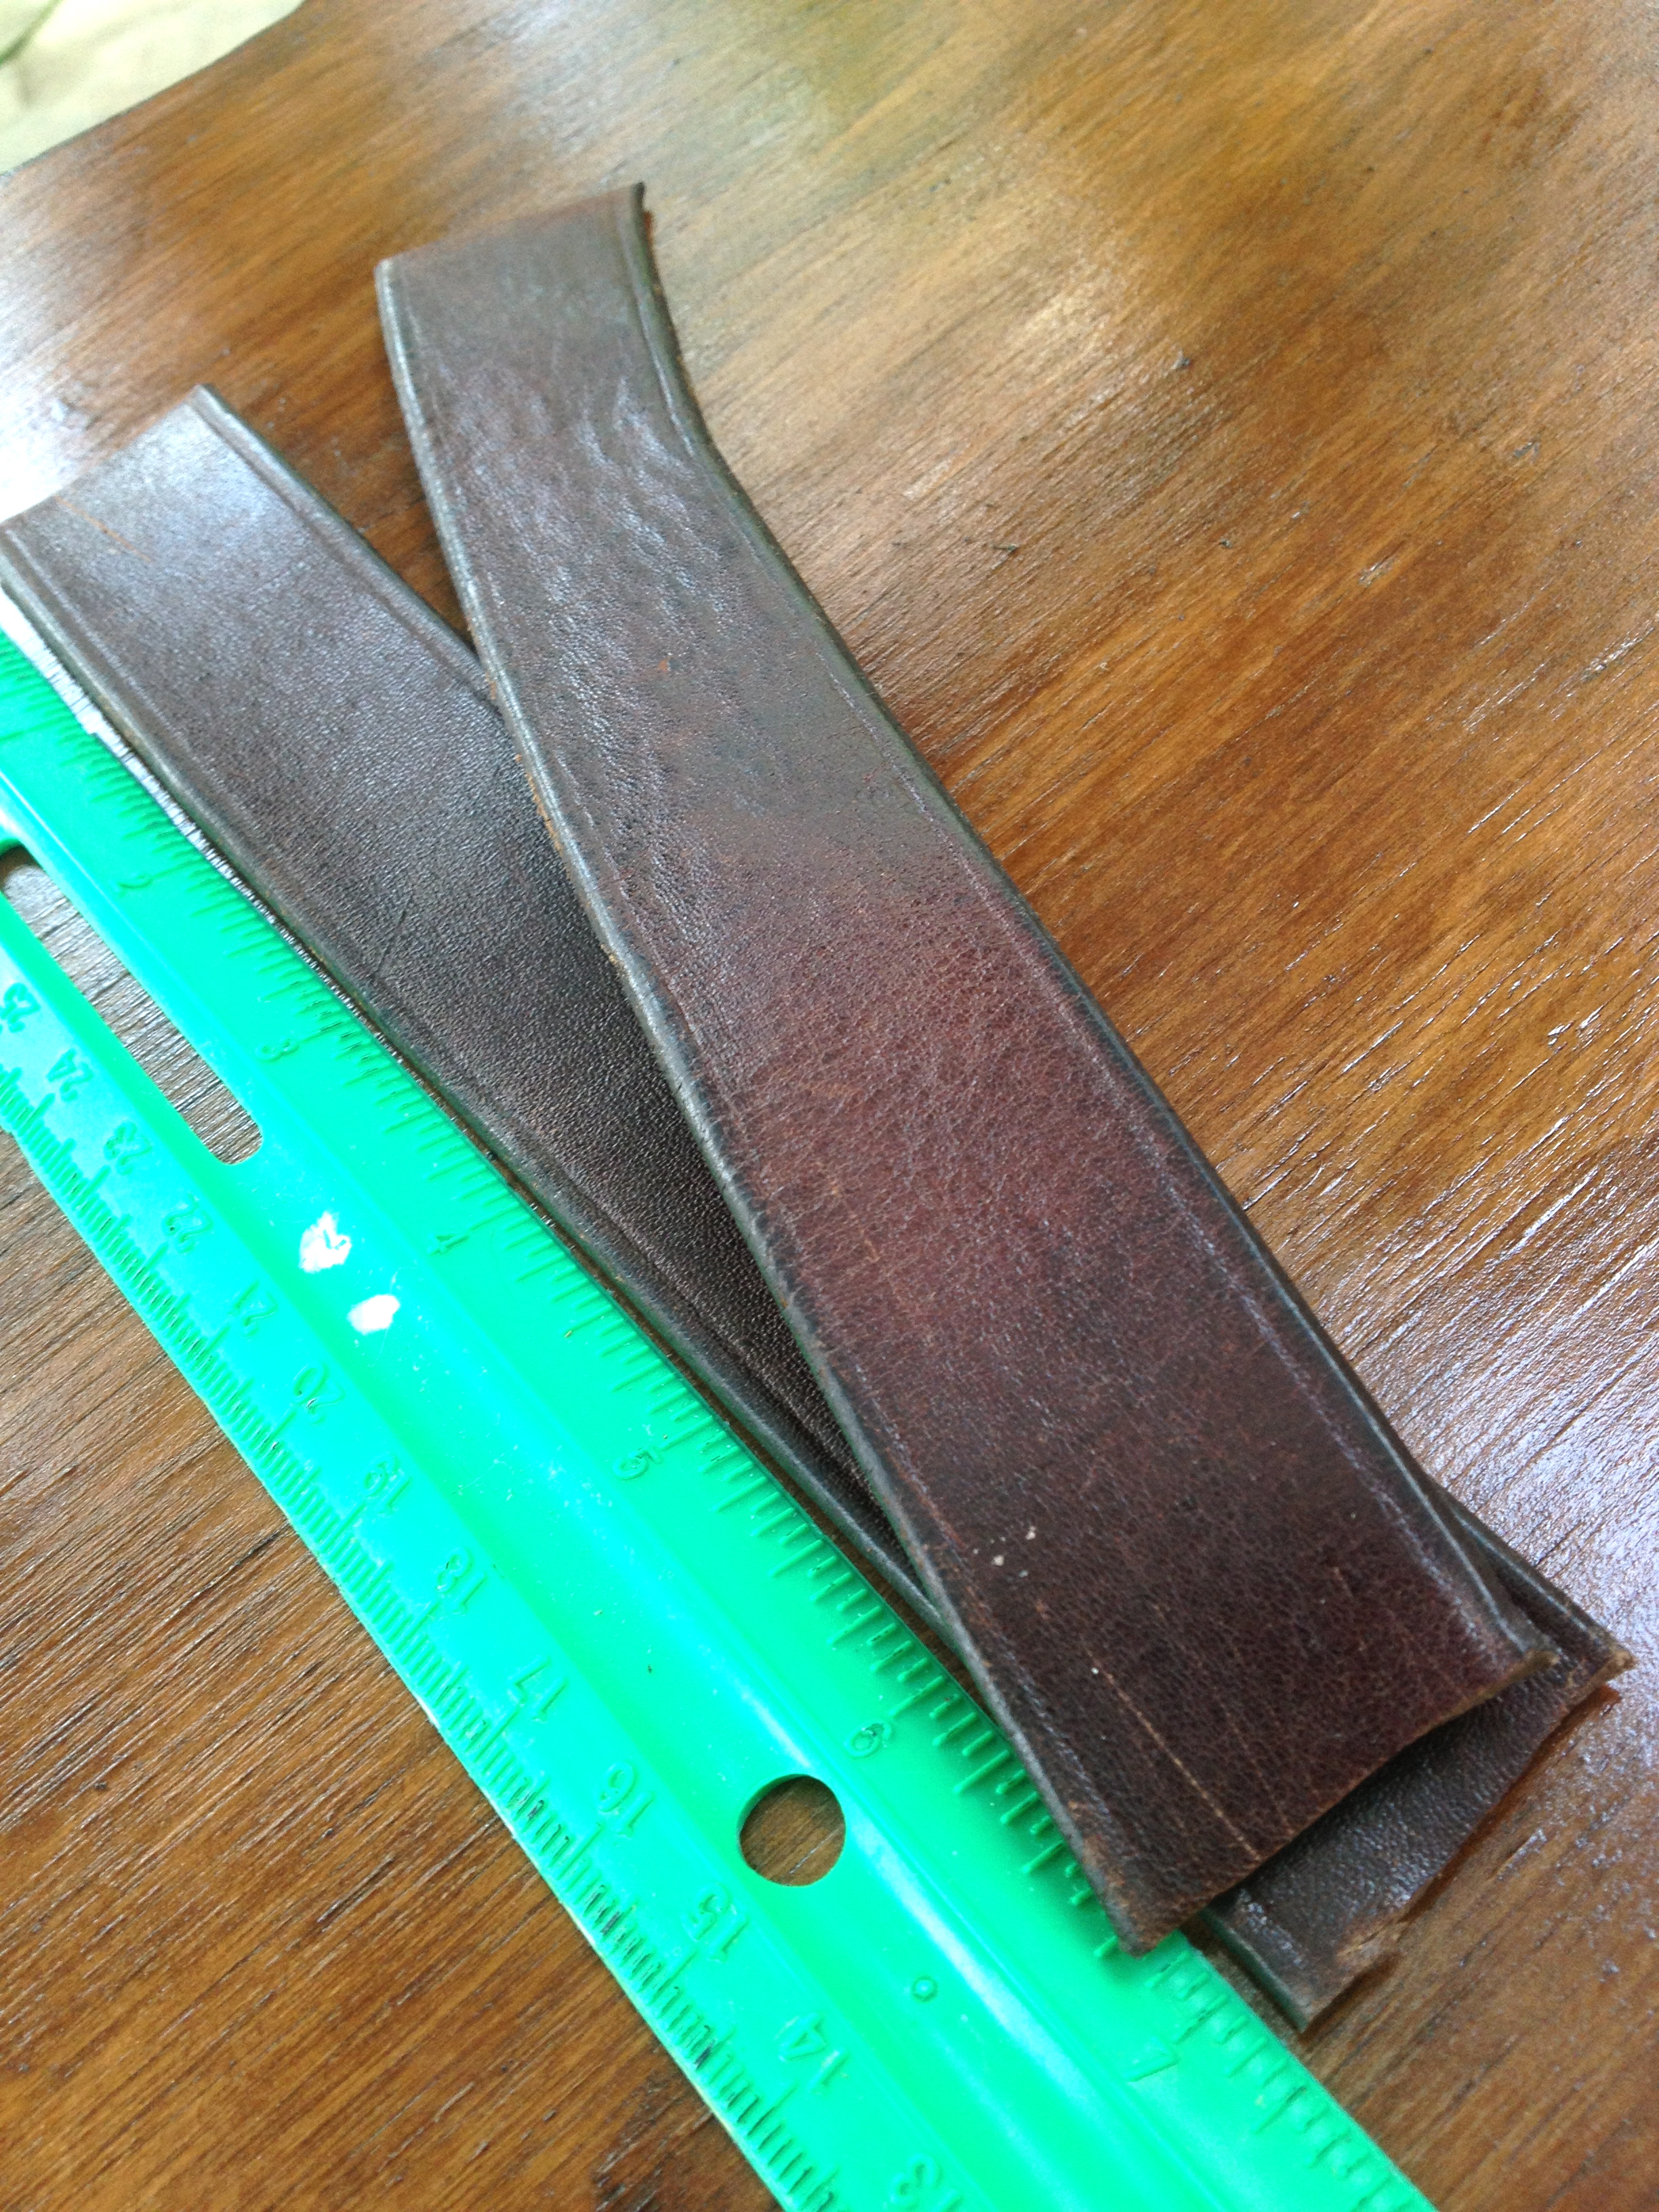
6) Cut your leather belt (I just cut mine with regular scissors) to the length your prefer. I cut mine at 7″.
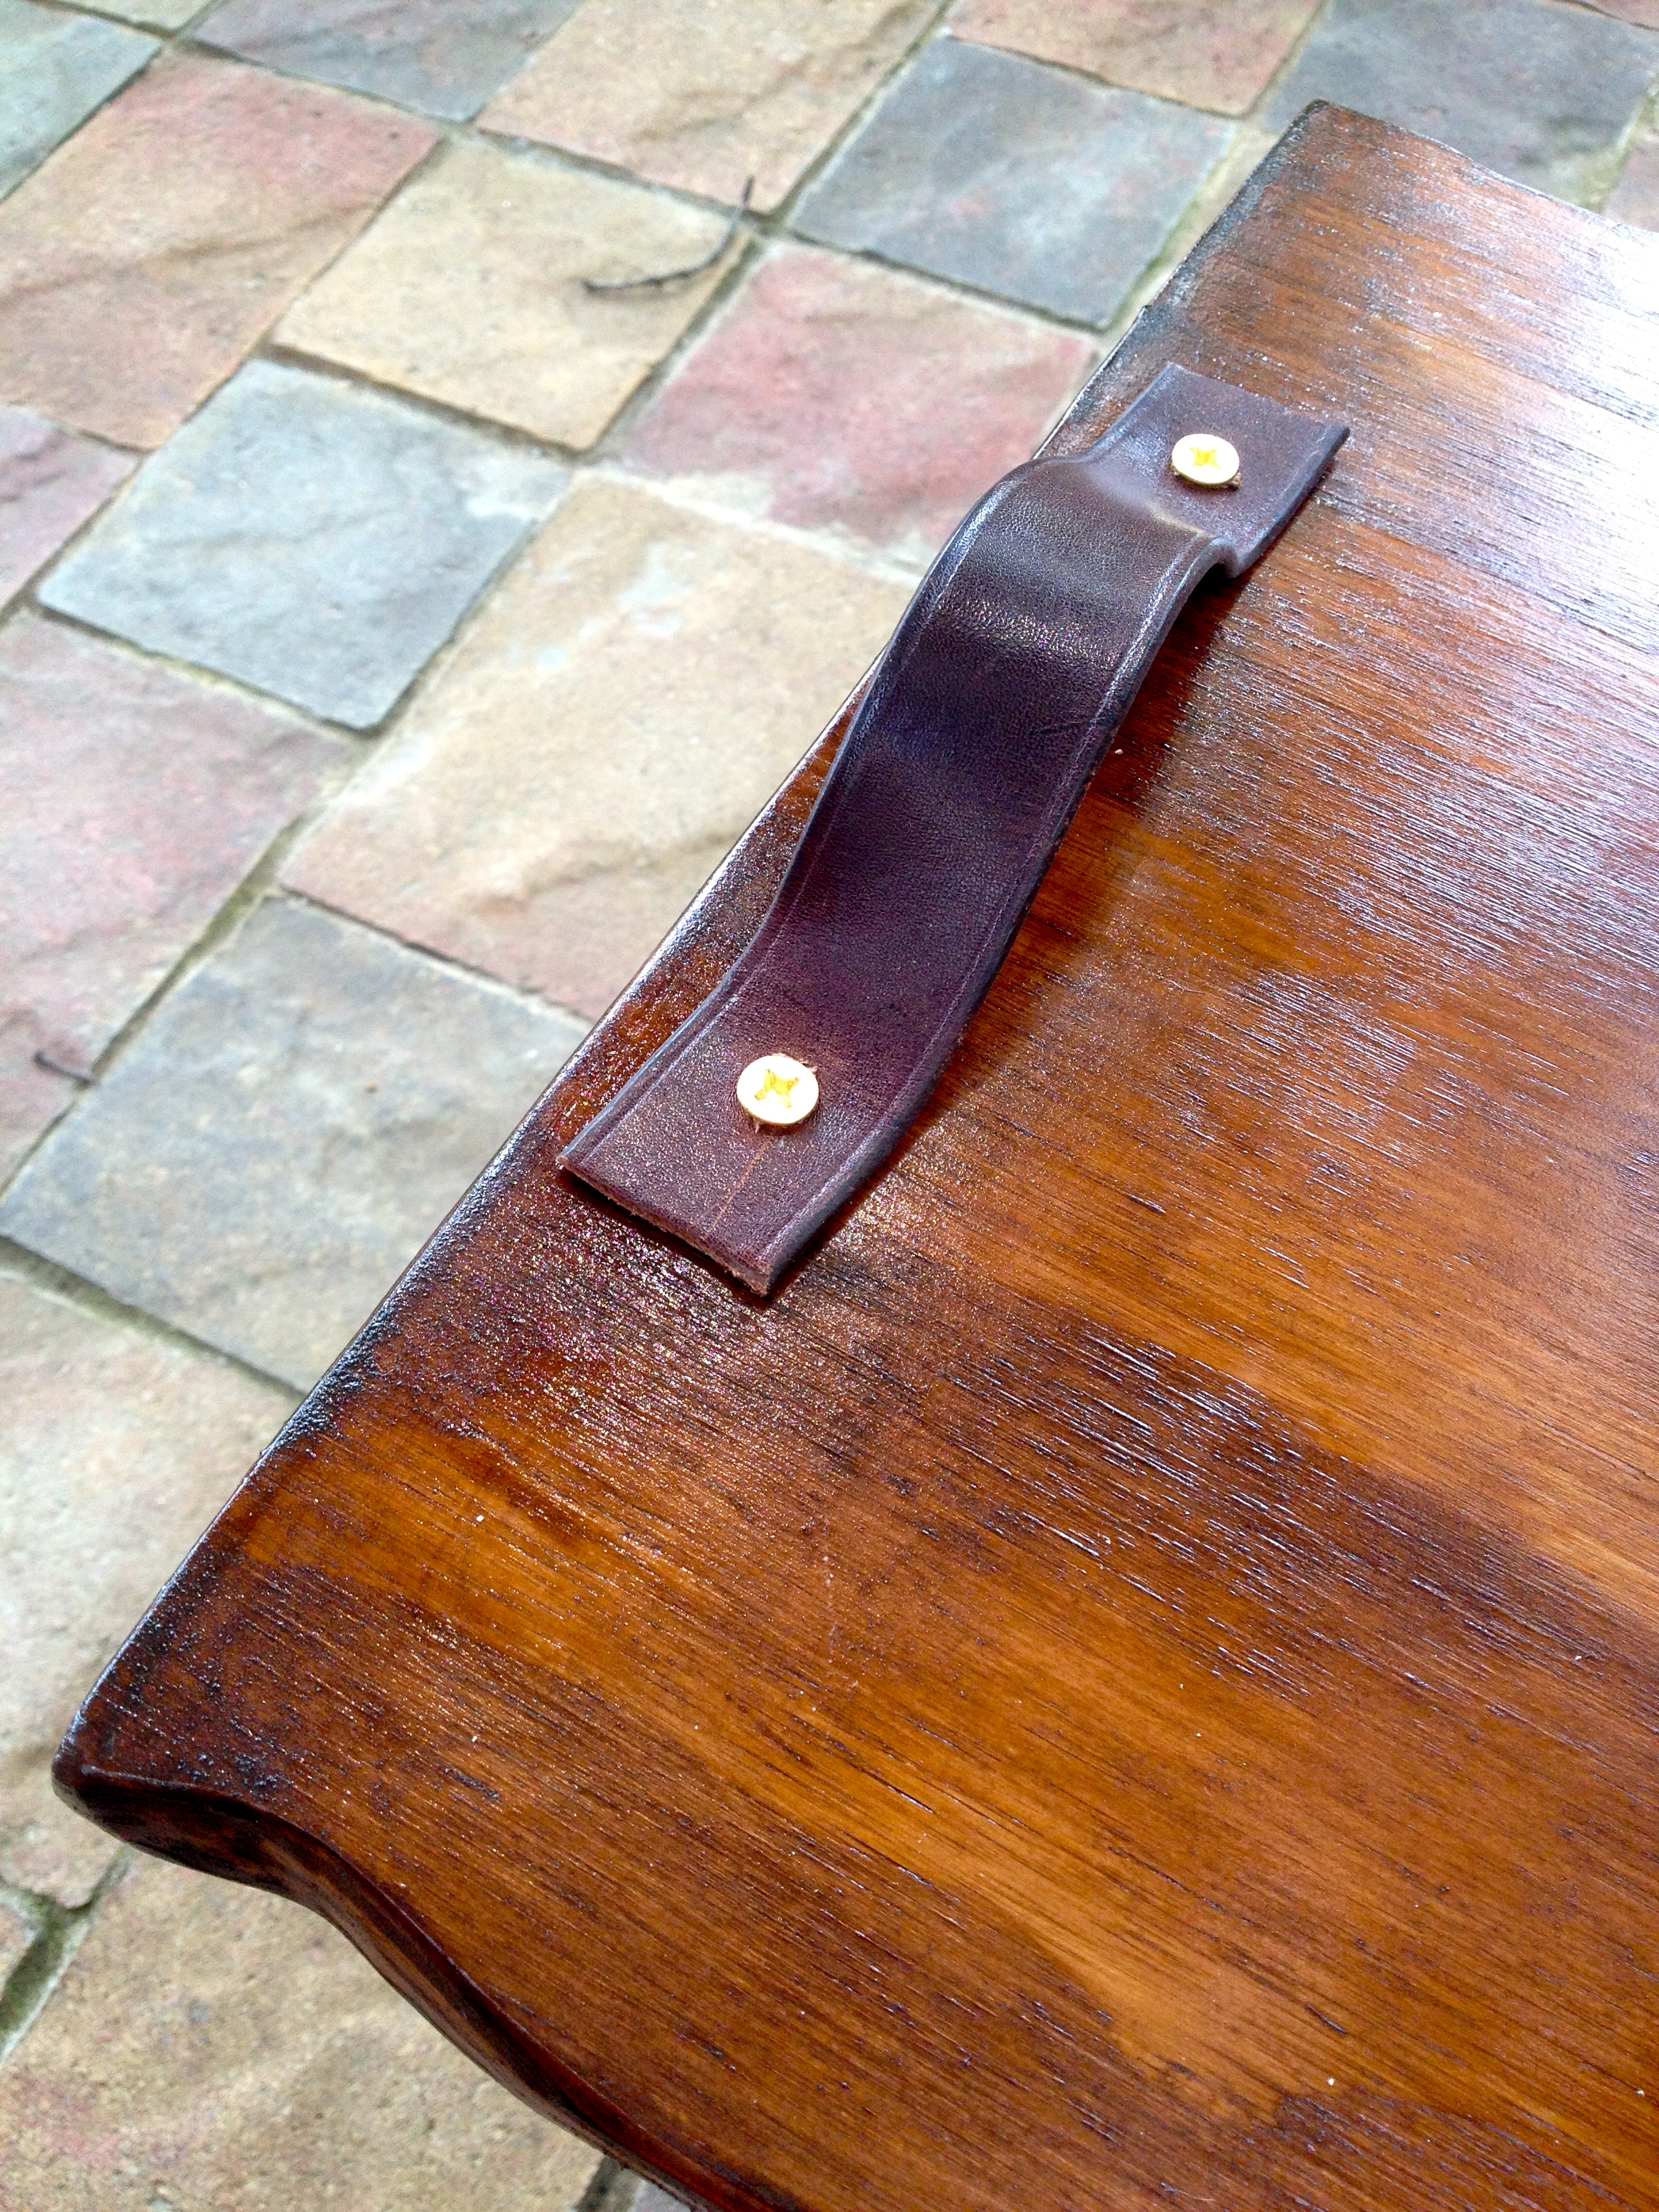
7) Attach your leather belt handles by measuring about 3-4″ from the sides (if you’re using the same dimensions as I did). From about 3/4″ from the edge of the belt, put your screw in place. Use a drill to create a hole through the belt & the wood. Becareful to not go all the way through the wood. Use a screwdriver to attach the screw through the hole you just created.
This part may be a little tricky. Take your time & remember…this is suppose to look rustic so if you make a mistake…it will still look great!!
This is what it should look like afterwards.
8) Using painters tape, mark out a smaller rectangle on the surface of the tray (Mine was about 10″ x 12″). Paint a couple coats of chalkboard paint inside the rectangle. You can also cut this out of chalkboard vinyl.
My Little Secret: I actually used chalkboard scrapbook paper on mine. I wasn’t ready to commit fully to the chalkboard portion of this tray so I thought I’d try it out first. What do YOU think? Do you like the chalkboard portion of it or should I leave it plain?
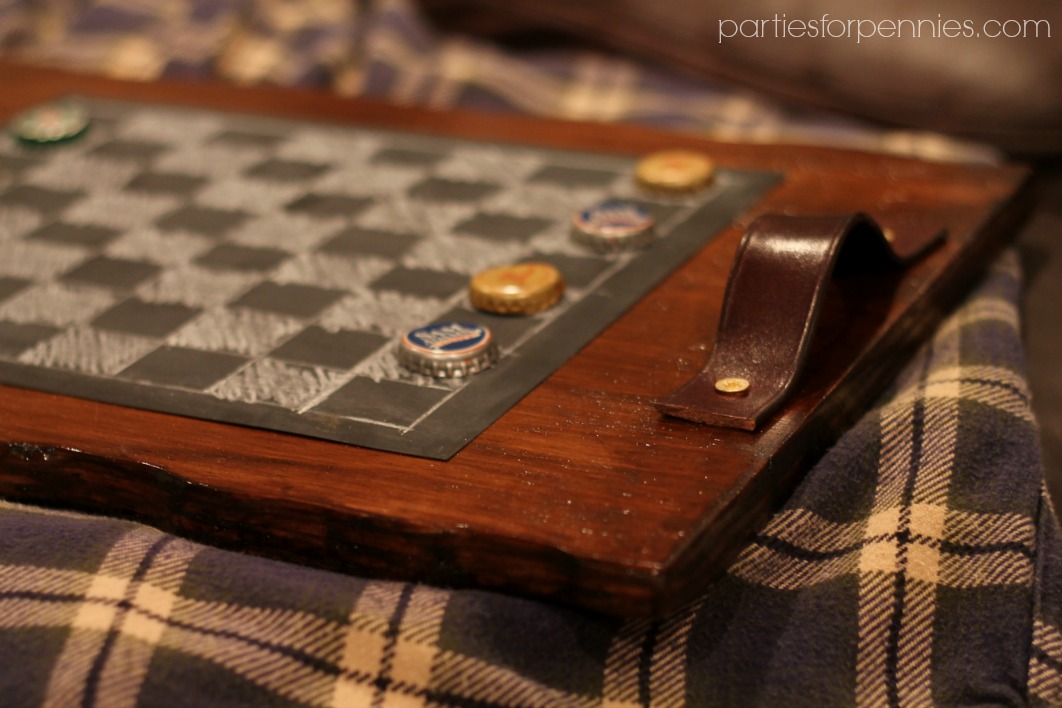
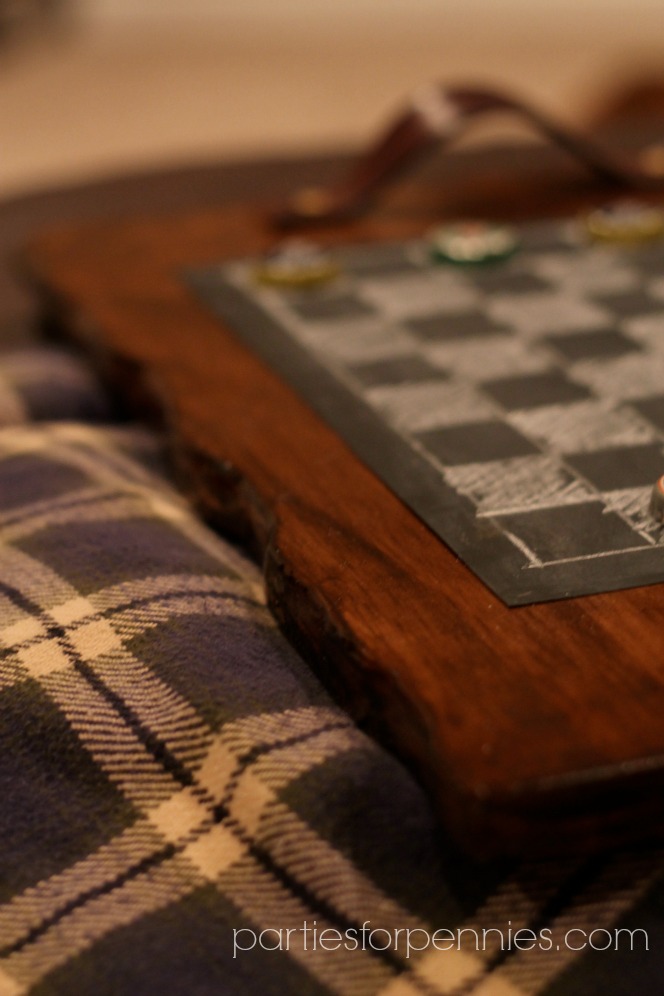
I think my favorite part is the edge. It’s like the embodiment of refined ruggedness.
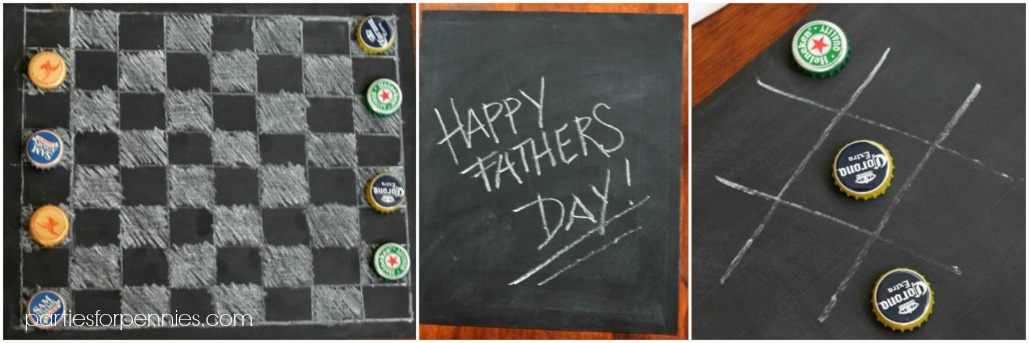
You can create a checkerboard on this tray & use old bottle caps for game pieces.
You can bring dad his favorite chilled beverage & some chips on the tray…with a little message for him.
You can play a dad/son or dad/daughter game of tic-tac-toe.
The possibilities are endless.
This is not only the perfect accessory for a man cave or office…
…but it’s also a gift that can be entertaining & functional.
What do you think? Do you have trouble finding a good gift for Father’s Day? Do you have a go-to gift?
If this gift idea seems too complicated…stay tuned for next week. I’ve got a really simple & easy Father’s Day gift idea (that’s also homemade).
Until then…Party On!

p.s. This is YOUR official invite to the party… join in on the Parties for Pennies Facebook page, Twitter, and Pinterest!
LINKING TO:




Brilliant! HAHA I love it! I admire your ambition! So chic and masculine like it was bought! 🙂 I will let you know how my journal for my dad turns out. I am thankful my husband (Joey) also said “you might want to get him a gift card too.” LOL. I told Joey I just love projects and sometimes they are more for me!
Thank you so much Kim! You’re always so encouraging! Can’t wait to hear how to journal turns out. Love what Joey’s response was. ;p <3 Heidi
Heidi unfortuately the journal didn’t turn out as well as I planned. I’m a little bummed but it was my first time to use mod podge and I also did my own Georgia “G” and put it on the journal and it was messy:( Wanted to let you know. It’s all good just a bummer. 🙂 thanks for your encouragement! I guess not every project can turn out.
Oh man…I’m sorry Kim! That really stinks but you’re right…not every project turns out the way we envision. Sometimes we can tweak it to become a different creation than what we originally planned & sometimes we just have to learn from what works & doesn’t…and try again another time. It was an awesome idea, Kim!! <3 Heidi