Hey party people!
Do you ever look in your closet or glance around your house & notice there is ALOT of one particular color?
Putting together this post made me realize…I’ve ended up doing a lot of parties with the color purple in them! Funny thing is I’m working on a baby shower right now & you will never guess which color is in it?? :p
Anways…all that to say…I vow to do less purple over the next year. Gotta switch things up.
Here’s the juicy part. I adore with a capital, “yum, delish, want some more,” backdrops (got that? ;p). They are a really inexpensive way to jazz up your party or photo booth. Not to mention they take your dessert/food table to a whole new level.
I compiled 12 party backdrop ideas that may help get the inspiration juice flowin for ya.
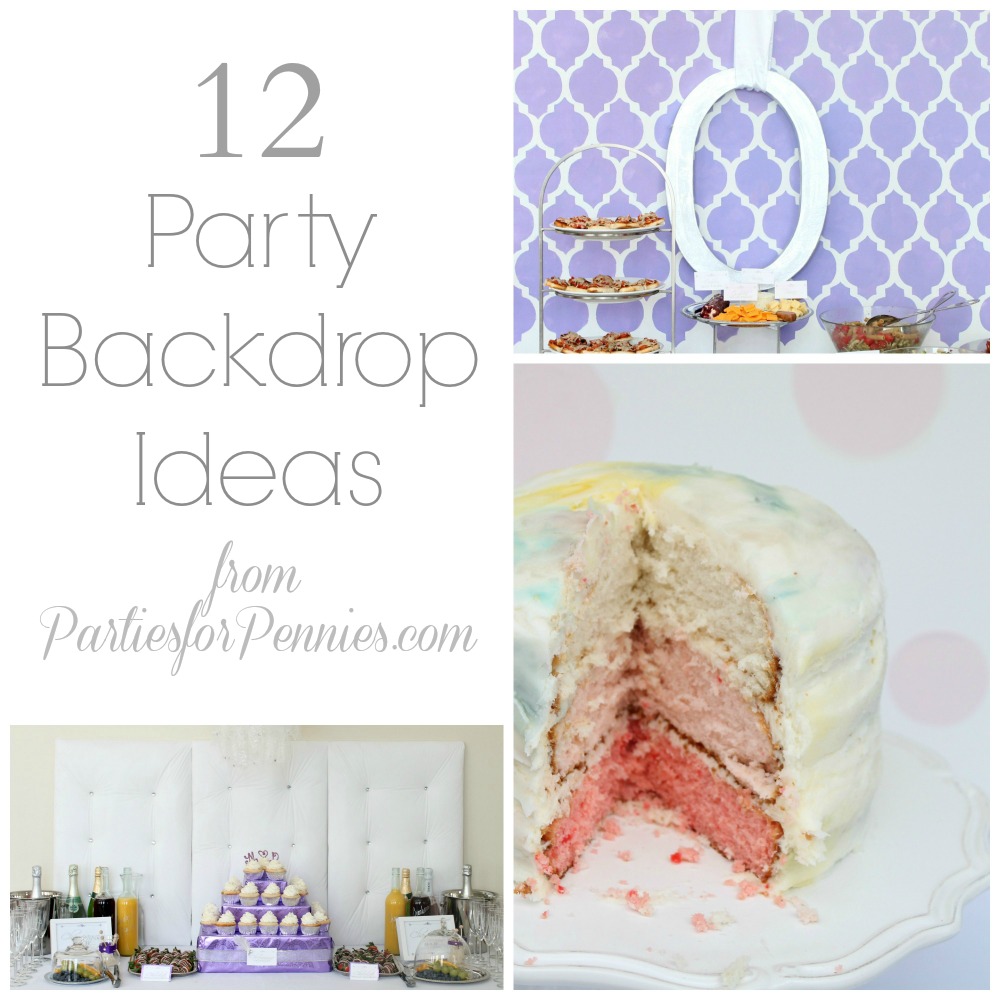
1. Stenciled Backdrop – This backdrop is simply a white folding foamboard, a stencil I had at the house, and some leftover acrylic paint. The “Q” hanging down was half off at the craft store so I snagged that to give it some extra oomph. You can see more of the Champagne-themed Bridal Shower here.
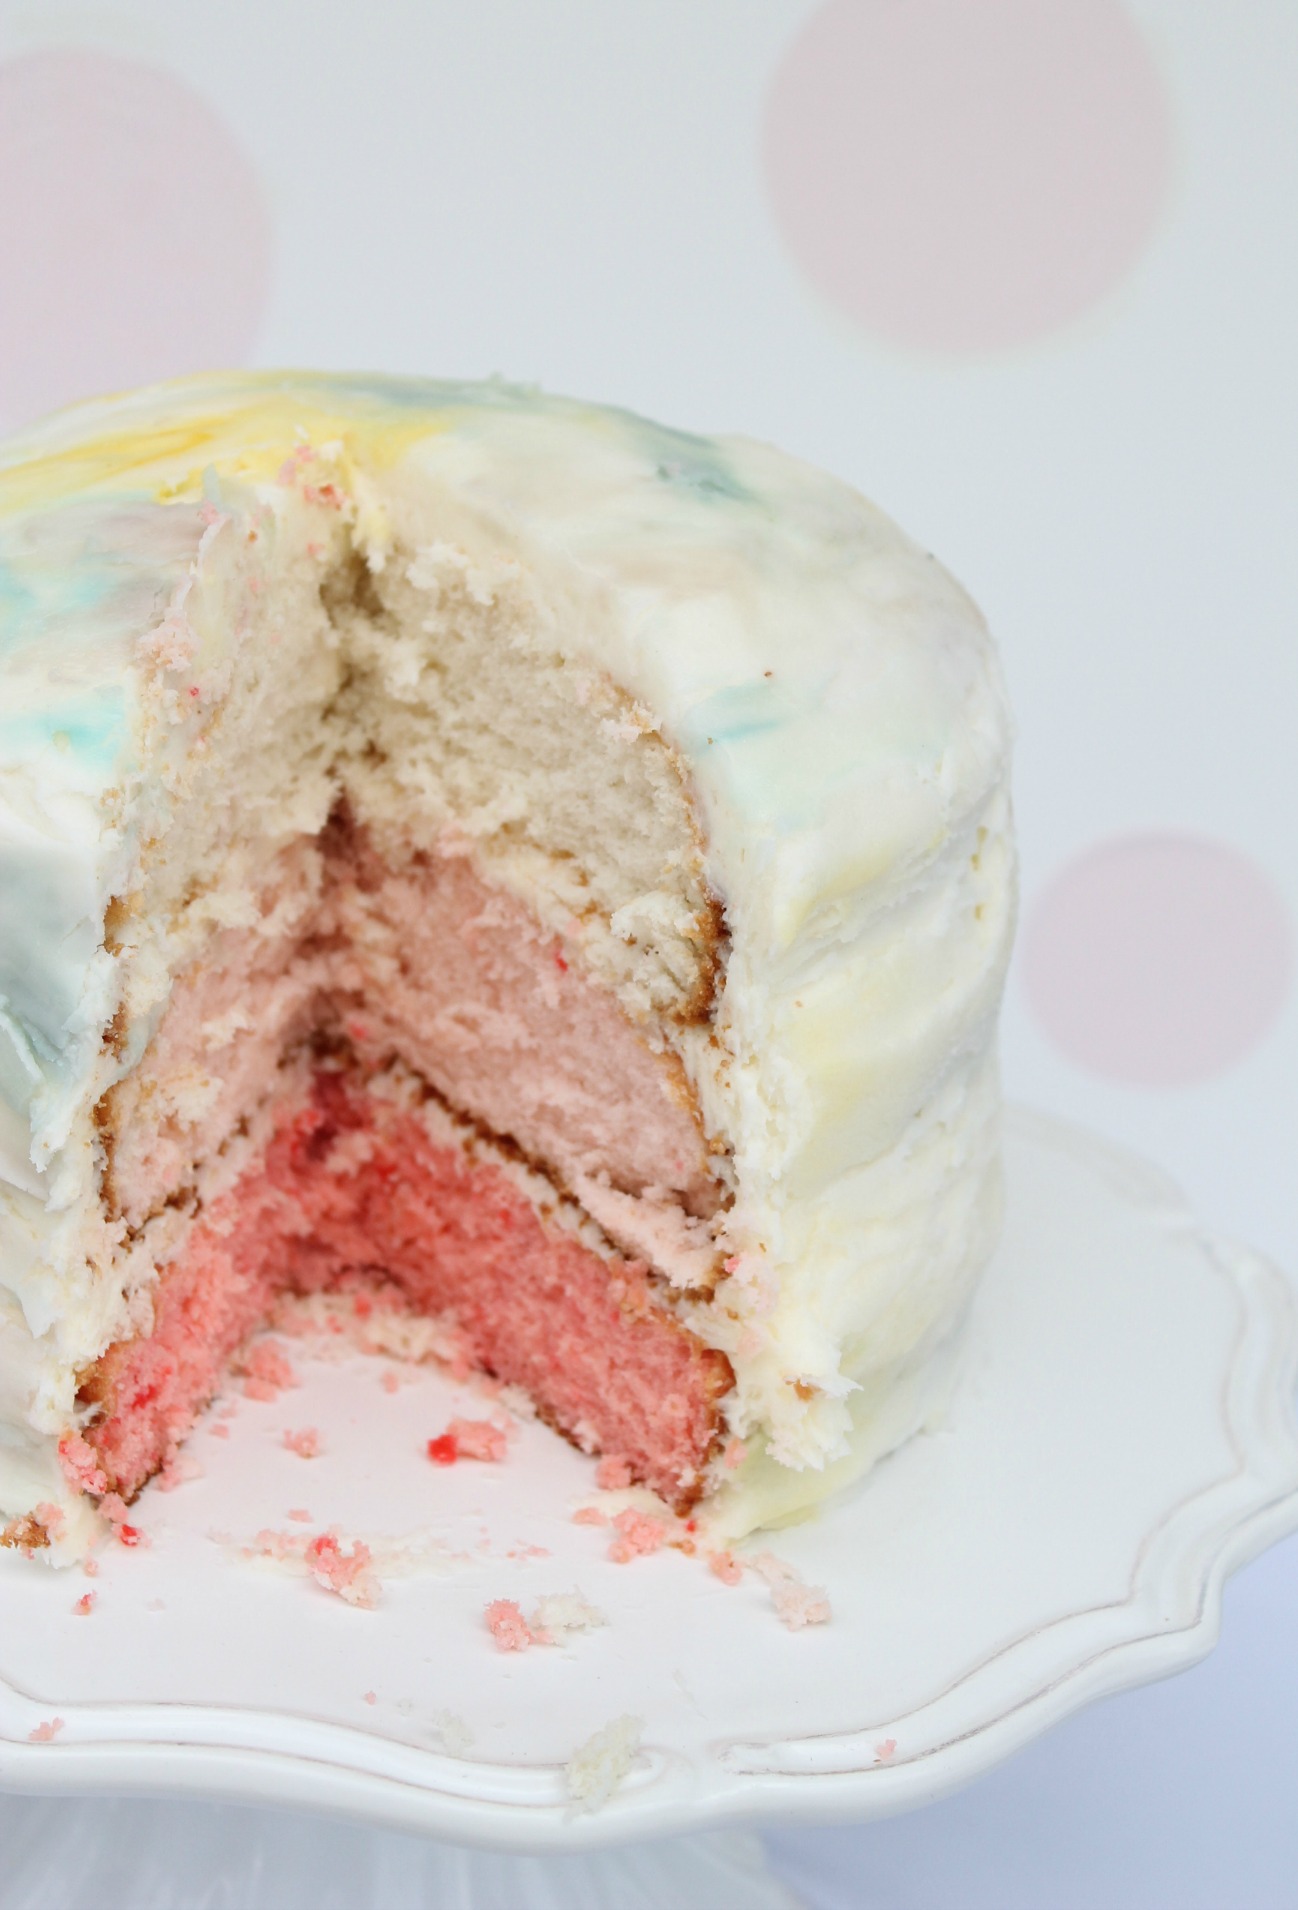
2. Ombre Polka-dotted Backdrop – I know it is a little hard to see in this picture. If you’d like to see the entire backdrop, check out the Watercolor Baby Shower I planned.
All you need for this backdrop is a piece of foamboard, three different shades of tissue paper, a circle cutter (or just scissors if you want to do it yourself), and spray adhesive.
* Cut out the circles, then lay them out on the foamboard to determine where you want them. Lay a couple rows of darker colored circles, then medium colored and finally the lighter colored circles. Lay them out in a polka-dotted pattern.
* Spray just a little spray adhesive on the back of the circles them adhere them to the foamboard. You could also use double-sided tape instead of the spray adhesive.
* Once you’ve attached all the circles, your backdrop is done!
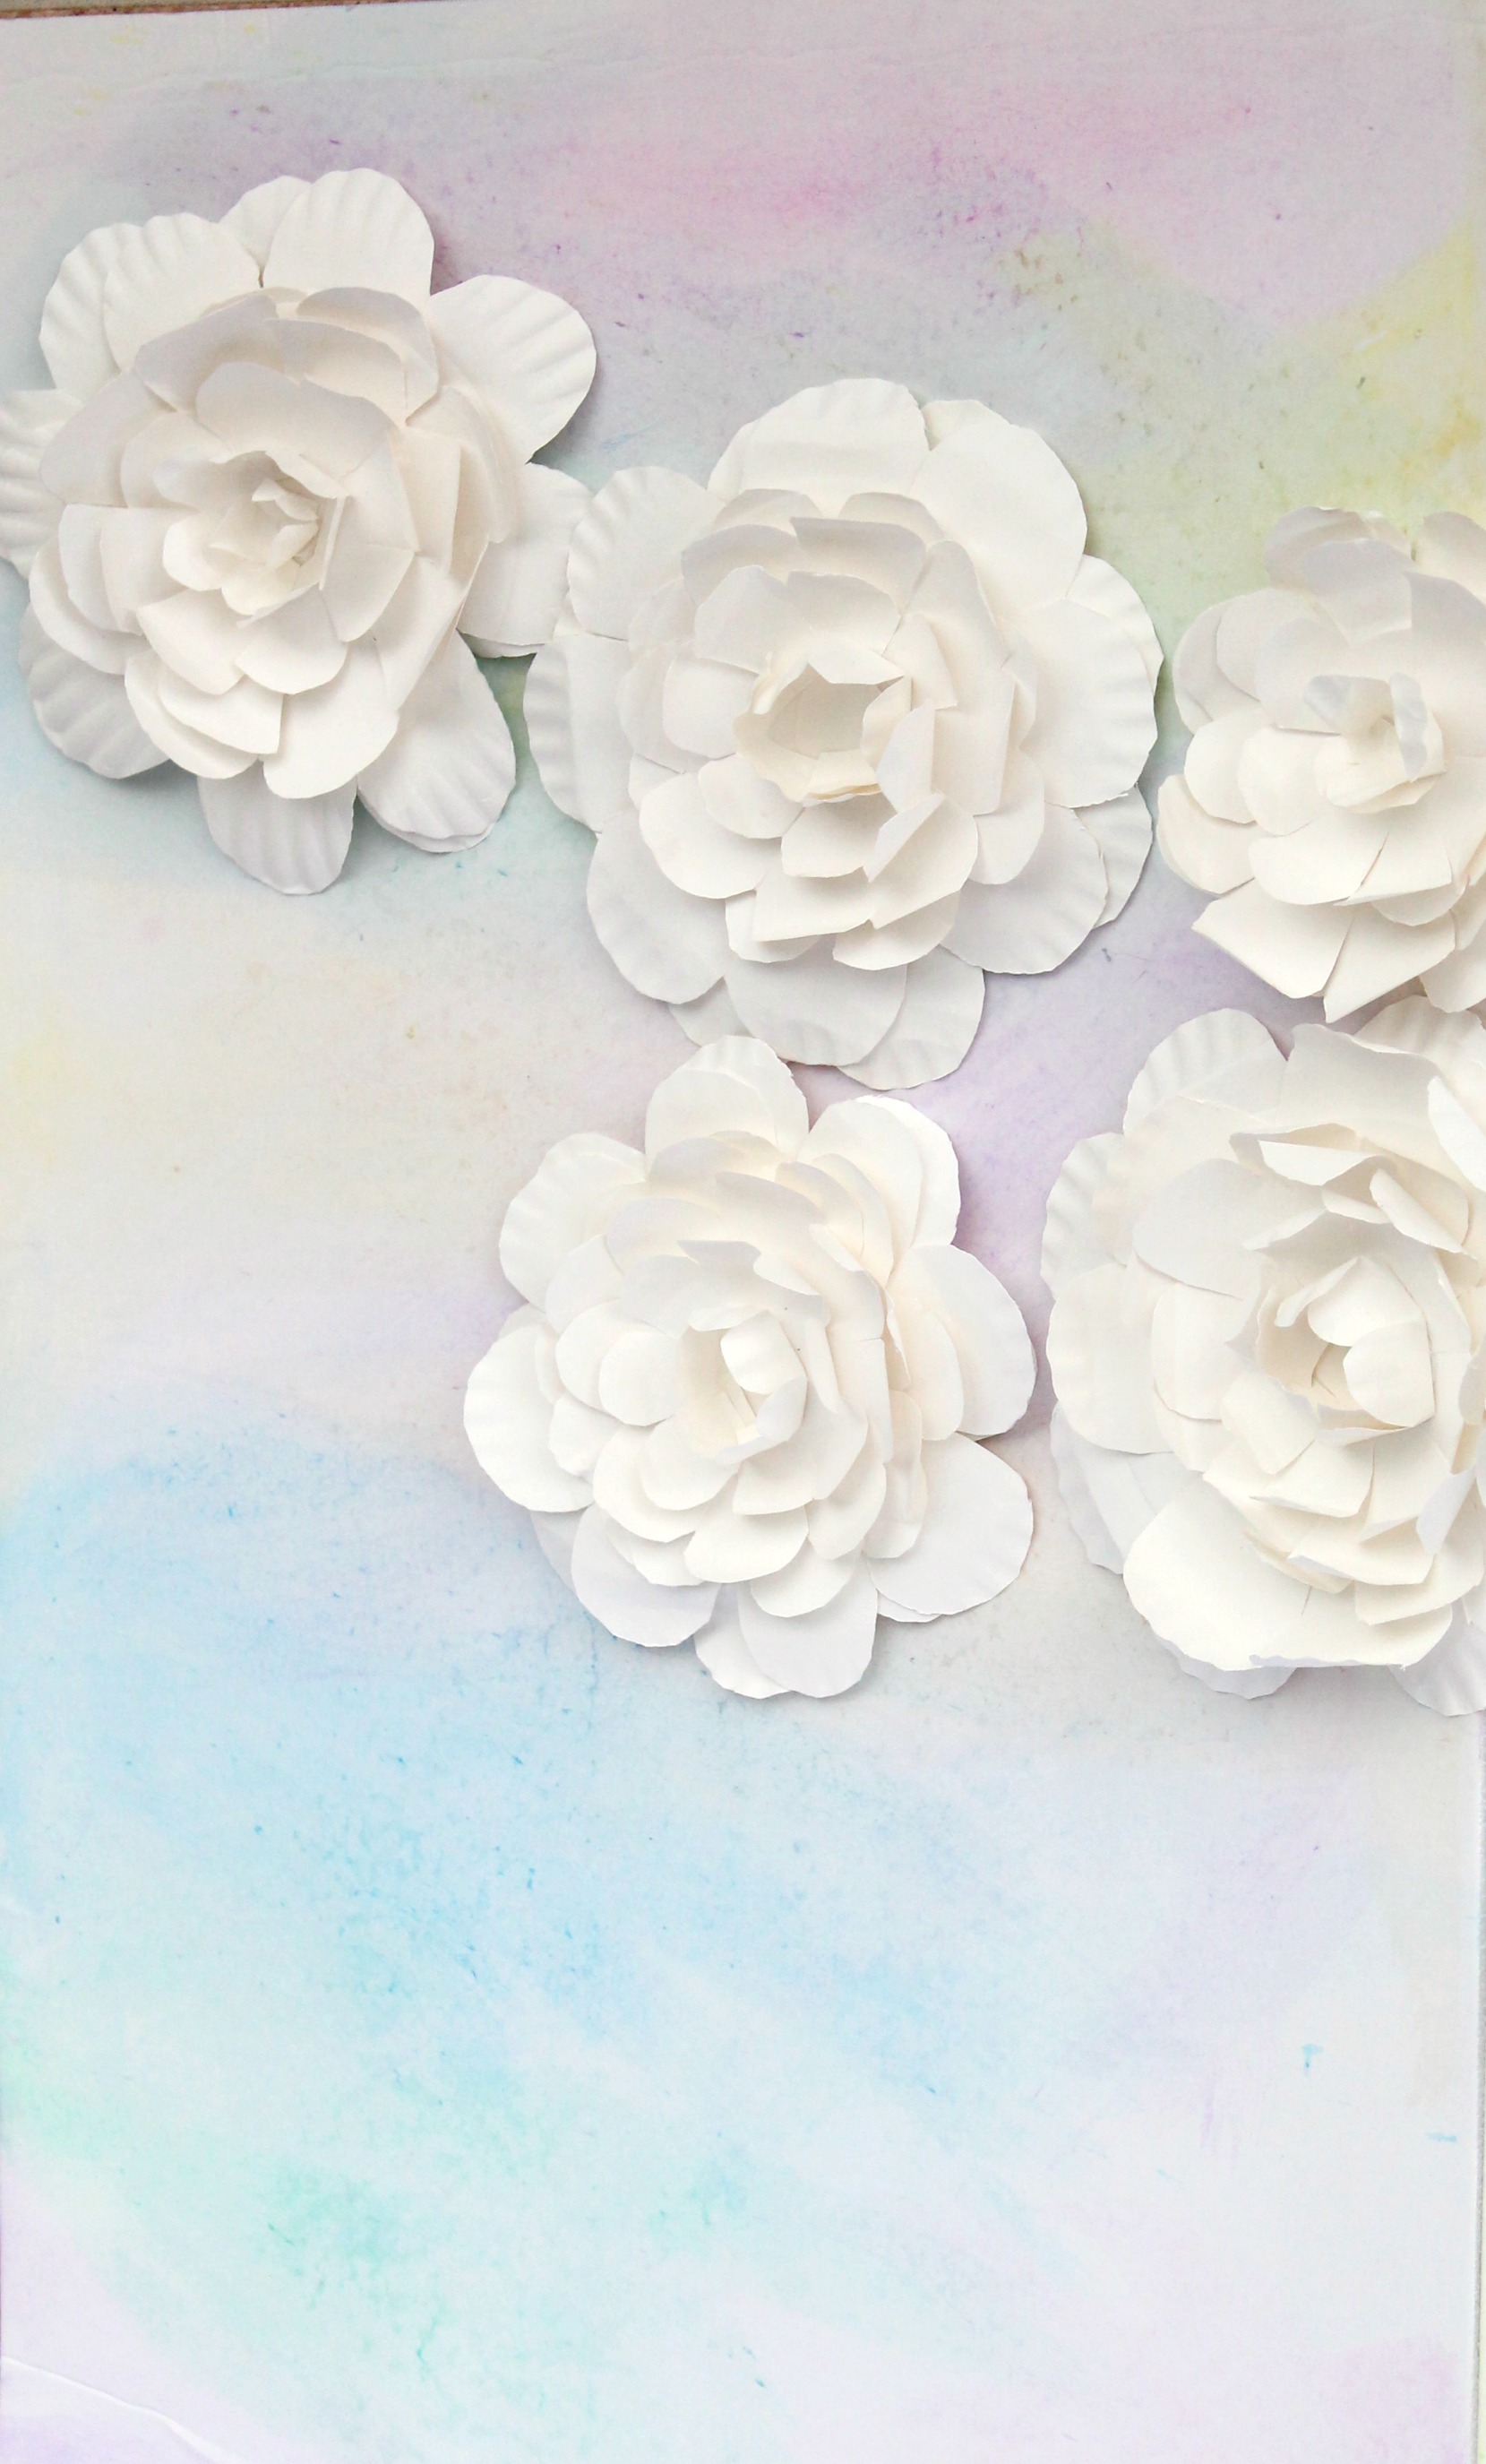
3. Watercolored Paper Plate Flower Backdrop – Using watercolors on foamboard (make sure you get the kind made with absorbent paper) I just created my own water color art. Then I attached my Paper Plate Flowers to the foamboard.
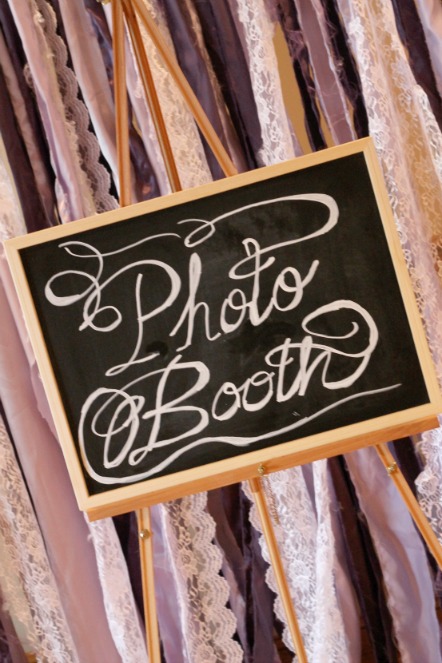
4. Ribbon & Lace Photo Backdrop – This was the photobackdrop my sister created for her wedding. Simply use strips of fabric & lace and tie them to a shower curtain rod or photo backdrop frame (find out how to DIY one here).
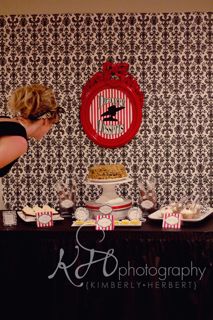
5. Mad Men Wrapping Paper Backdrop – This backdrop was simply a roll of wrapping paper taped (with double-sided tape) to the wall.
6. Low Country Boil Backdrop – This was a party my friend Michawne did (and it was awesome). She simply painted a piece of plywood & staged additional accessories around it.
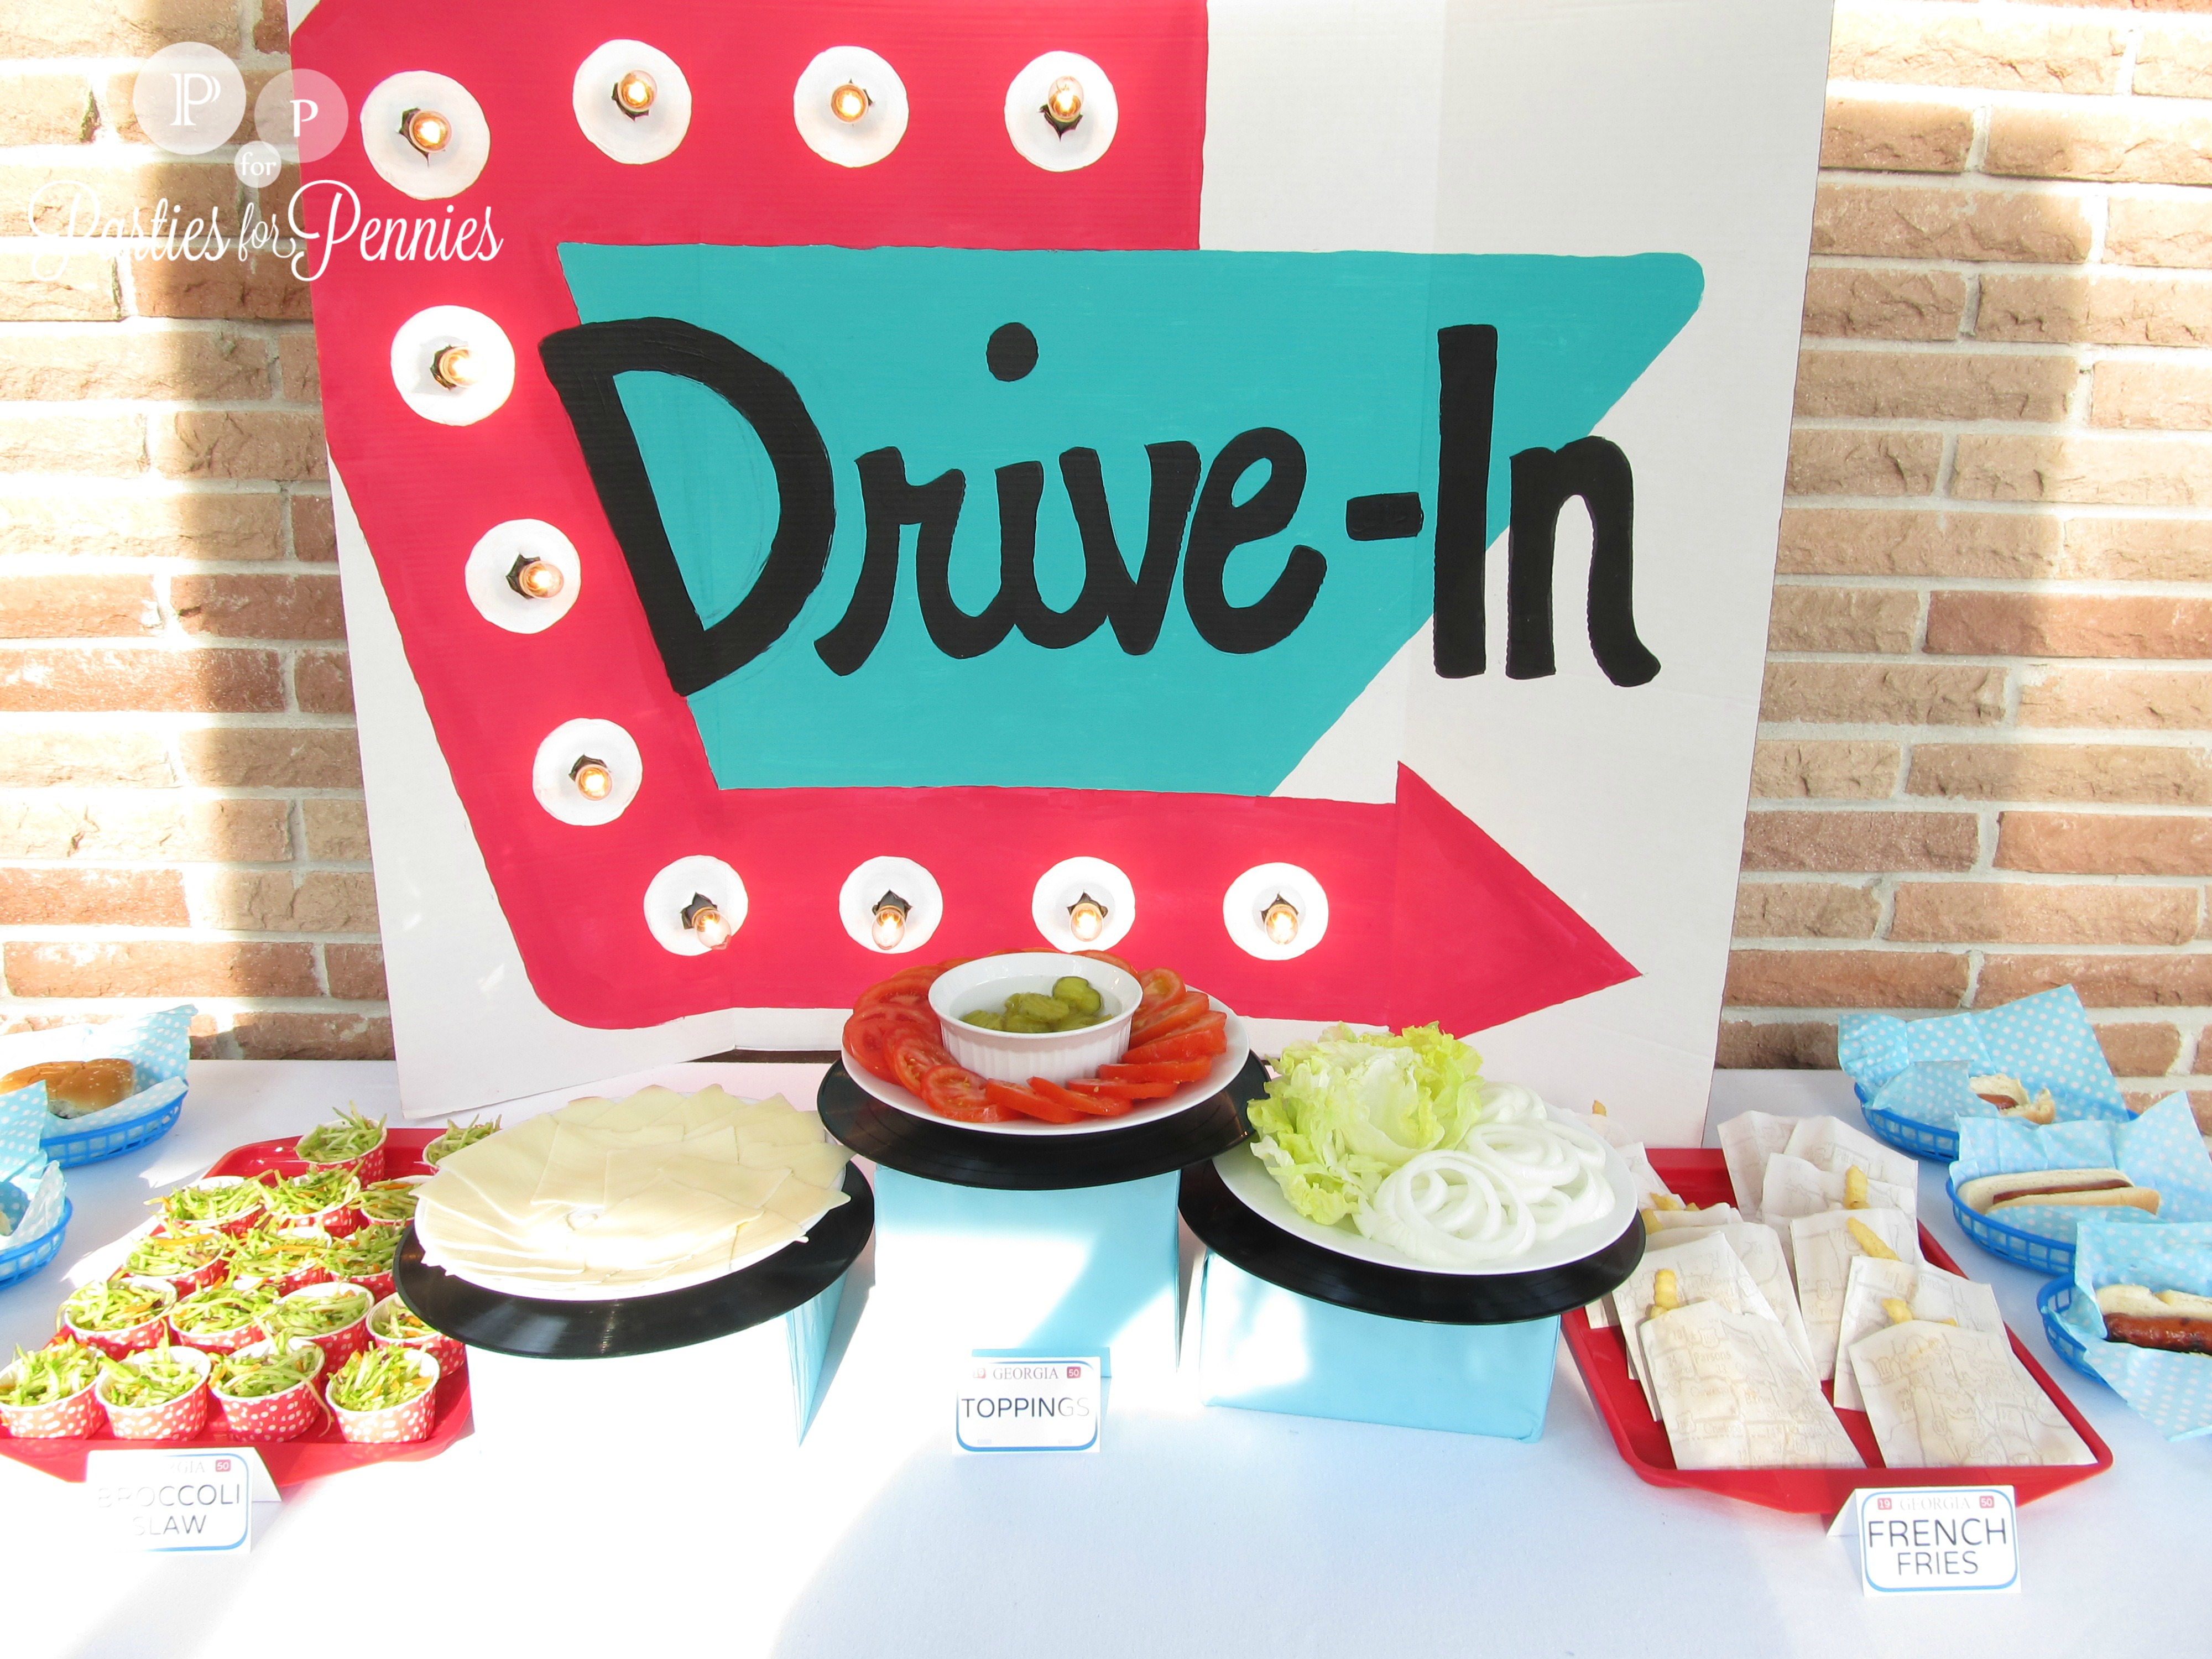
7. Light-Up Drive-In Backdrop – This may look more complicated but it’s really easy. I just free-handed the “Drive-In” sign (you could also get a large one printed off at a office supply store) then cut small openings equal distance apart from each other around the arrow. I used regular outdoor lights & secured them in the back with tape.
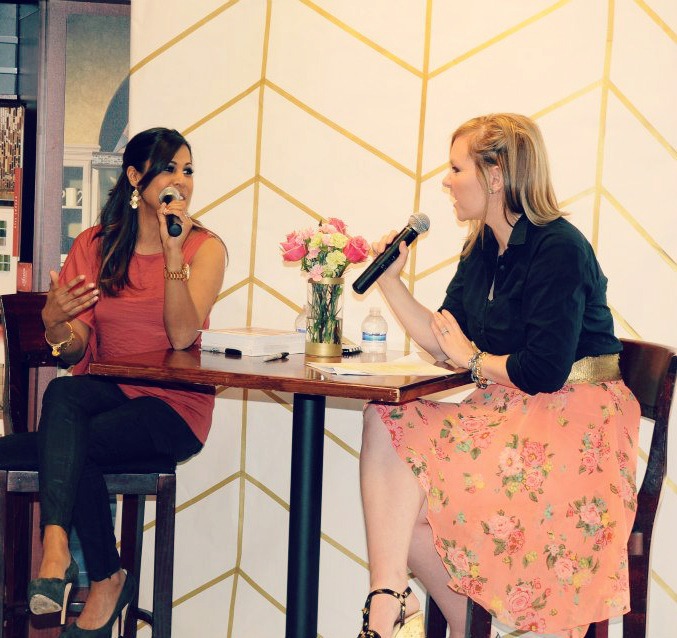
8. Herringbone Washi Tape Backdrop – If you want to stick with the easiest backdrop…go with this one! All you need is a large roll of white paper and washi tape (I used at least two rolls for this one but mine was huge – 7’x8′). With a pencil and yardstick, make a template for the tape. Stick on the tape & you’re done!
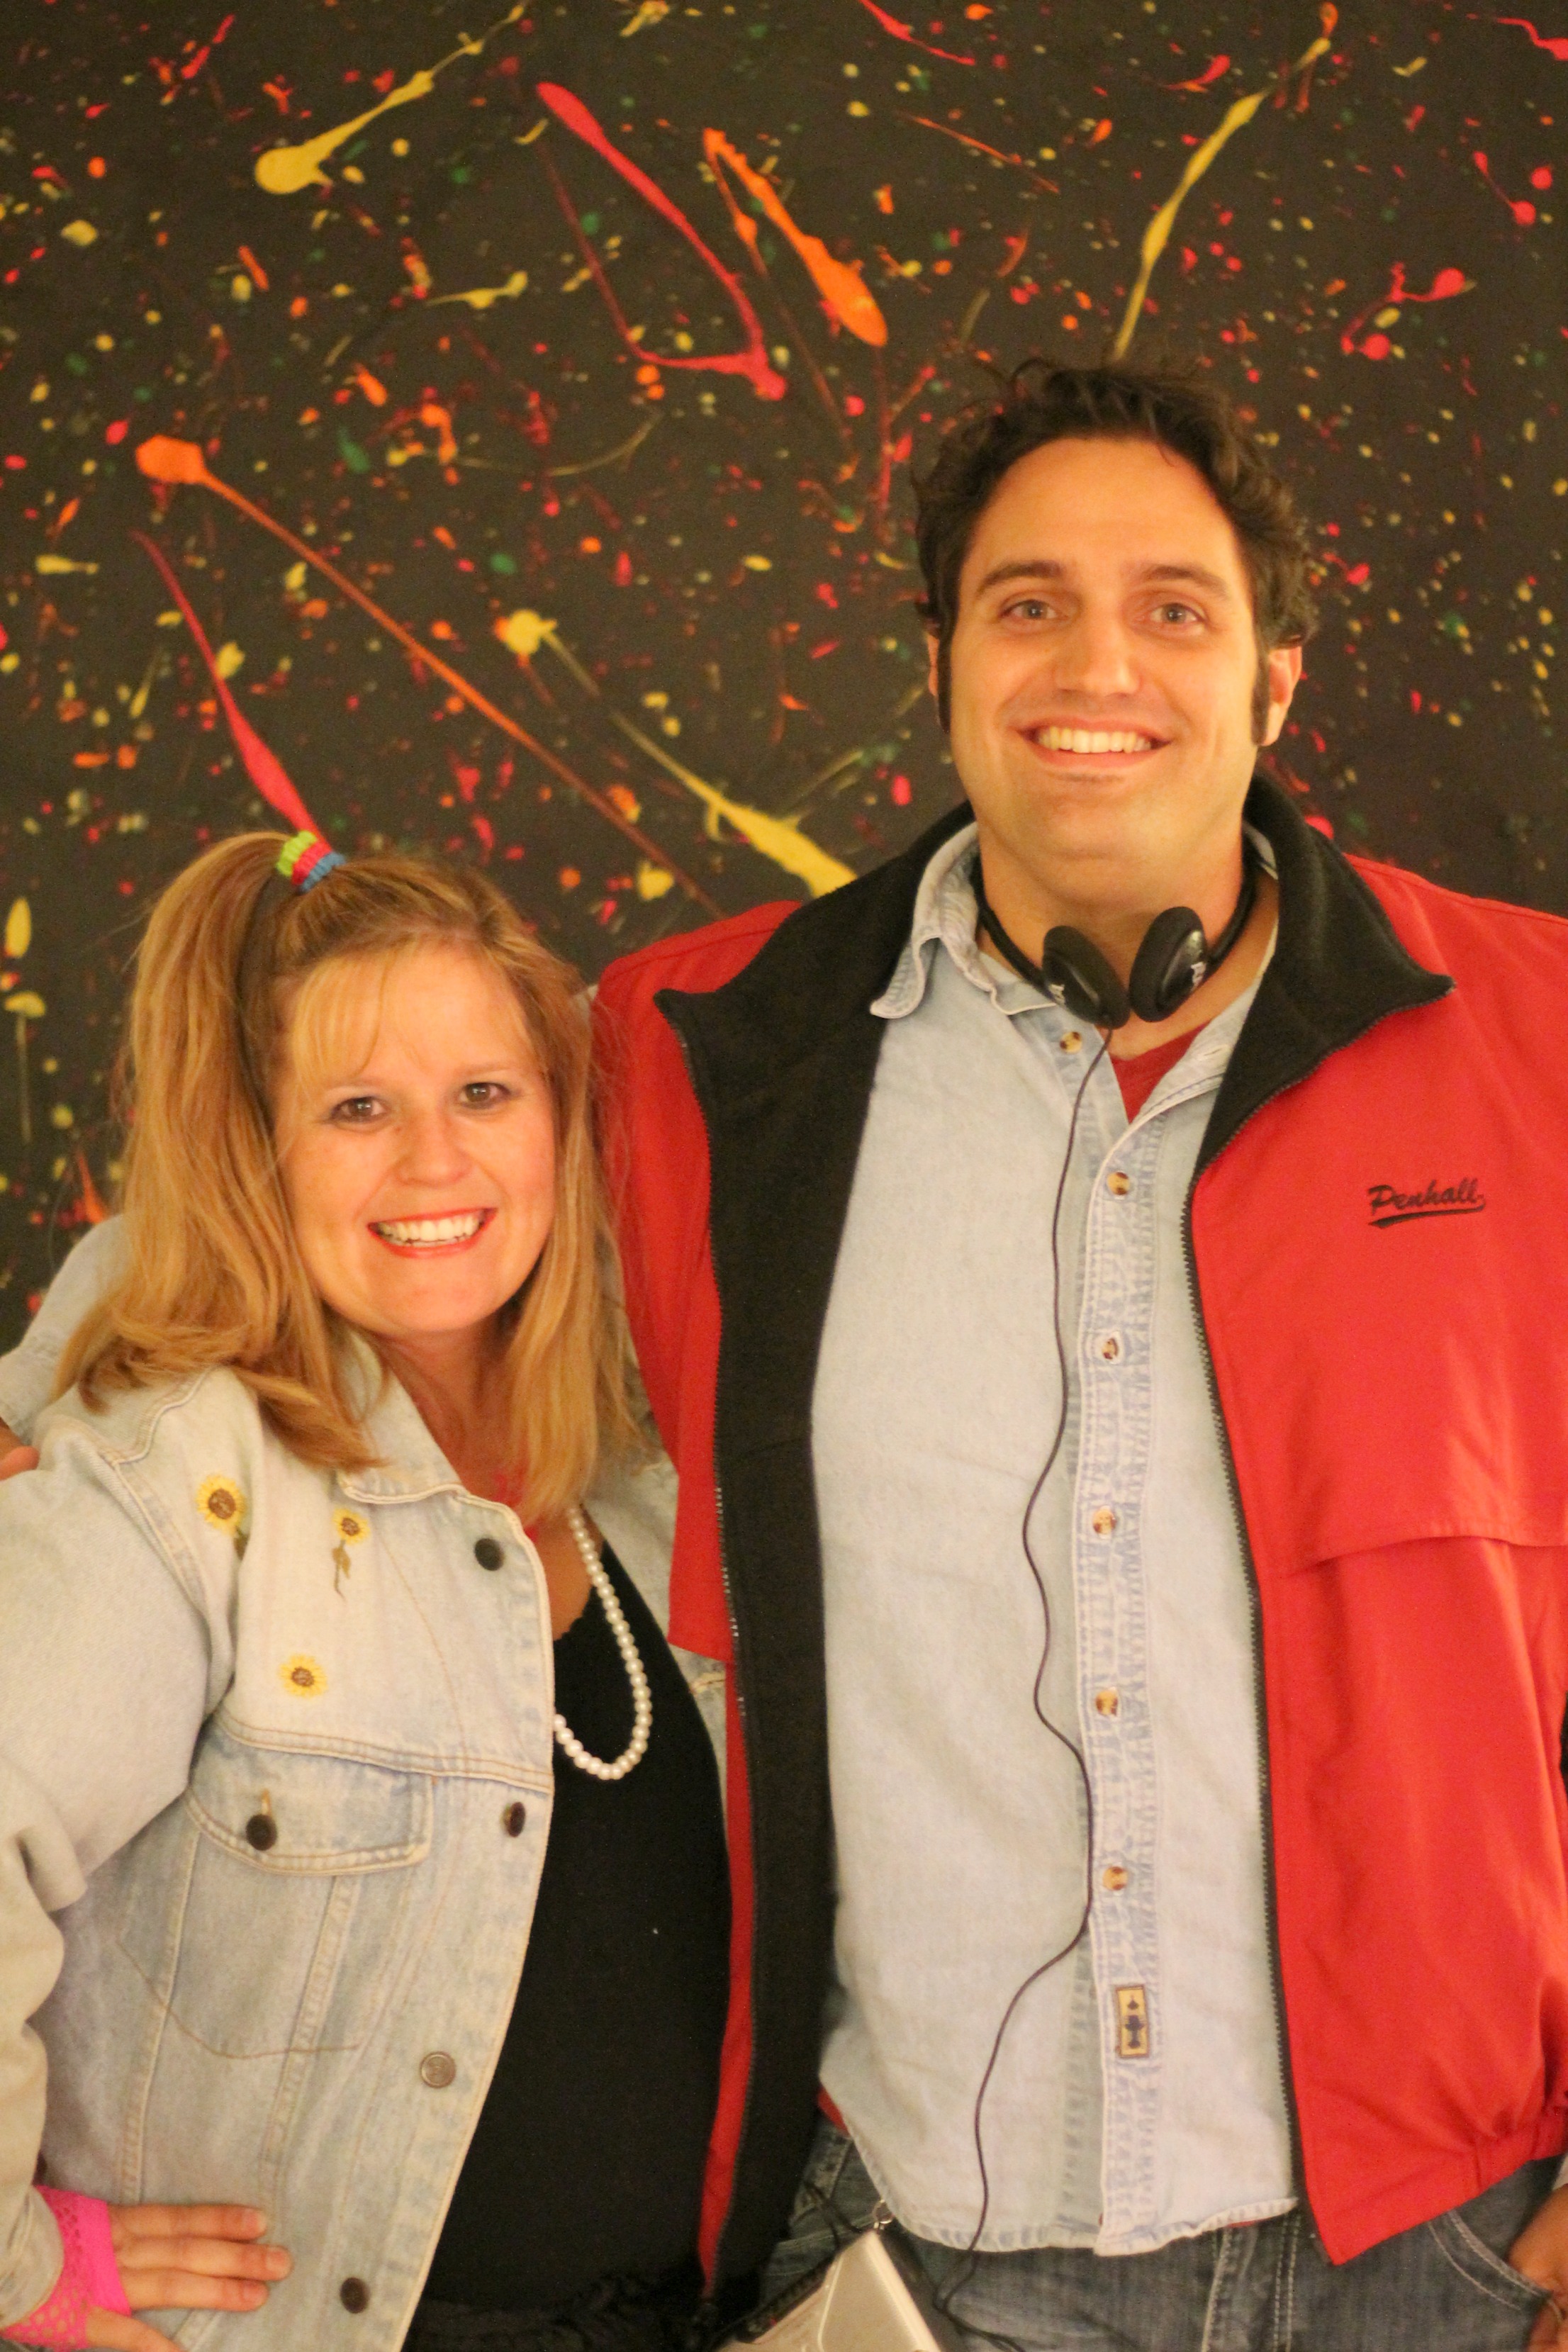
9. Splattered Blacklight 80s Backdrop – Just get a roll of plain black paper (you can find these at some craft stores, school supply stores & Amazon) and with blacklight paint, go to town splattering it!
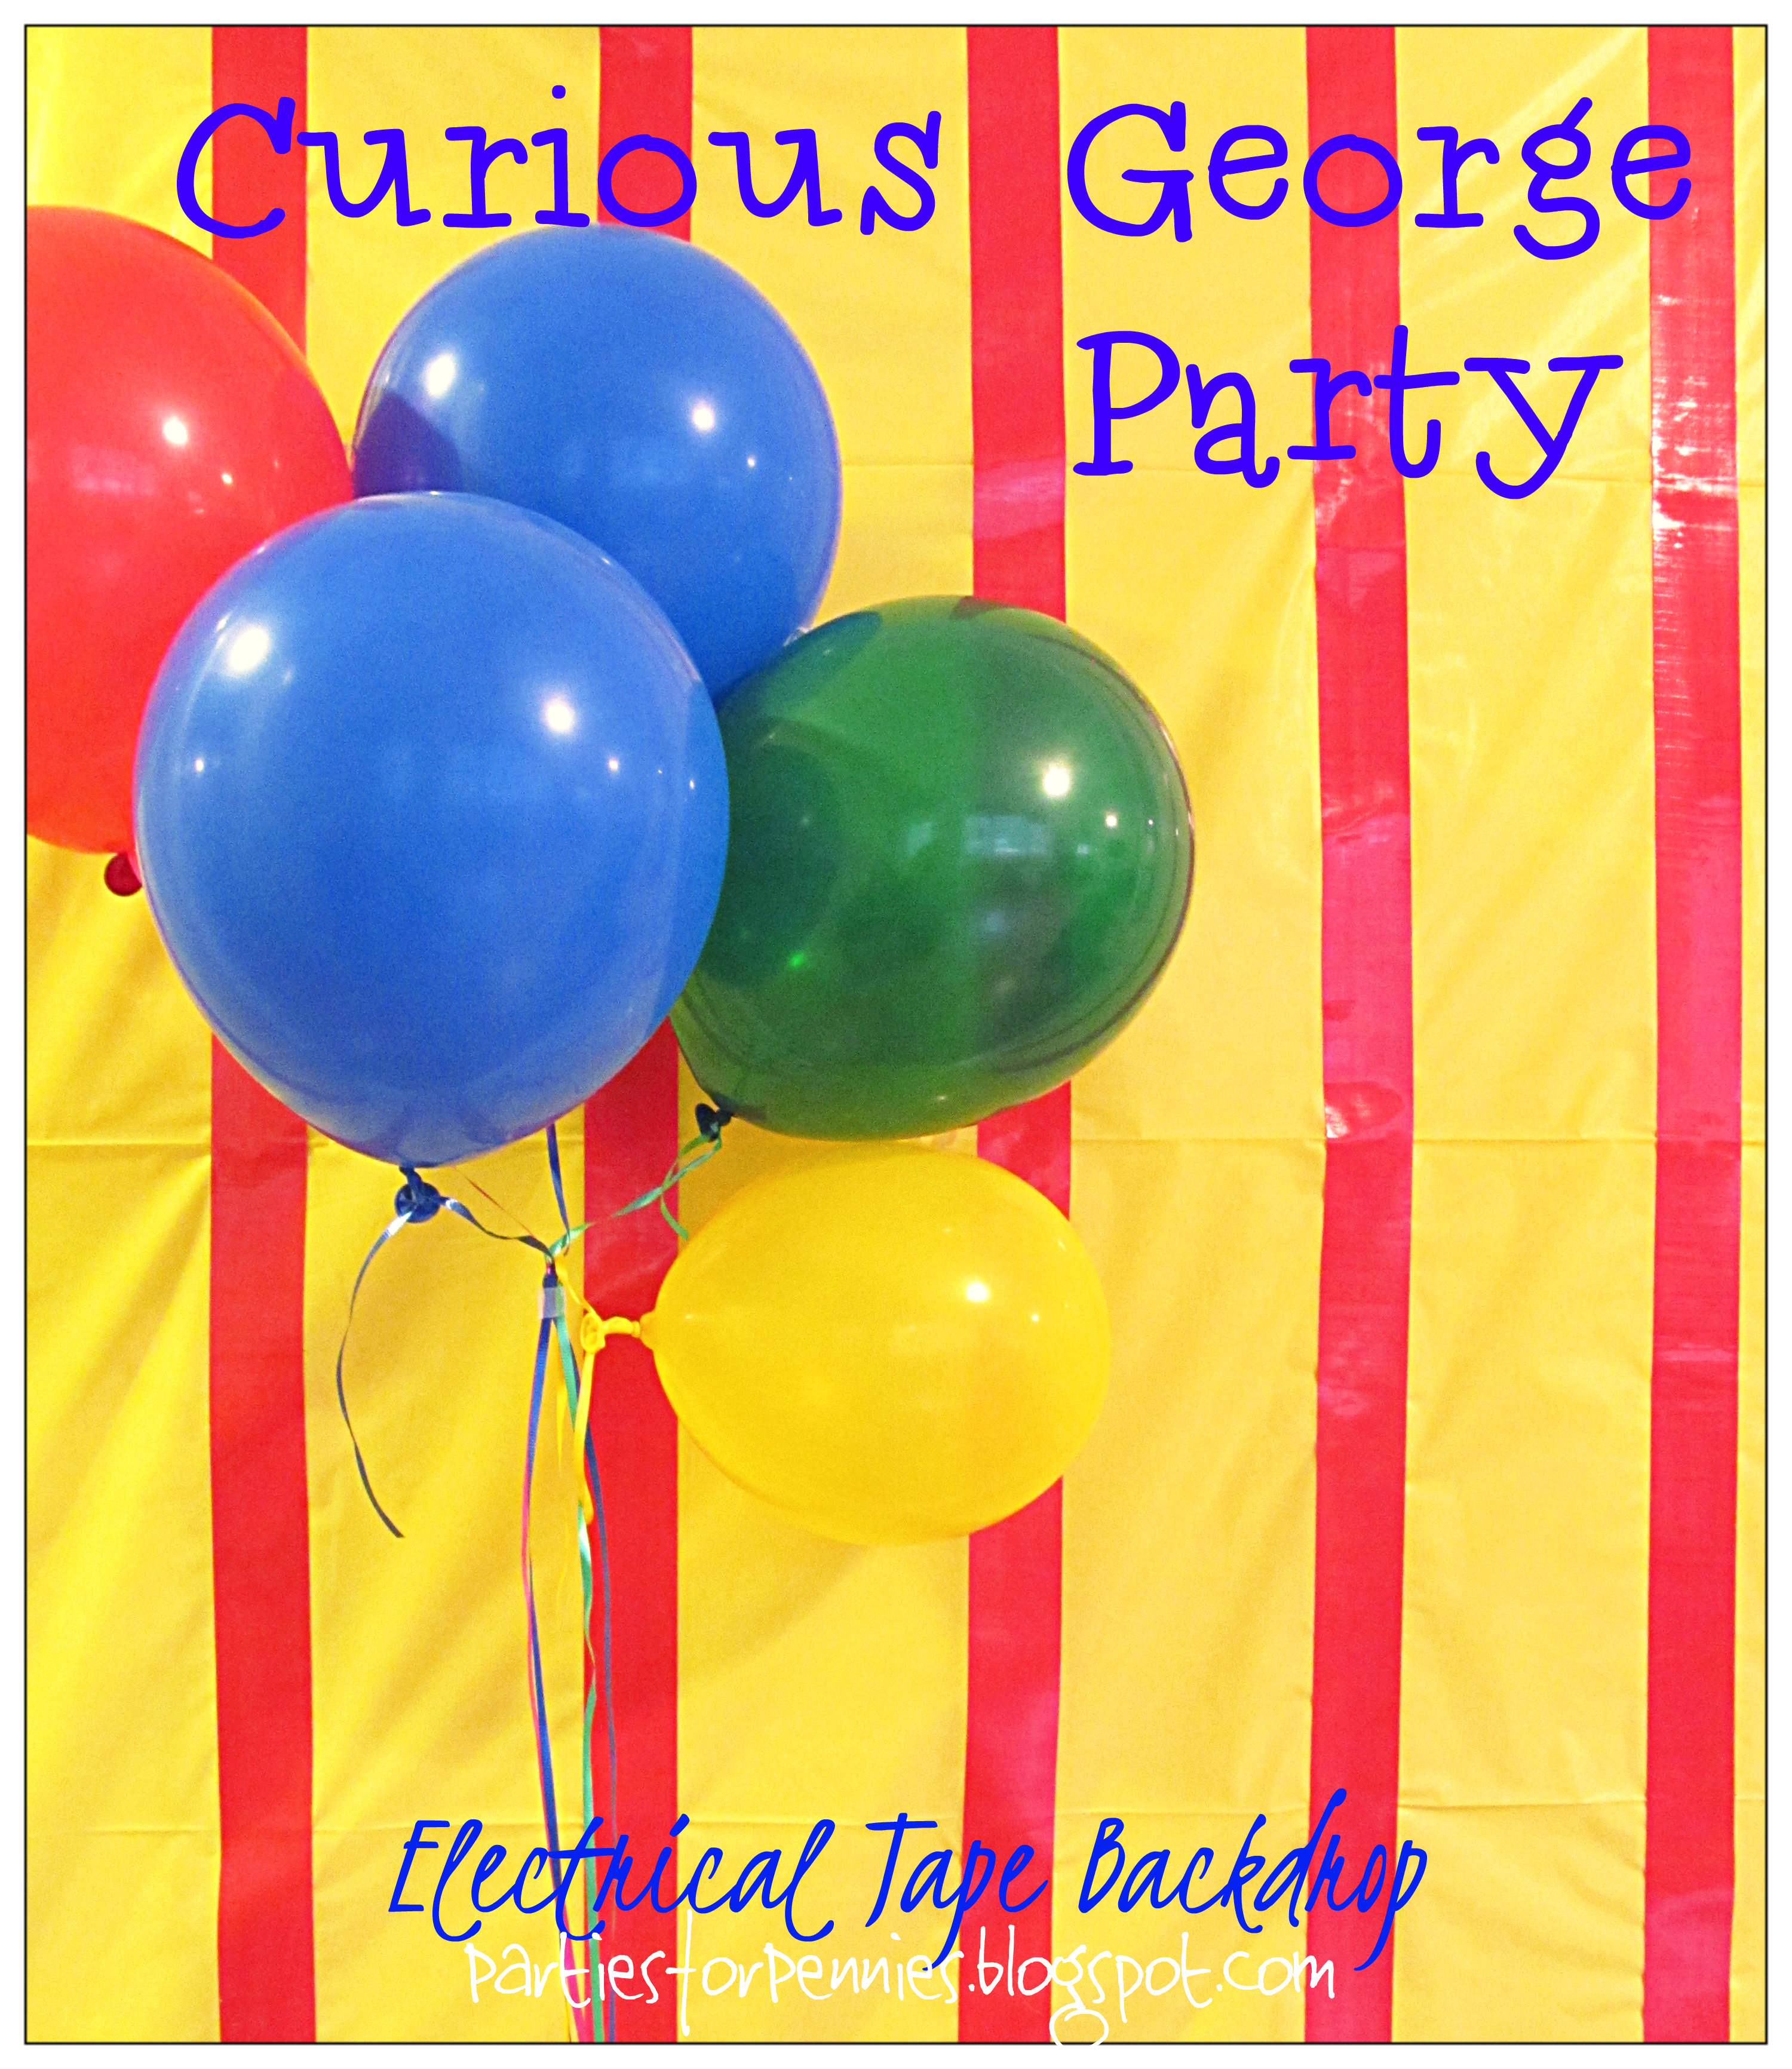
10. Plastic Tablecloth + Electric Tape Backdrop – Take a plastic tablecloth, lay it out & make sure there’s something securing it flat. Measure equal spaces between stripes, then take the electric tape & adhere it to the tablecloth.
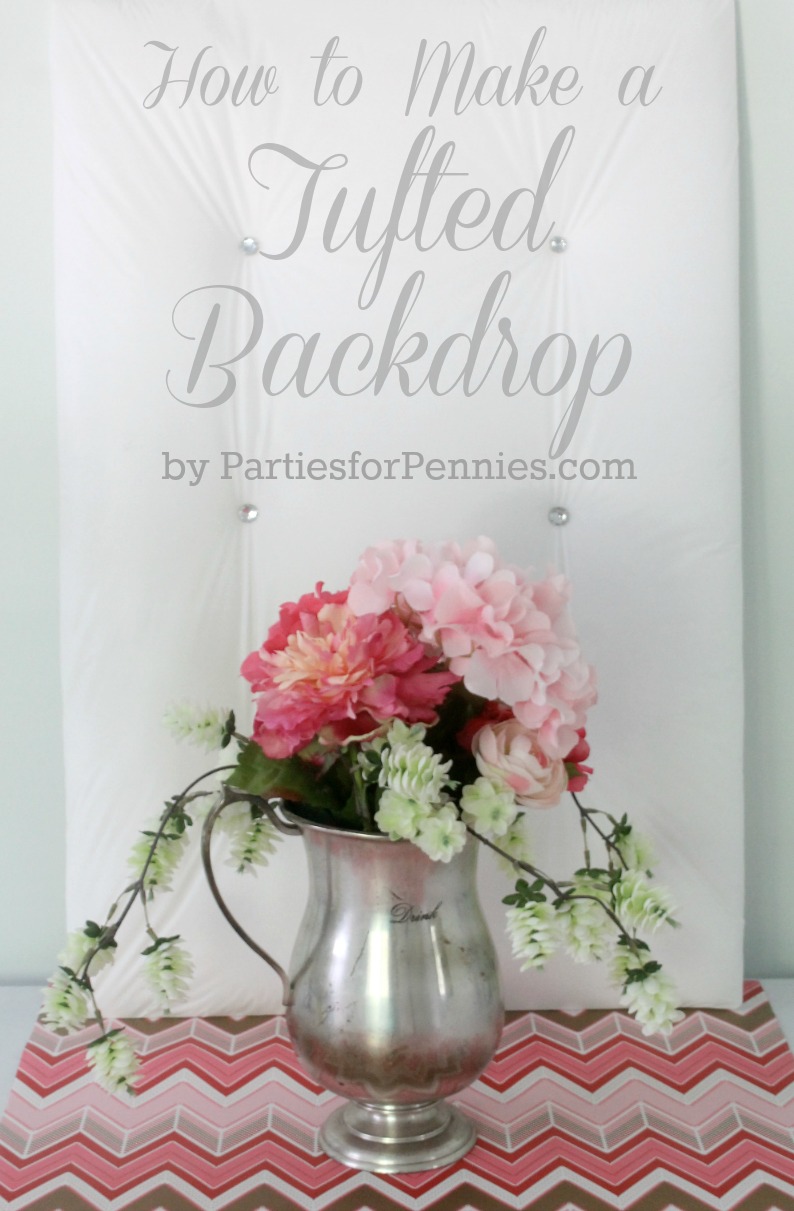
11. Tufted Backdrop – This is a beautiful backdrop that can be used for any glam party: spa party, breakfast at Tiffany’s, princess party, etc. It takes a little more explanation but I put together a little video tutorial that you can see here.
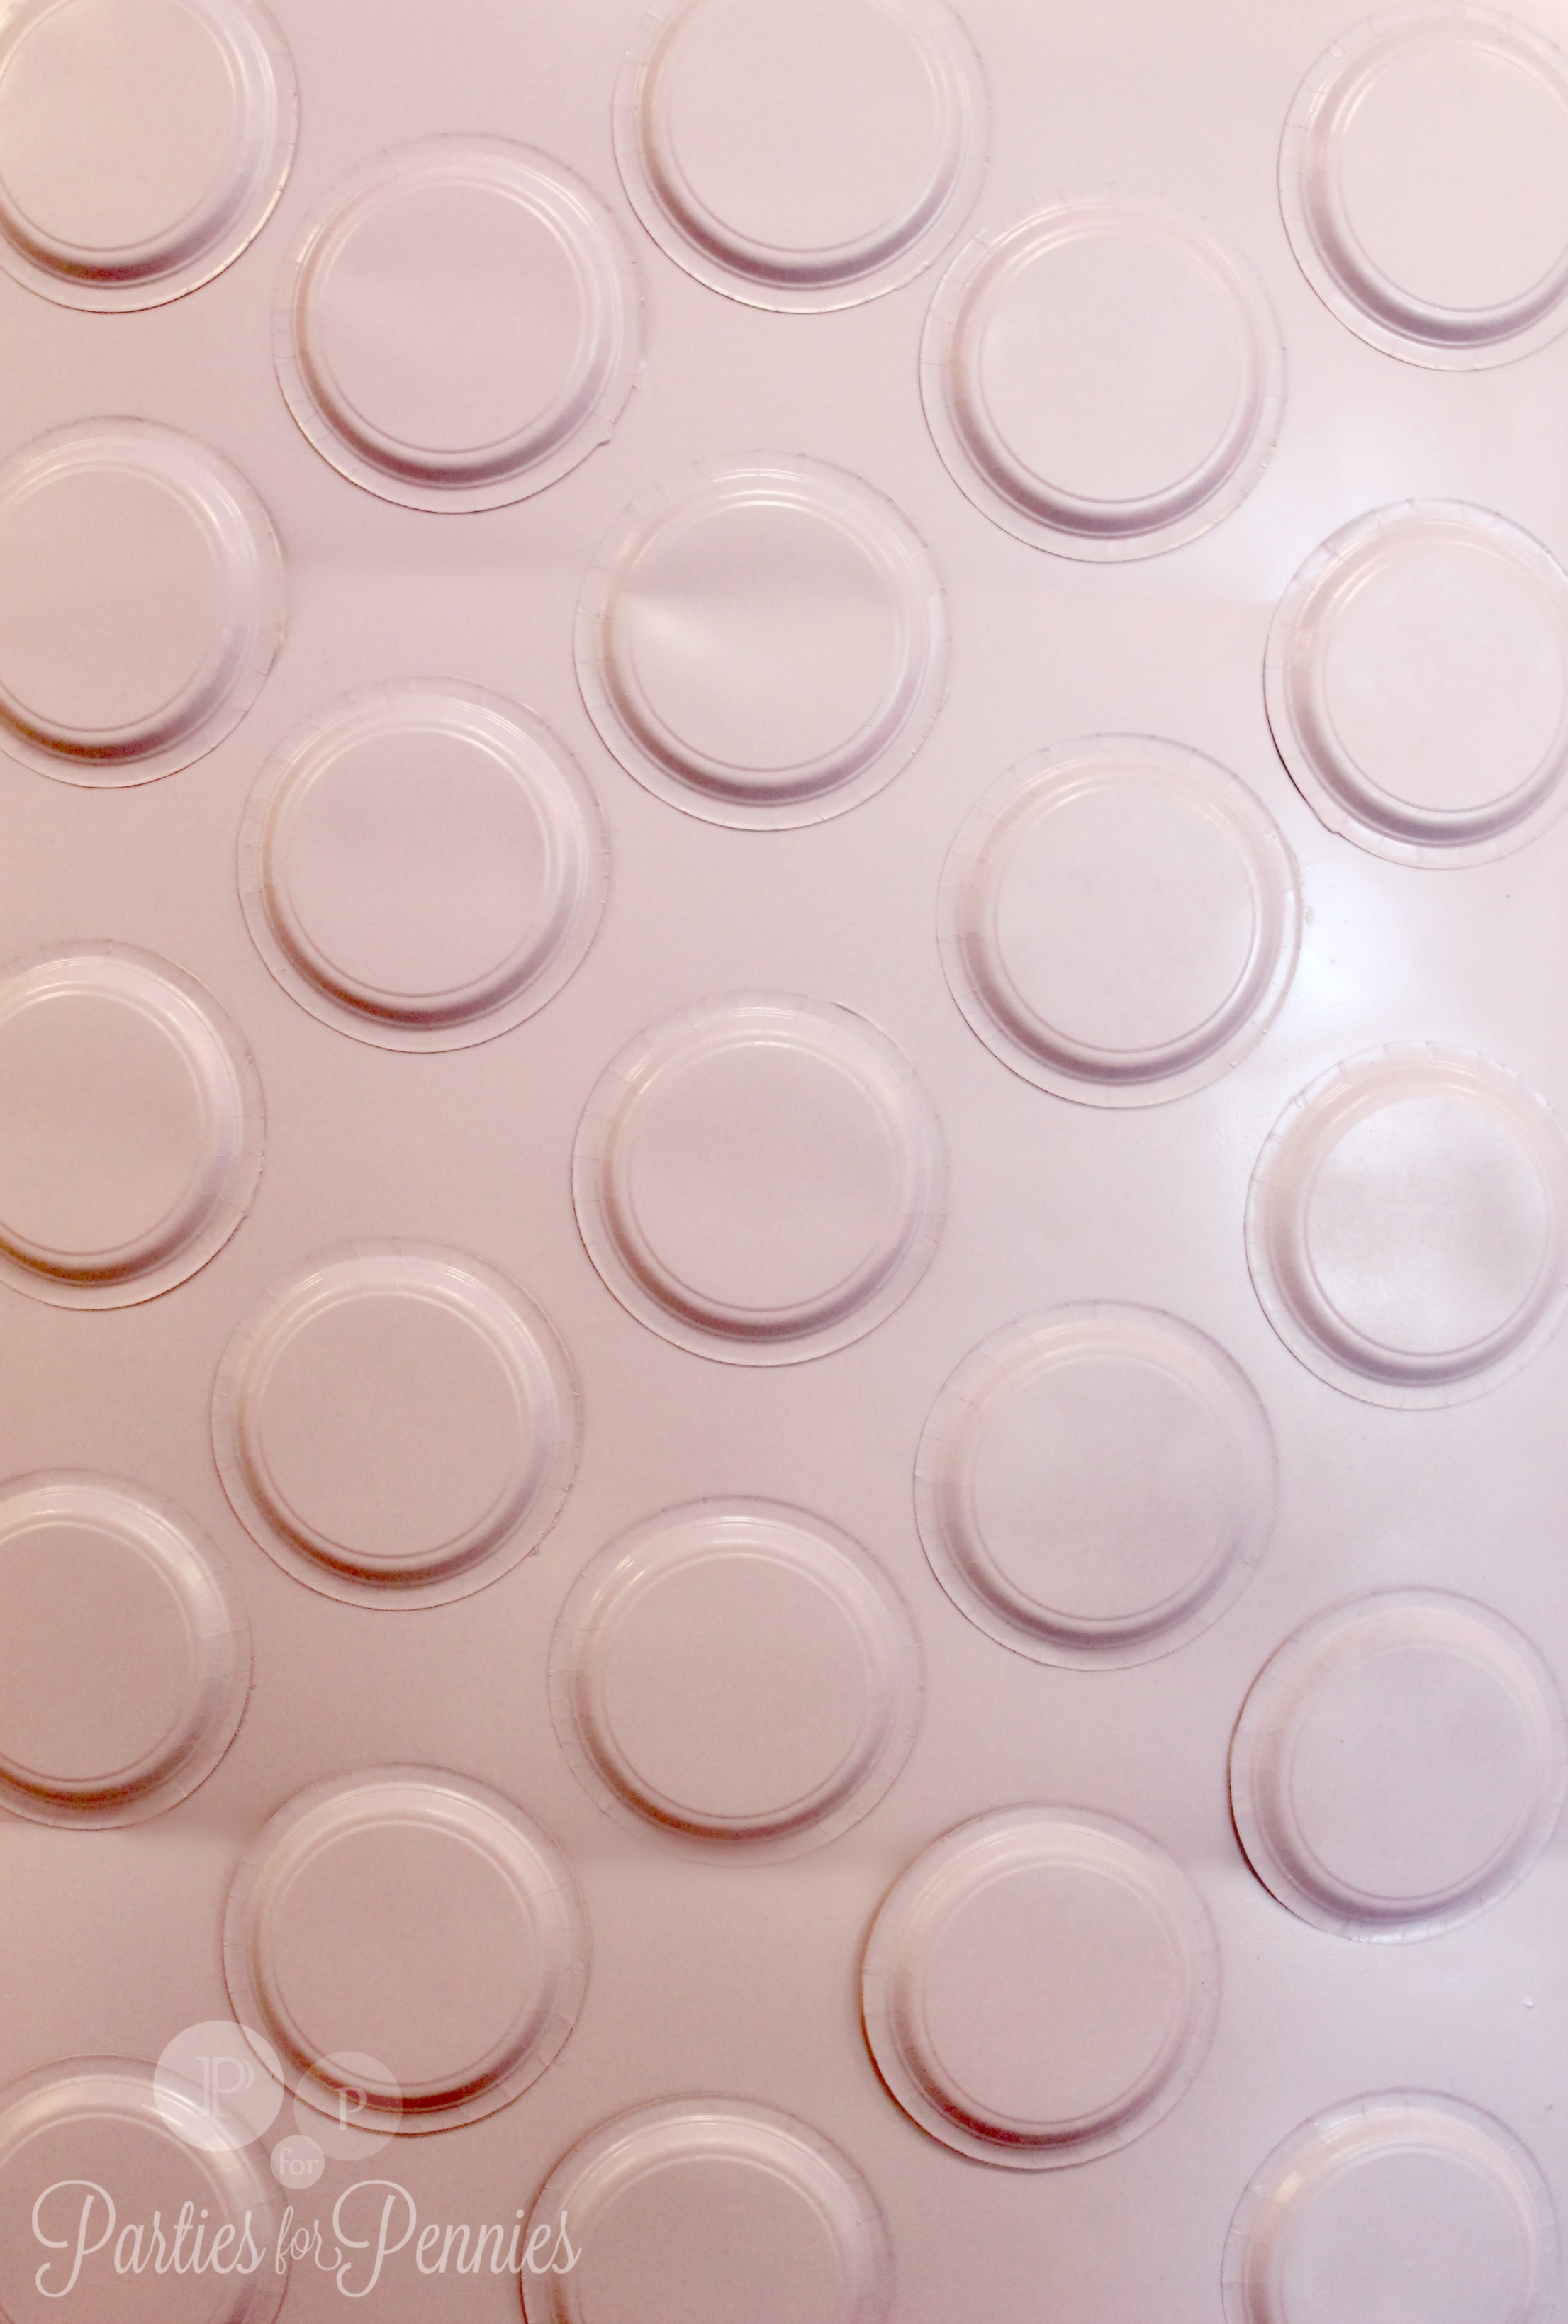
12. Paper Plate Backdrop – Just round up a foamboard, glue gun, paper plates & spray paint. Adhere the plates to the foamboard with the glue gun, then spray paint it any color you’d like.
Hope this has inspired you to create a unique backdrop for your next event. Have a great weekend! I’ve got a fun giveaway for you next week! Until then…party on!

p.s. This is YOUR official invite to the party… join in on the Parties for Pennies Facebook page, Twitter, and Pinterest!
Linking Up To:
Celebrations at Home, The Celebration Shoppe & Bird’s Party Link Party


Hi, where did you get the large rolls of white paper from for the herringbone project?
Hey Cyd! It was awhile ago that I did this, so I can’t remember. I’m guessing I probably bought it online. Here’s a 4 ft wide roll that may work: https://amzn.to/2EnN4k7