* Disclaimer: This post contains sponsored links by PercyVites but all opinions and projects are my own.
Hey party people!
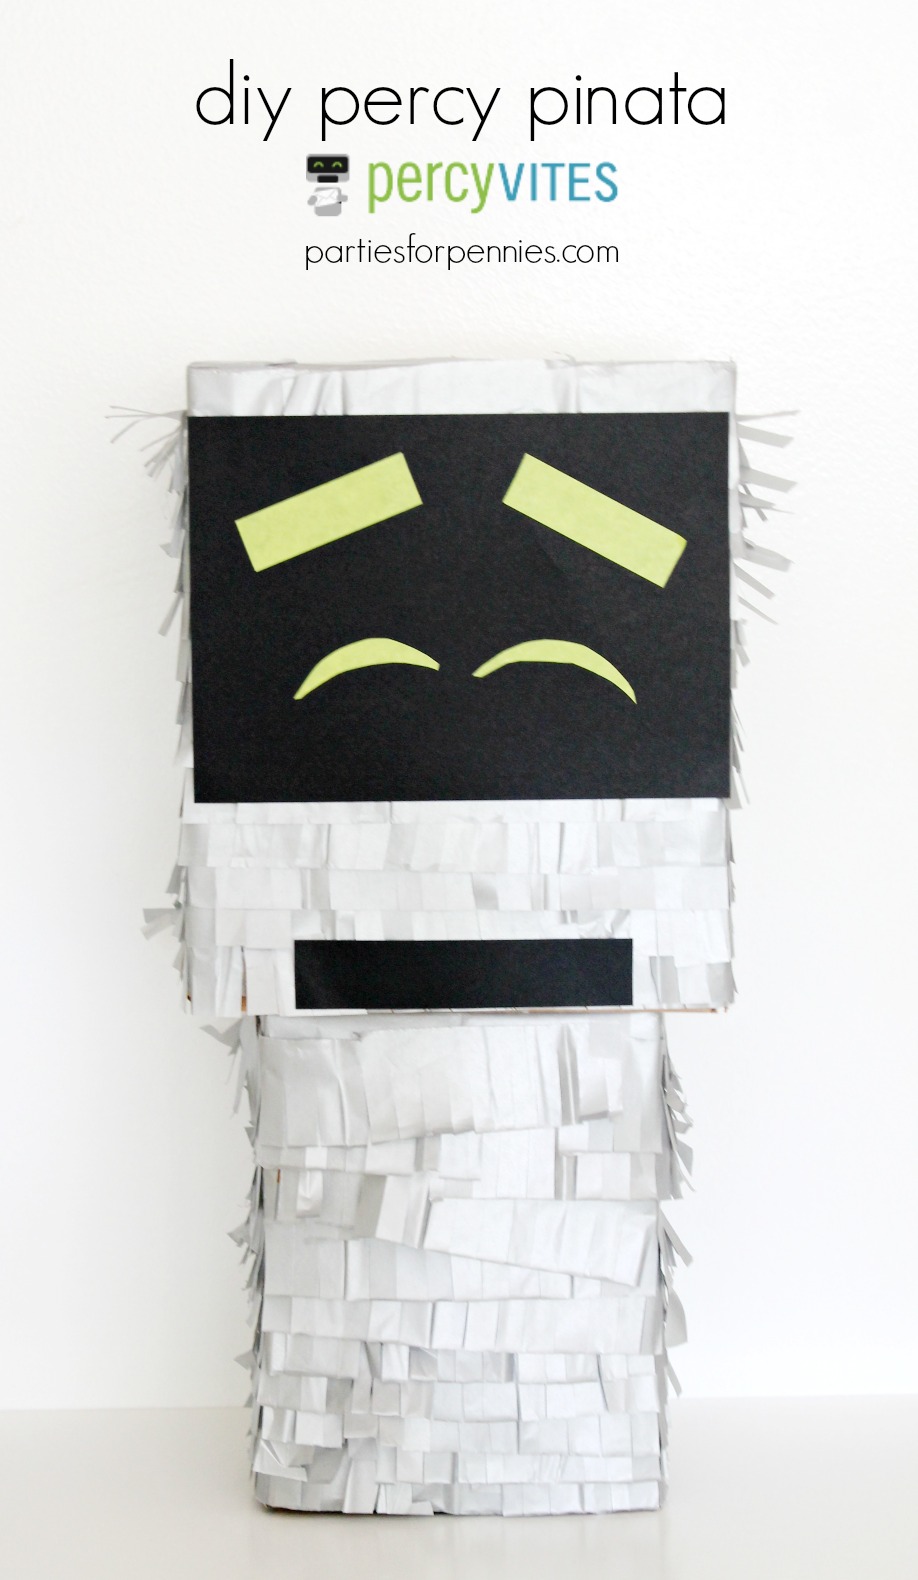
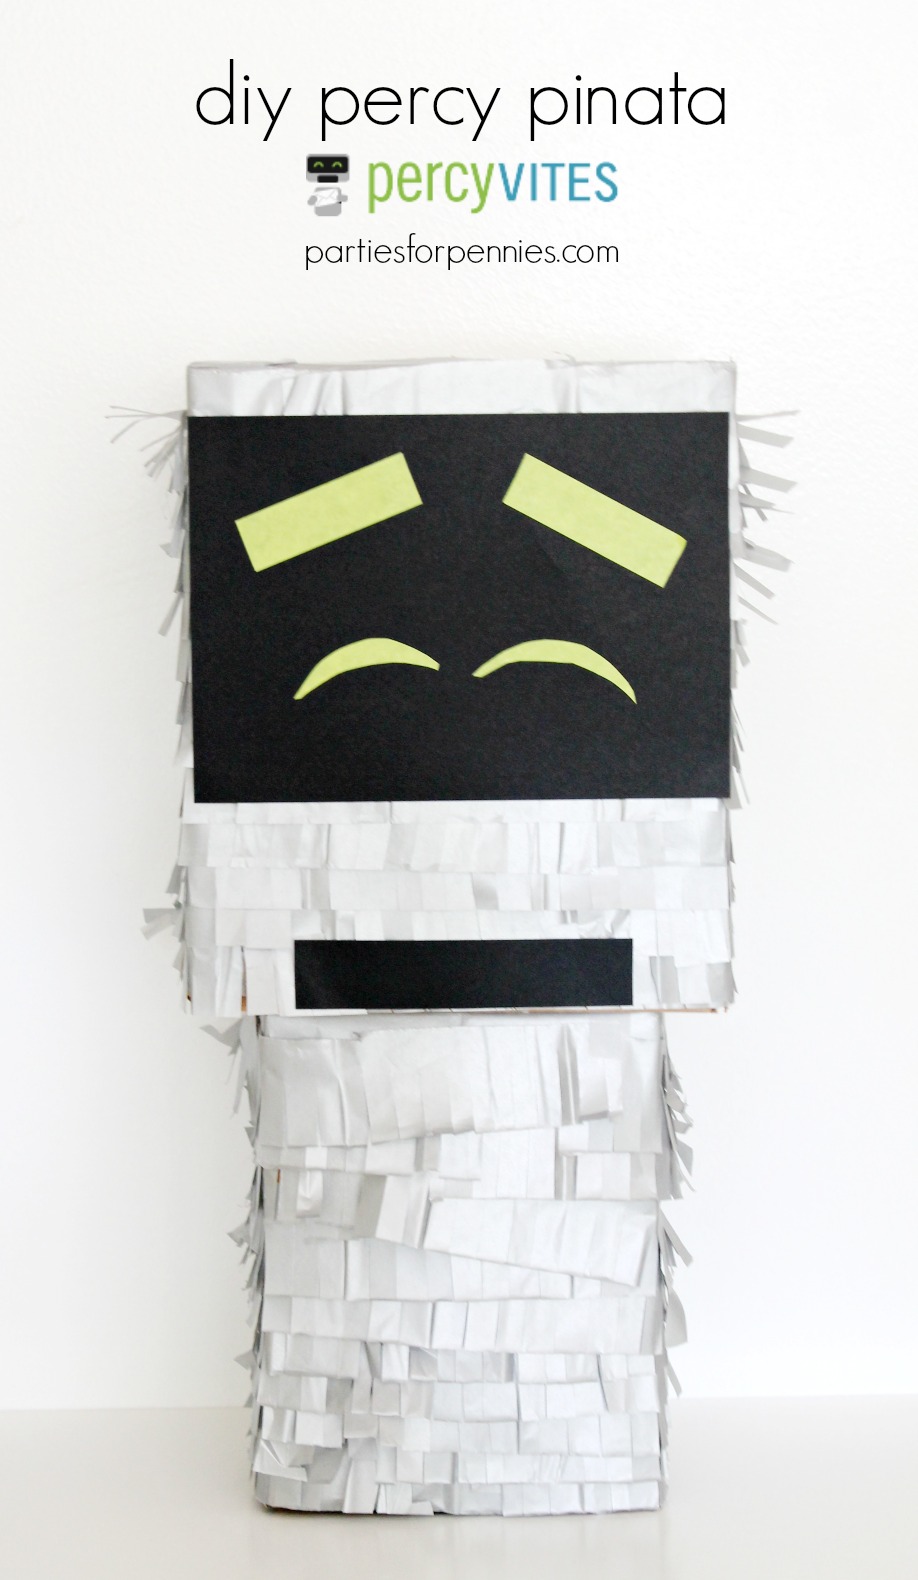
What says a party more like a big box of candy that you try & hit to break open?? Pinatas are par for the party course but they can really add some $$ to your party budget. Instead, DIY one! This is a really easy pinata that anyone can do! No paper mache necessary. And the best part? It’s a PercyVites Percy Pinata!
(To see how to DIY a Percy Party Plate, check out this)
Here’s how to make a robot pinata…
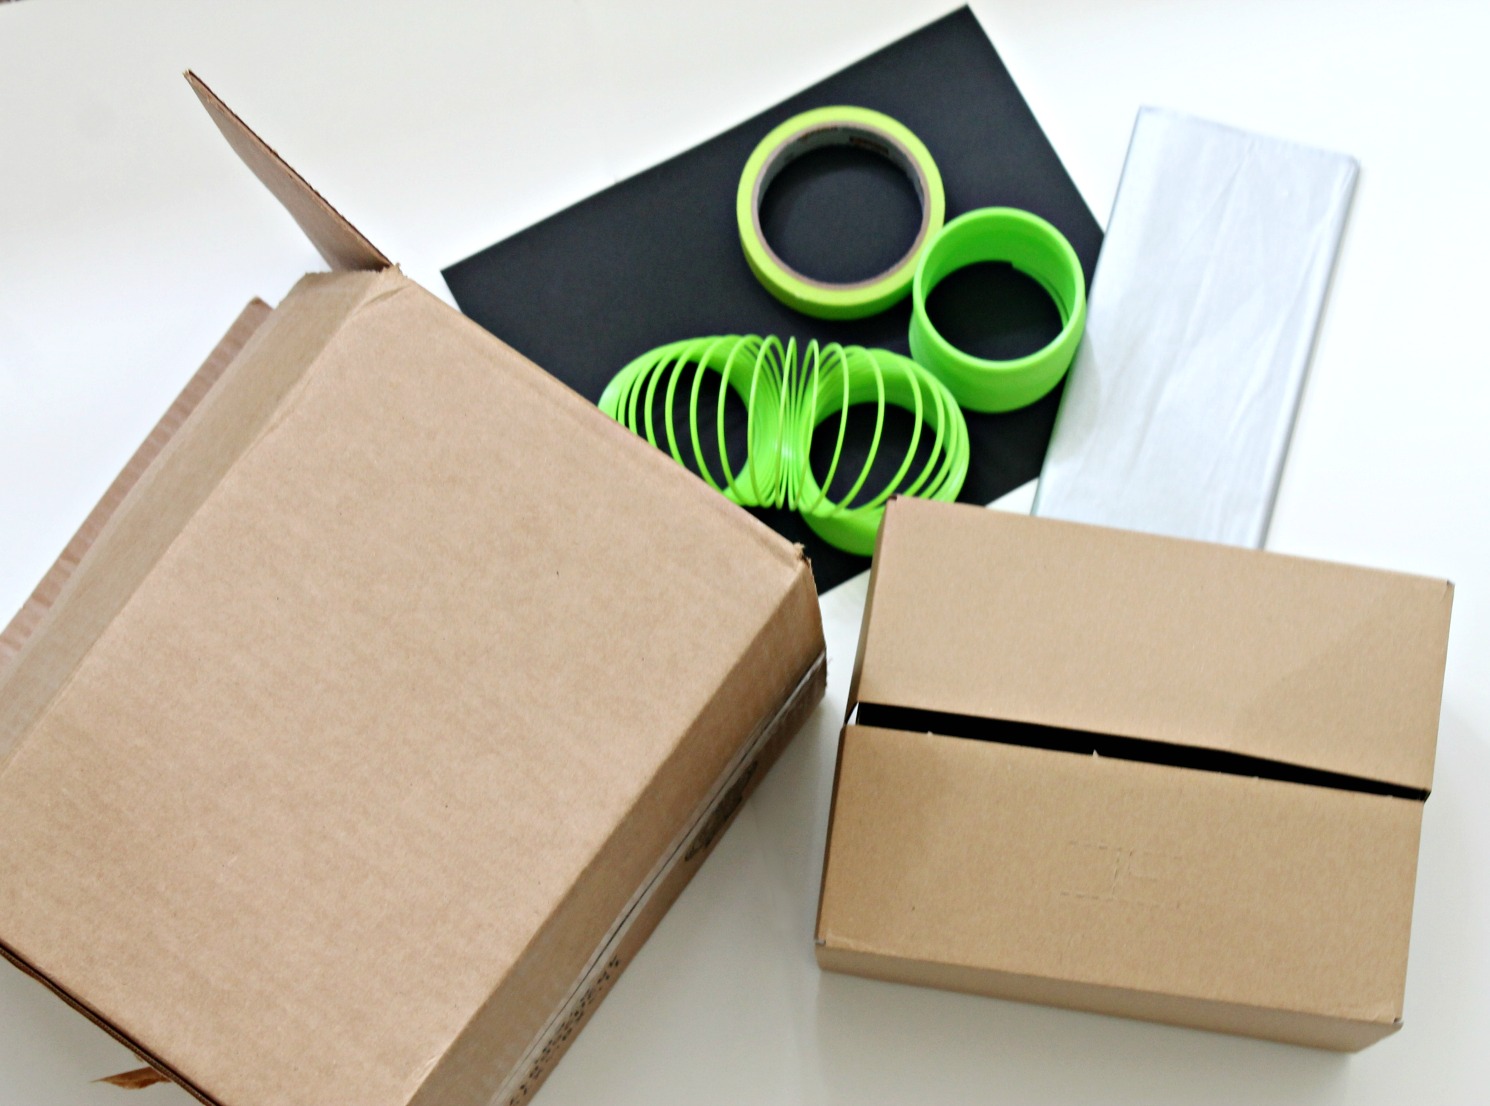
This is what you need to gather (some of it you probably already have around the house):
Materials:
Two boxes (one larger than the other)
Gray or Silver tissue paper
Tape
Black Cardstock/Construction Paper
Green Duct tape/Scotch tape
Scissors
And…of course…candy!
* I thought I was going to use the slinkys as robot arms but thought it looked better without them. However, if you want to add them to yours, it’d be a fun touch.
Step 1: We first need to attach the two boxes together. We’re going to use the larger box for Percy (or the robot’s head) and the smaller one for his body. Instead of using glue or tape, I used a ribbon I had. Simply poke it through the bottom of the larger box with some scissors. Poke another piece of ribbon on the top of the large box. This will allow you to hang your pinata.
Step 2: Tie a knot at the end of the ribbon. Take the ribbon that you just poked through the bottom of the large box & poke it through the top of the smaller box. Once you pull the ribbon through & make sure the large & small boxes are tightly secure, tie a knot to secure the bottom box.
*As I’m typing these steps, I realized they seem much more complicated than they actually are…I’m sorry. If you have any questions about this, please don’t hesitate to email me (heidi@heidirew.com), comment here, or message me.
Step 3: Save a couple pieces of candy for yourself…then fill the boxes with candy.
Step 4: Tape the boxes closed. I did this with regular wrapping paper tape and I didn’t tape it up really well because I want the candy to break out of that opening.
Step 5: Cover the top, middle (as best as you can), & bottom of the box with your tissue paper. I used tape on this whole project. You could probably use a glue stick, as well.
Step 6: Cut a 3″ to 4″ strip of tissue paper. I tried to layer the tissue paper so I could get as many pieces as I could.
Step 7: Along that strip of tissue paper, cut small strips along the whole piece. Don’t cut all the way through. You’re just trying to create a fringe.
Step 8: Starting at the bottom, tape or glue the strips all the way around. Layer your fringed strips until they cover your robot/Percy.
For Percy’s face, follow the instructions for this DIY Percy Party Plate.
He’s almost too cute to hit. ;p
PercyVites is an awesome personalized video invitation company! You & your child get to choose from several different characters: Percy, Cailliou, Johnny Test & Arthur. A video party inviation will be created with your child’s name in it as well as the guest.
The best part? It ends up to be cheaper than sending invitations! Only $0.99/invitation and PercyVites keeps track of all the RSVPs and guest list for you. Isn’t that awesome?
Even if you’re not planning a party right now for your child, keep up with PercyVites through their facebook, twitter or Pinterest (or pin this page for later).
Hope you have a confetti-filled weekend! Got some fun stuff coming up…get sneak peeks by following Parties for Pennies on facebook, twitter & pinterest!

p.s. This is YOUR official invite to the party… join in on the Parties for Pennies Facebook page, Twitter, and Pinterest!
Disclosure: This is a “sponsored post.” The company who sponsored it compensated me via a cash payment, gift, or something else of value to write it. Regardless, I only recommend products or services I use personally and believe will be good for my readers. I am disclosing this in accordance with the Federal Trade Commission’s 16 CFR, Part 255: “Guides Concerning the Use of Endorsements and Testimonials in Advertising.”


