Hey party people!
I guess the title of this post should read: Craft/Party Room Before & After and 12 Tips to Keep It Looking Like the After (at least for a week)!
It happens every year and after every party. My craft/party room looks like it got robbed & that person was hunting for glitter and feathers! Every year, I end up doing a huge organization of it. Every year, it gets a little better. This is progress party peeps. Please know that I’m not HGTV and I don’t have a huge budget to work with but this is my personal craft/party room before & after reveal.
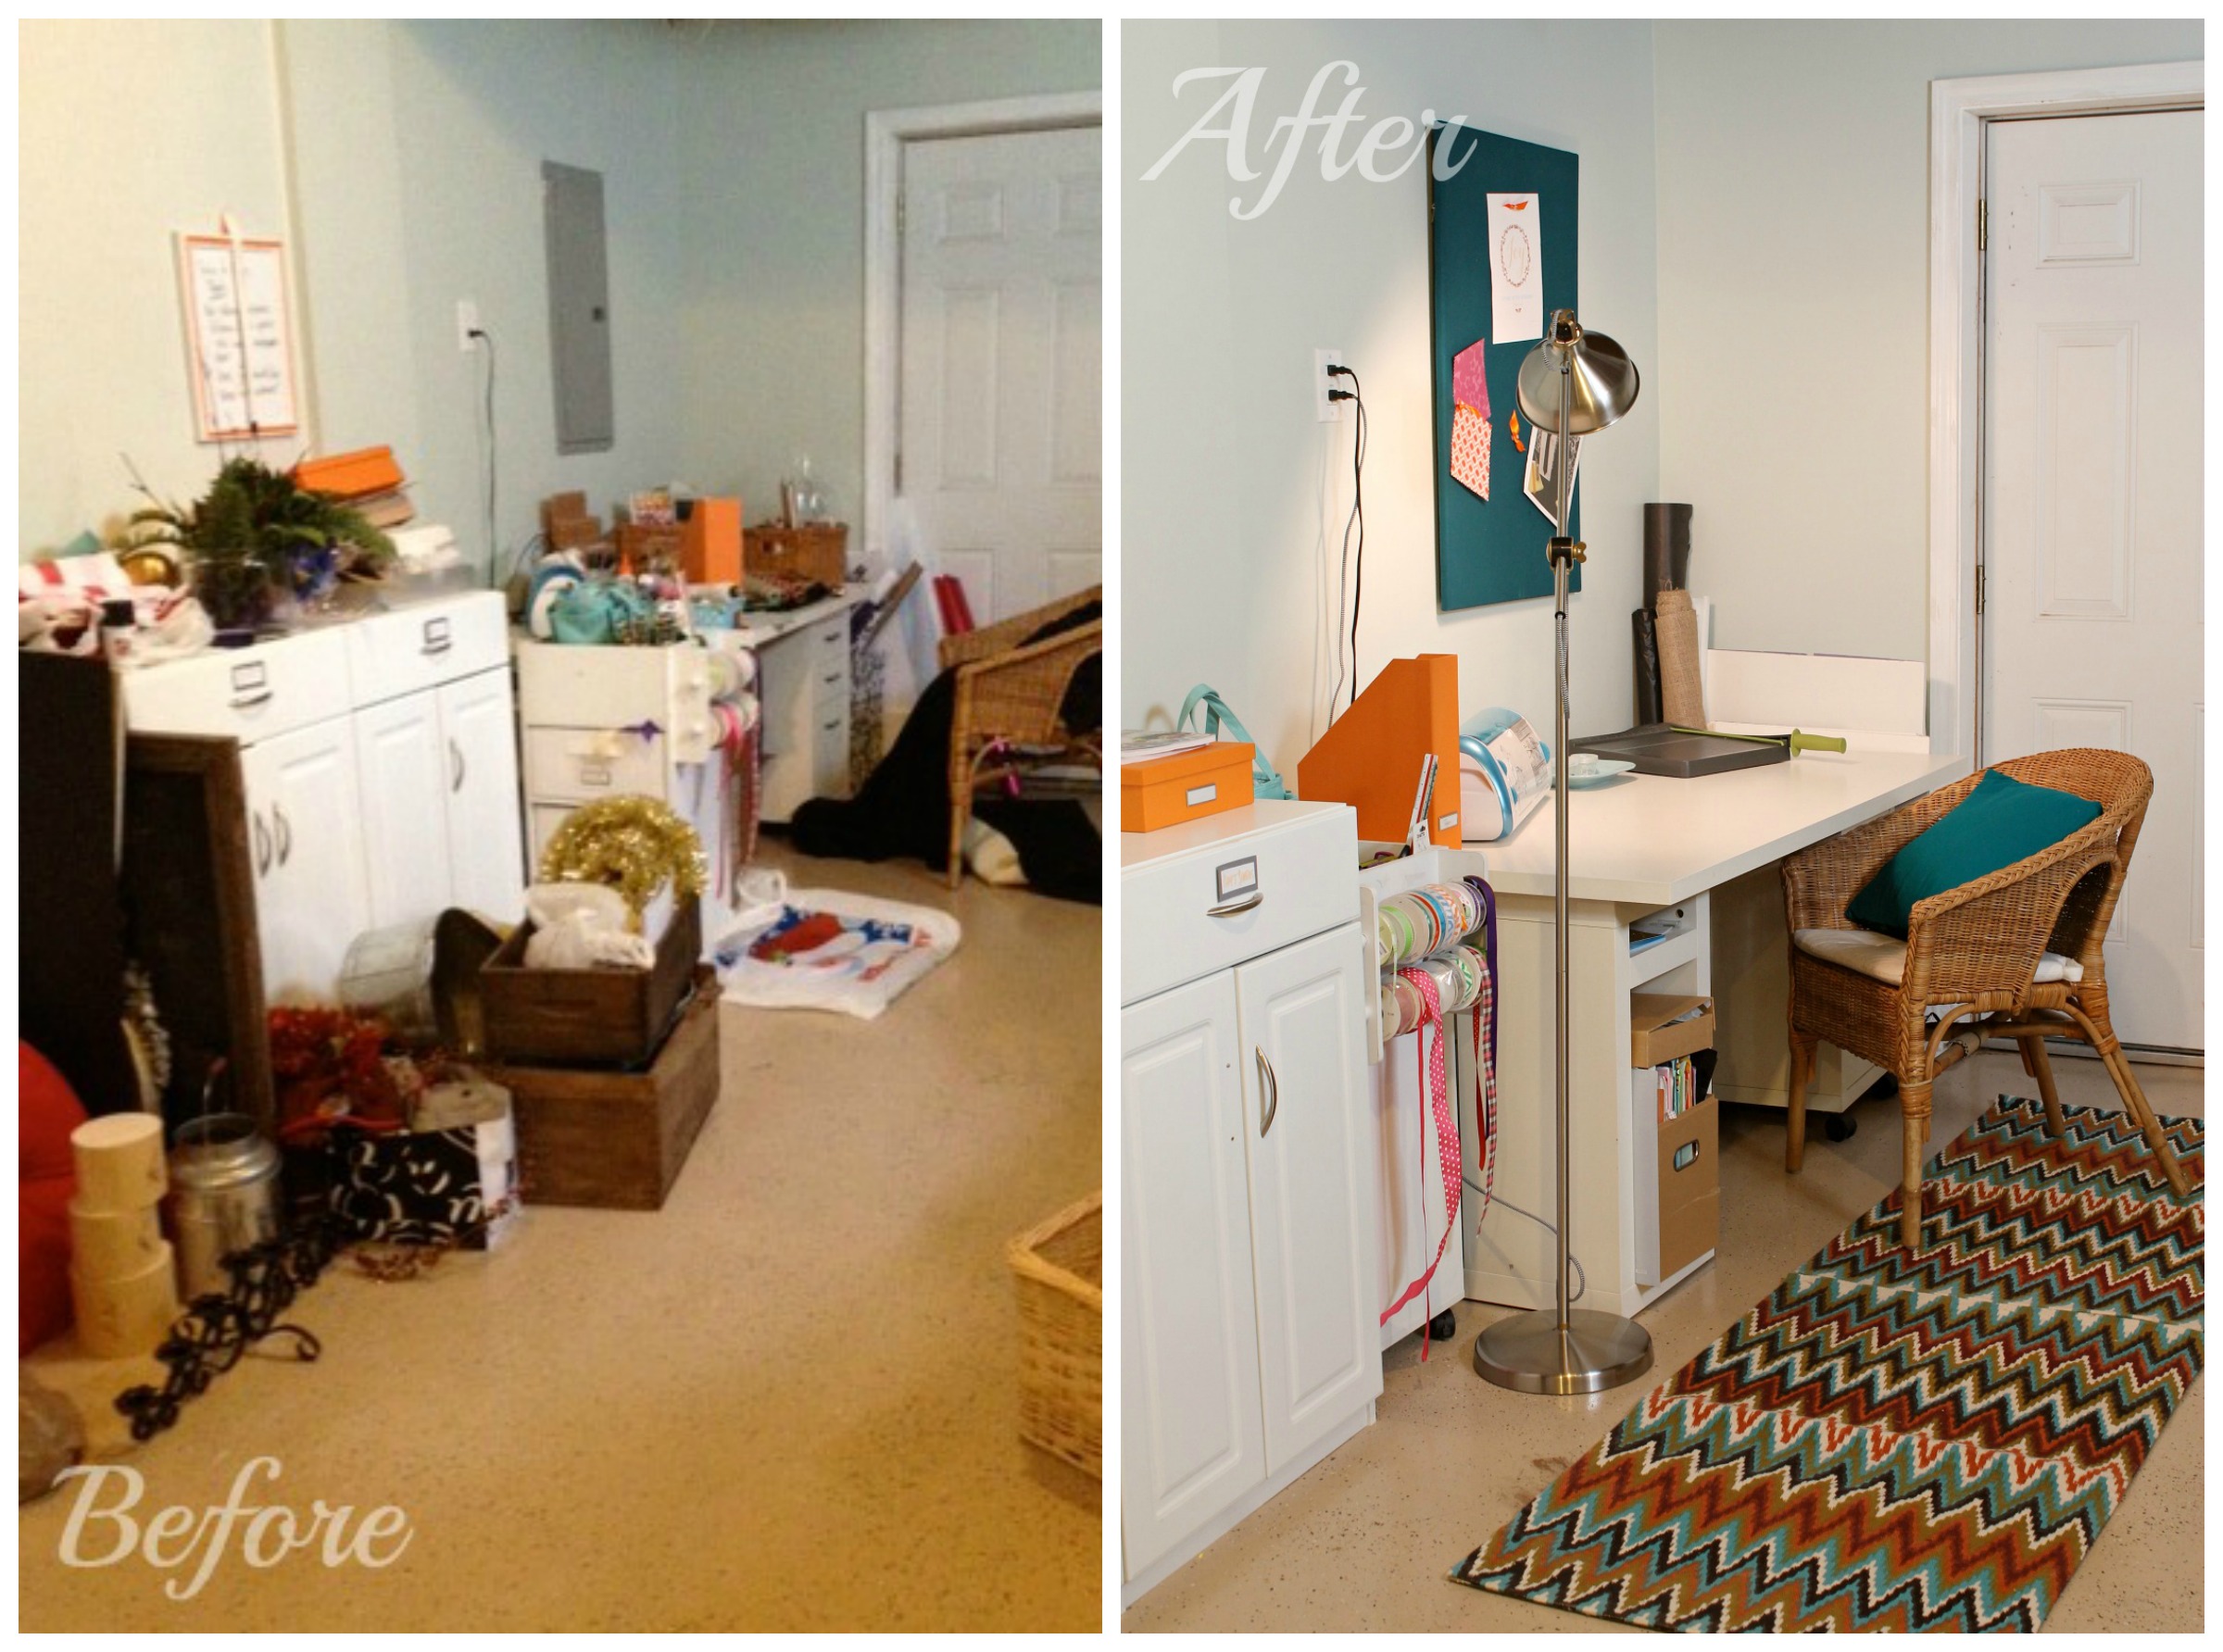
Before I show you the quick tour & give you 12 of my organization tips, let me tell you where this craft/party room lives. It is also our laundry room. It’s great that we have such a nice sized room for storage but it’s not super pretty. There’s no ceiling…as in hanging ducts and wires make up our ceiling. There’s 1 light. This room is actually bigger than our bedroom (our home was built in the 60s) and there’s 1 light that takes a 60watt bulb. How many windows are there? One itty bitty one that is taller than me & smaller than my head. All that to say, the lighting is pretty bad.
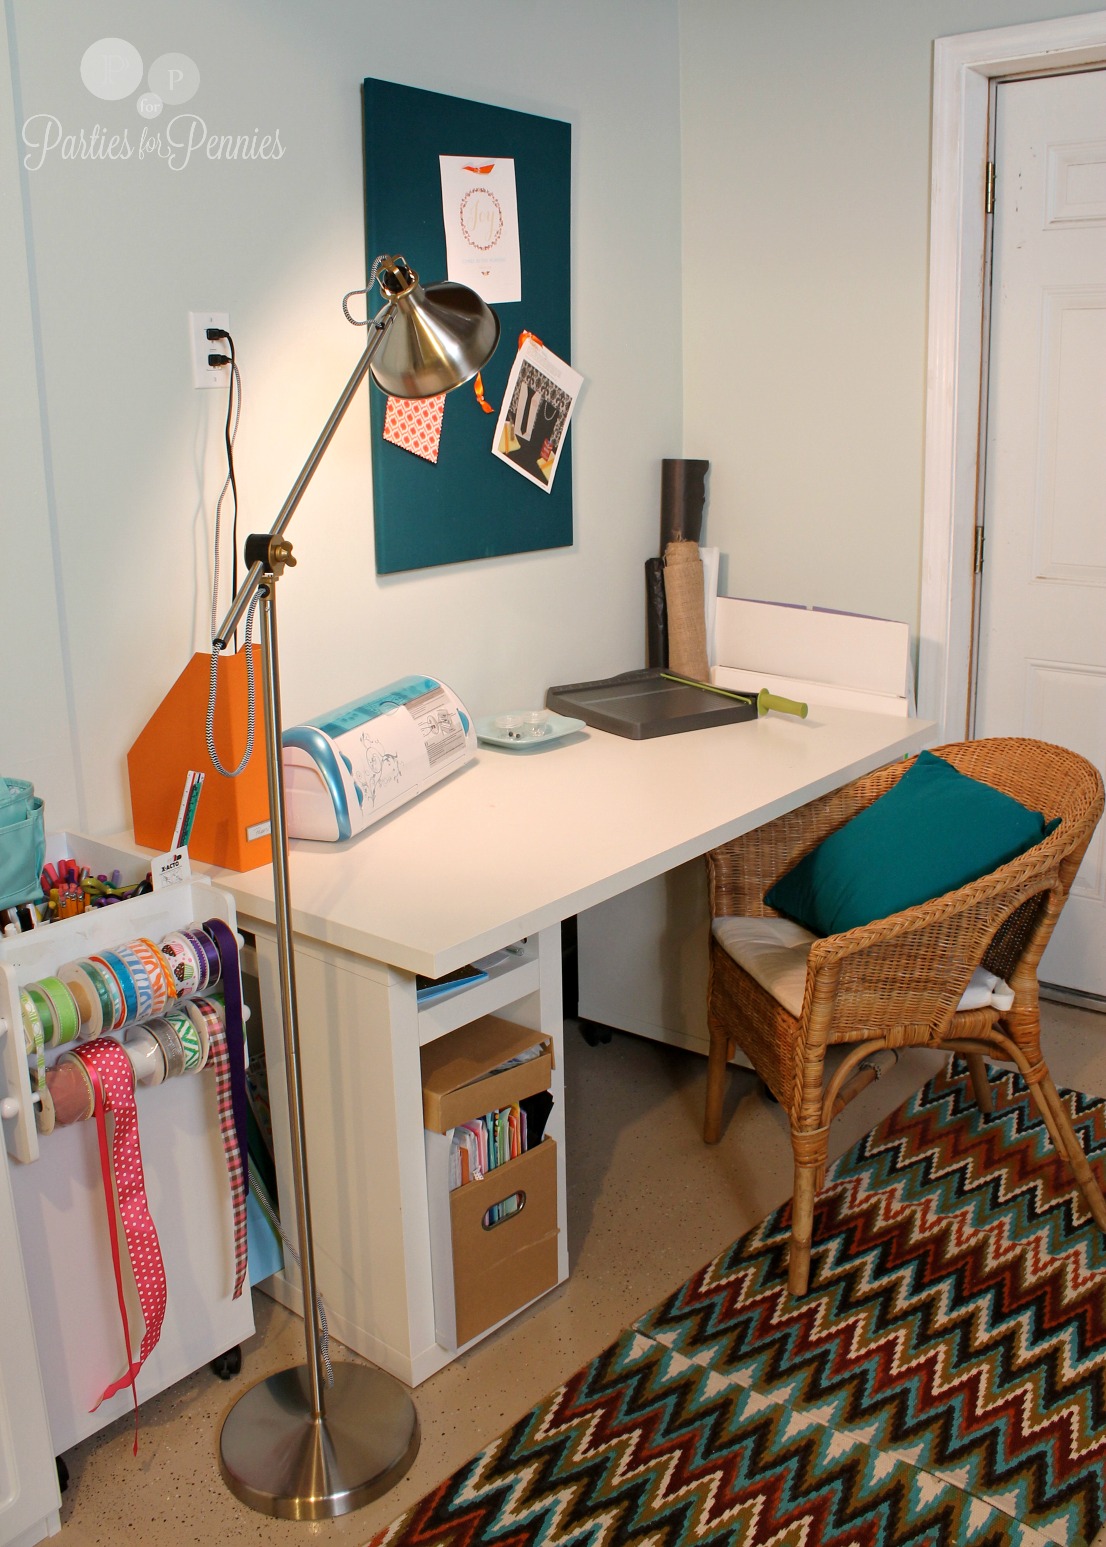
One of my first priorities was getting a lamp so I didn’t have to wear a headlamp every time I wanted to work on a project.
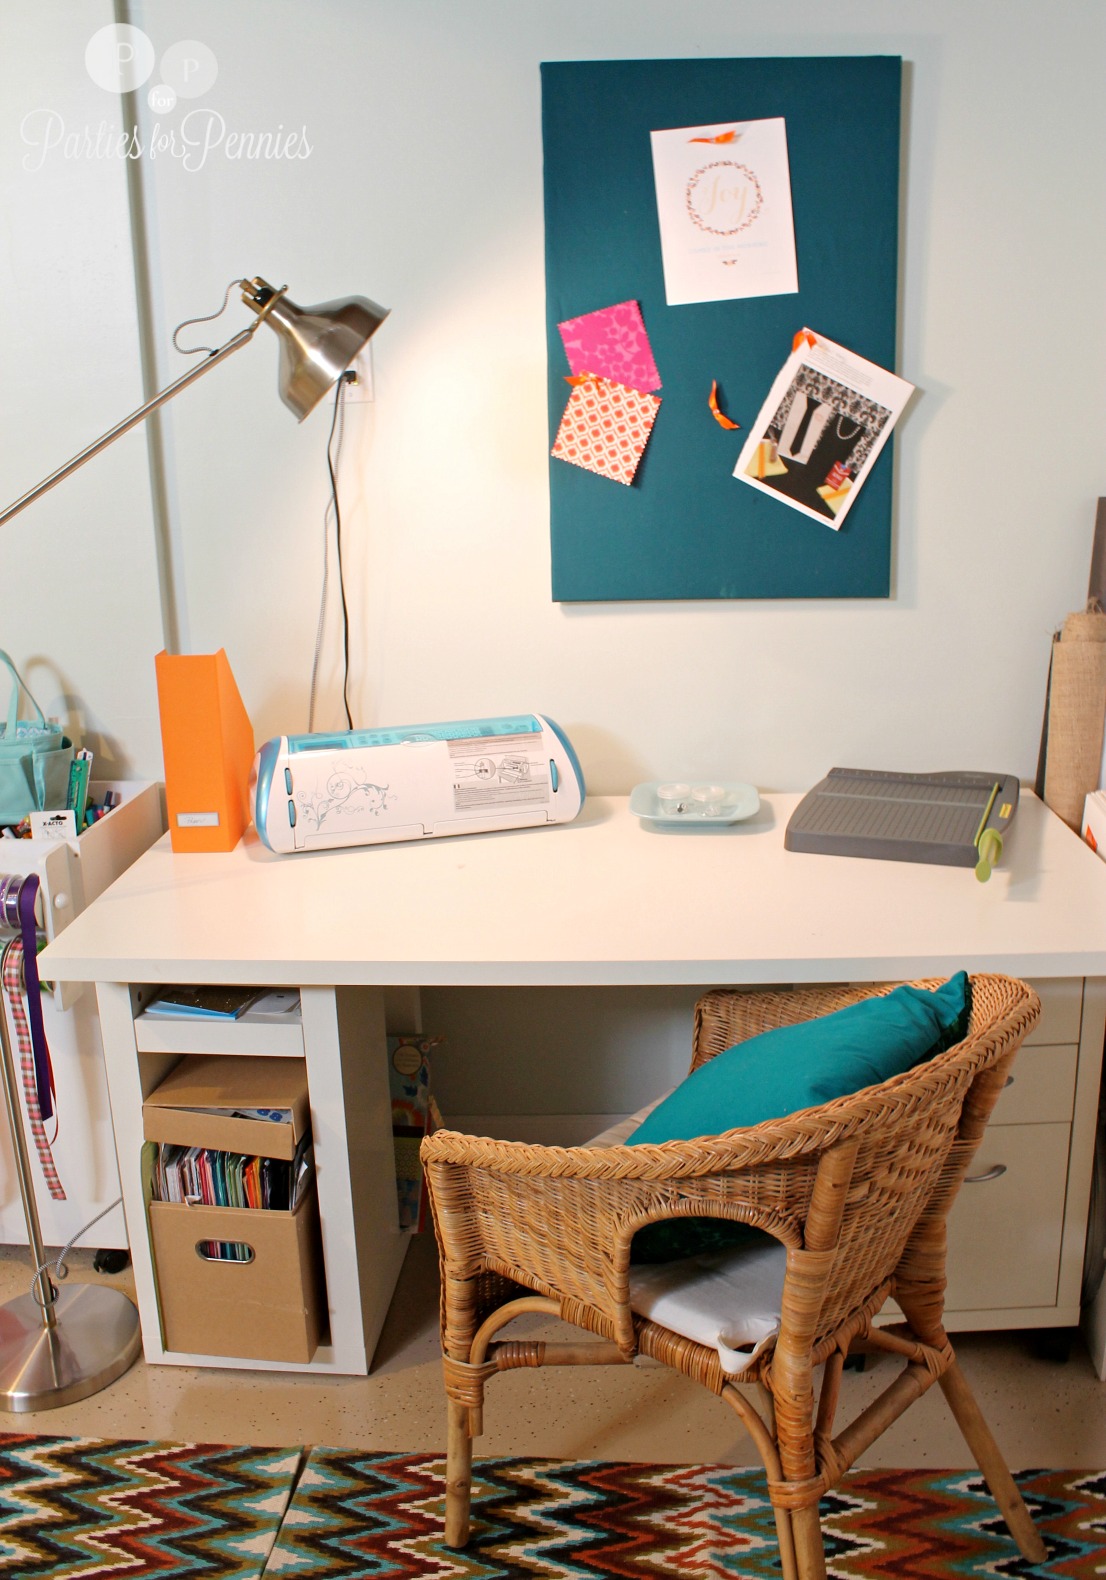
I found the lamp ,near the desk , at IKEA & fell in love with it. Well, I fell in love with the WHITE one. I went to pick it up on Sunday before I took all these pictures, got it home, and opened the box and it was silver. What?! I was really frustrated because I didn’t have time to exchange it but I think I actually like the silver one. What do YOU think?
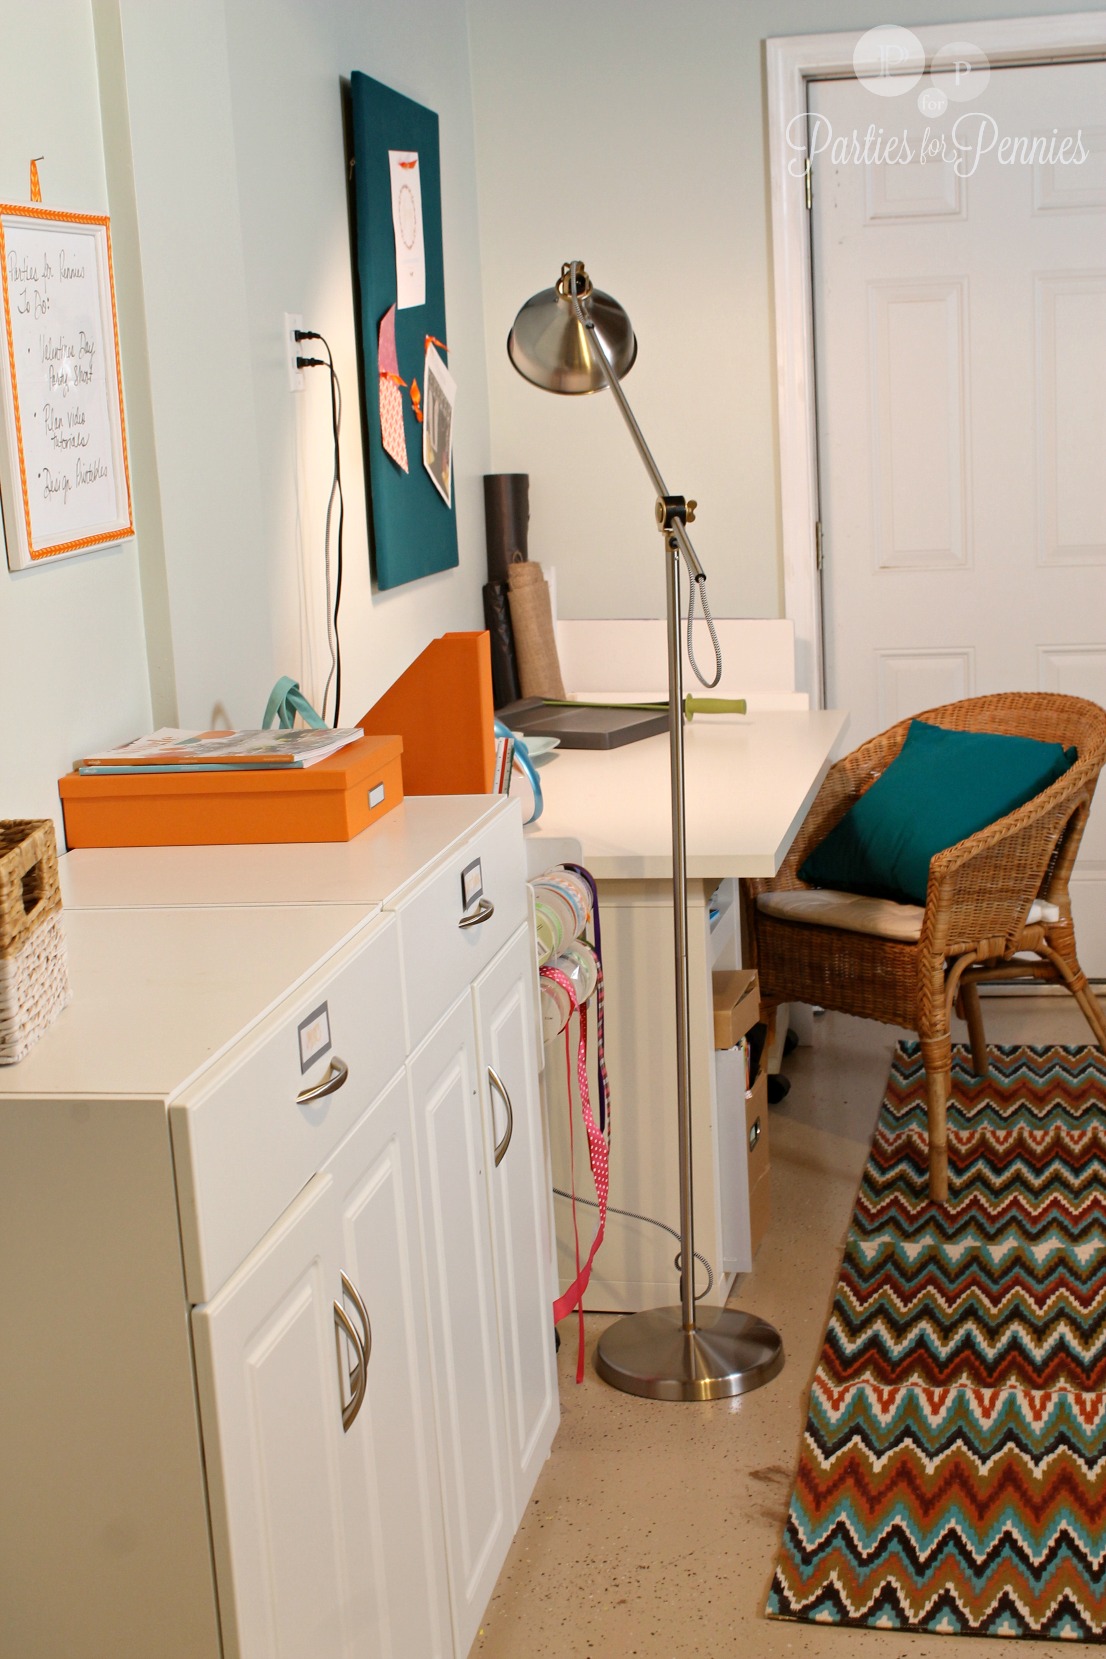
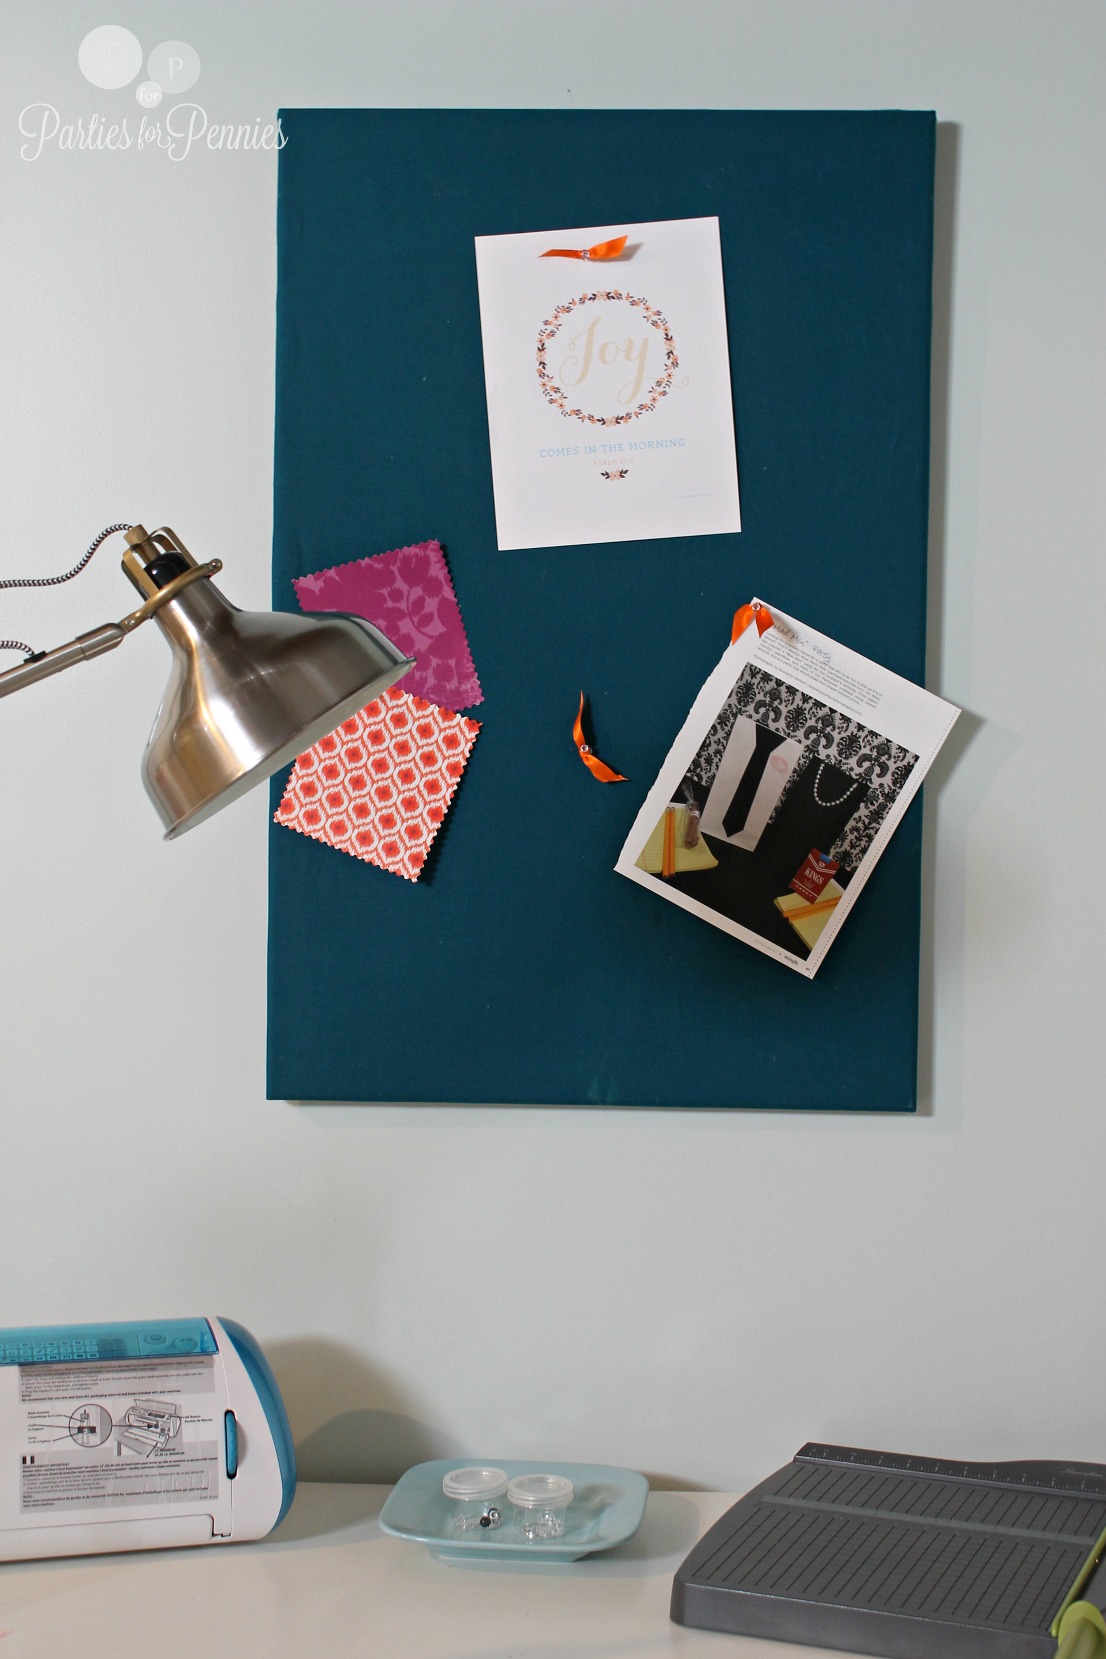
Besides the poor lighting, another issue was the attractive electrical box above the desk. I decided to cover a cheap corkboard with fabric and hang it over the box.
I didn’t include this on the tips but I really wanted something besides the usual push pins. Nothing I already had really worked, so I took some scrap orange ribbon and tied it around plain push pins.
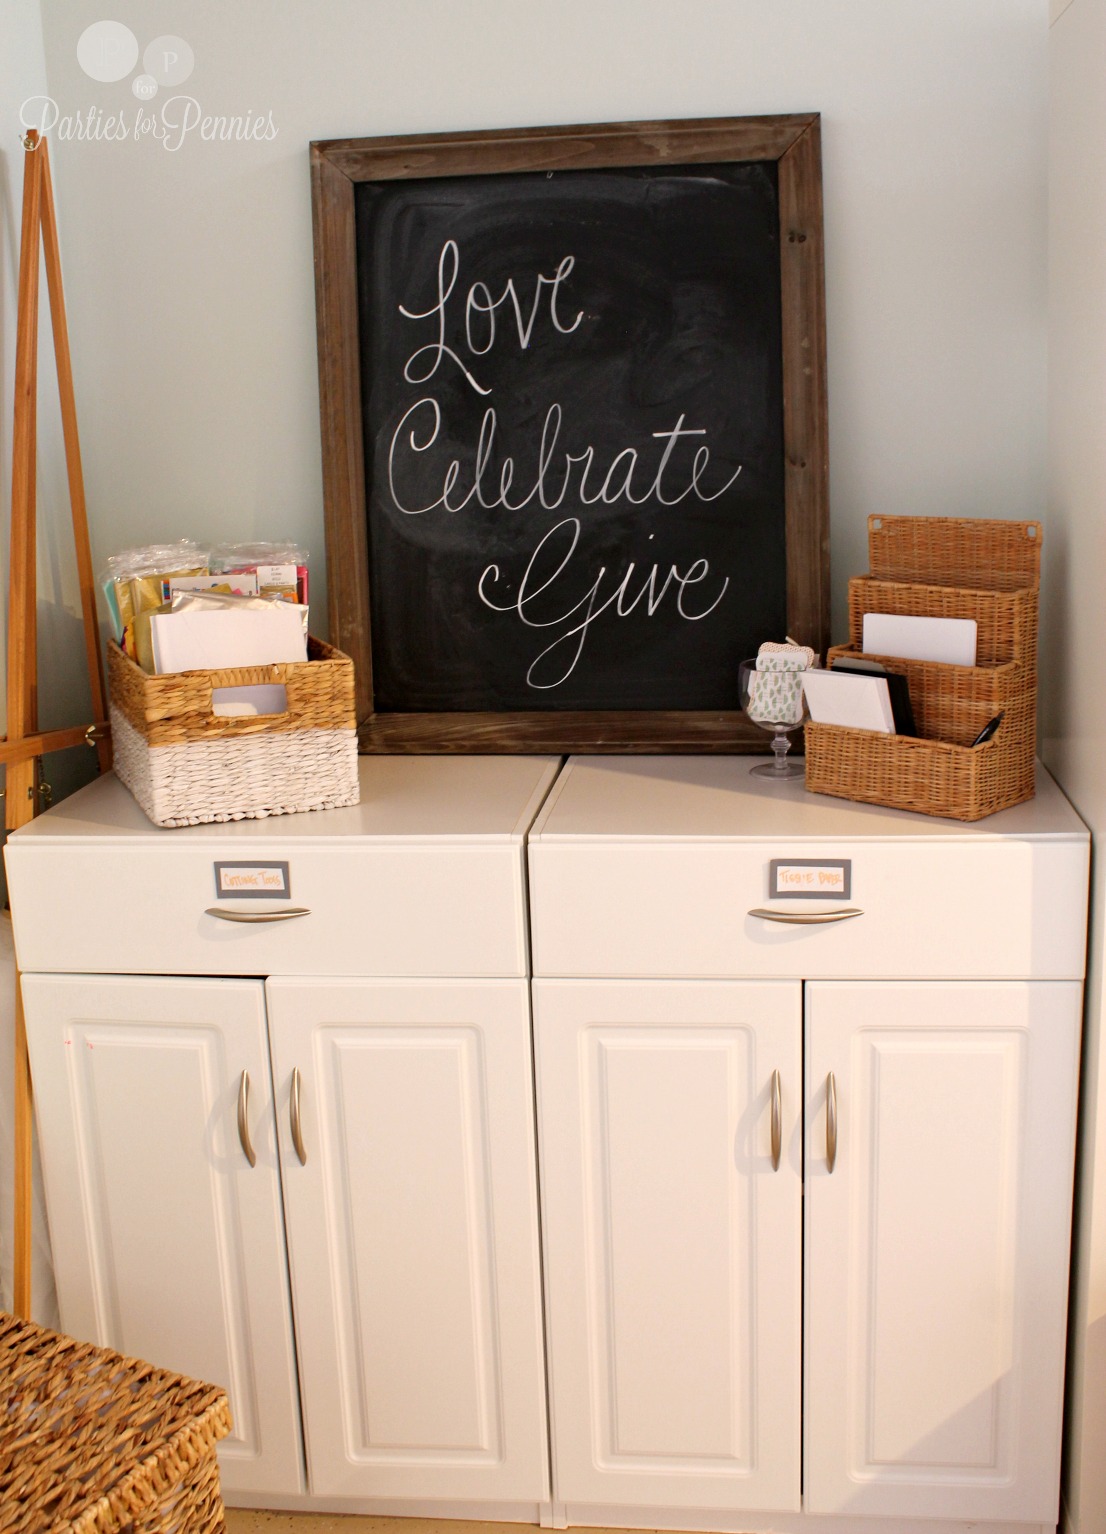
I forgot to take a picture of this section but it was piled high with craft materials, tulle, and quilt stuffing. Once I organized all of that, I was able to set this area up as a wrapping station.
I probably should put the wrapping paper close to the station but I love being able to hang it over the closet door.
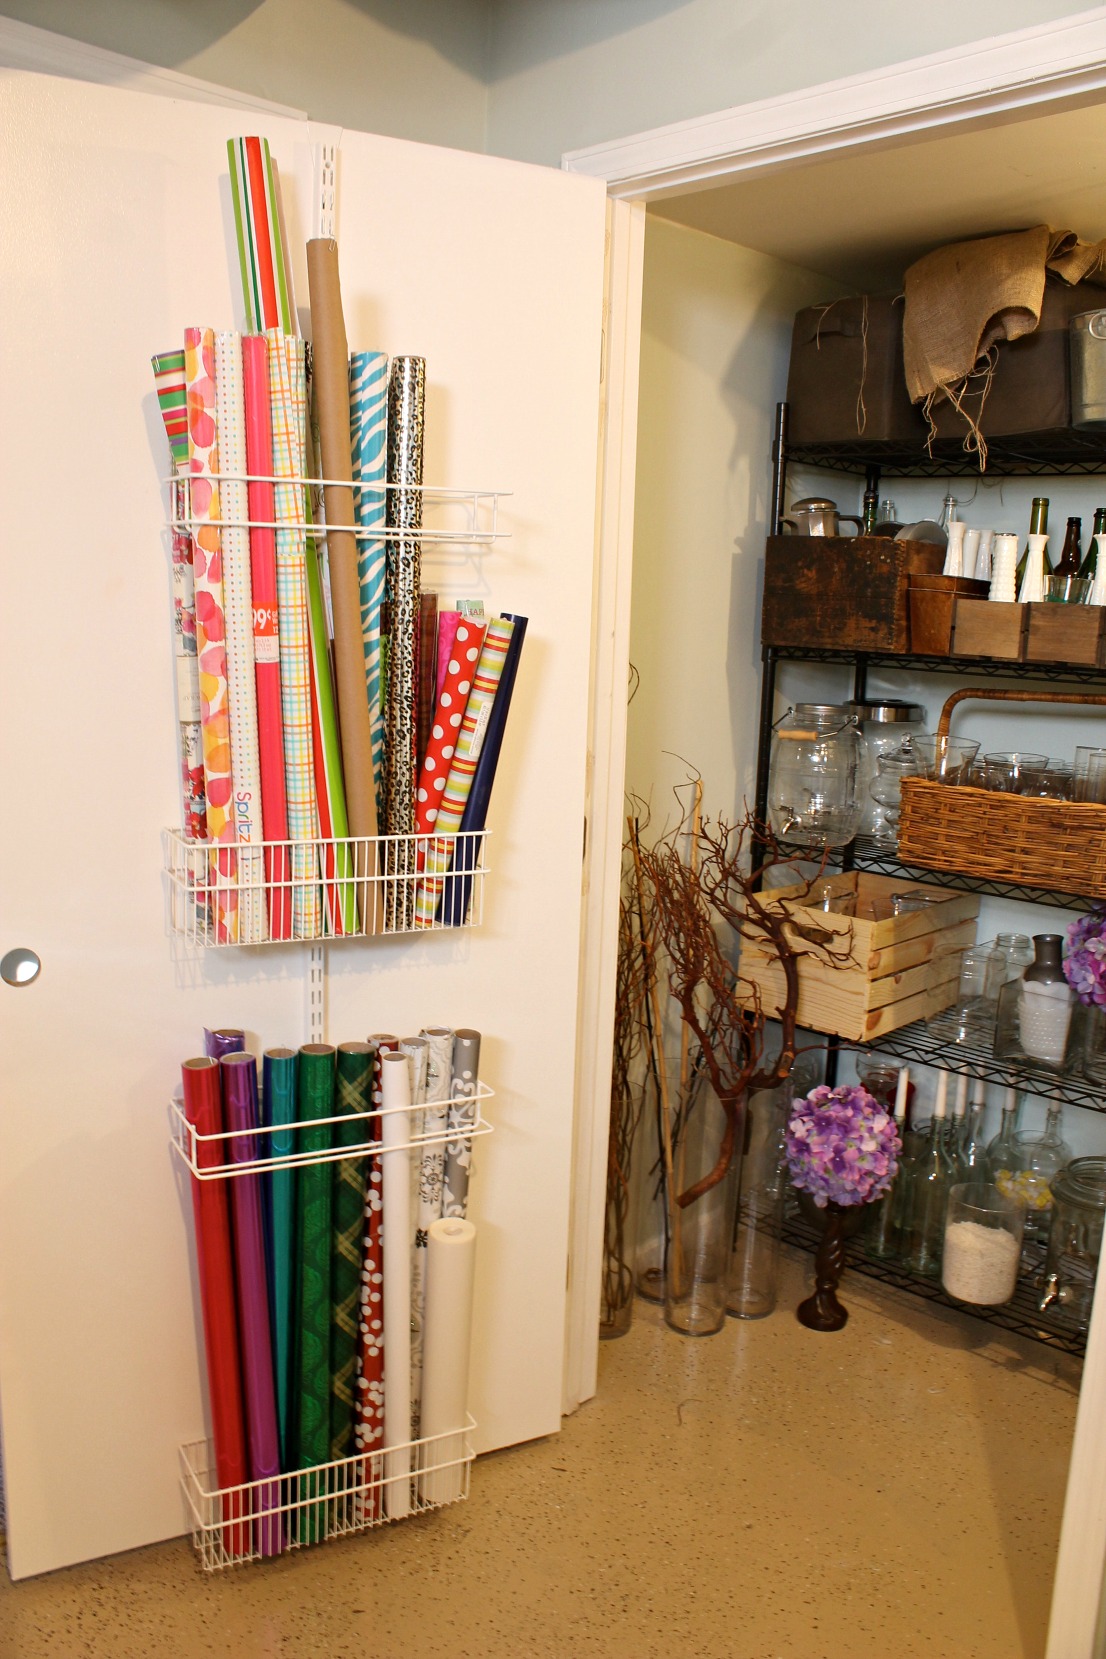
I ended up splurging on this during the Elfa sale at the Container Store. It was worth it. I had been using an old box for the past few years and it just wasn’t working for the amount of paper I have.
The rest of that closet holds my vases, serving dishes, plates, straws, and all kinds of things. It’s organized but doesn’t look that pretty so I chose not to show you the rest of it.
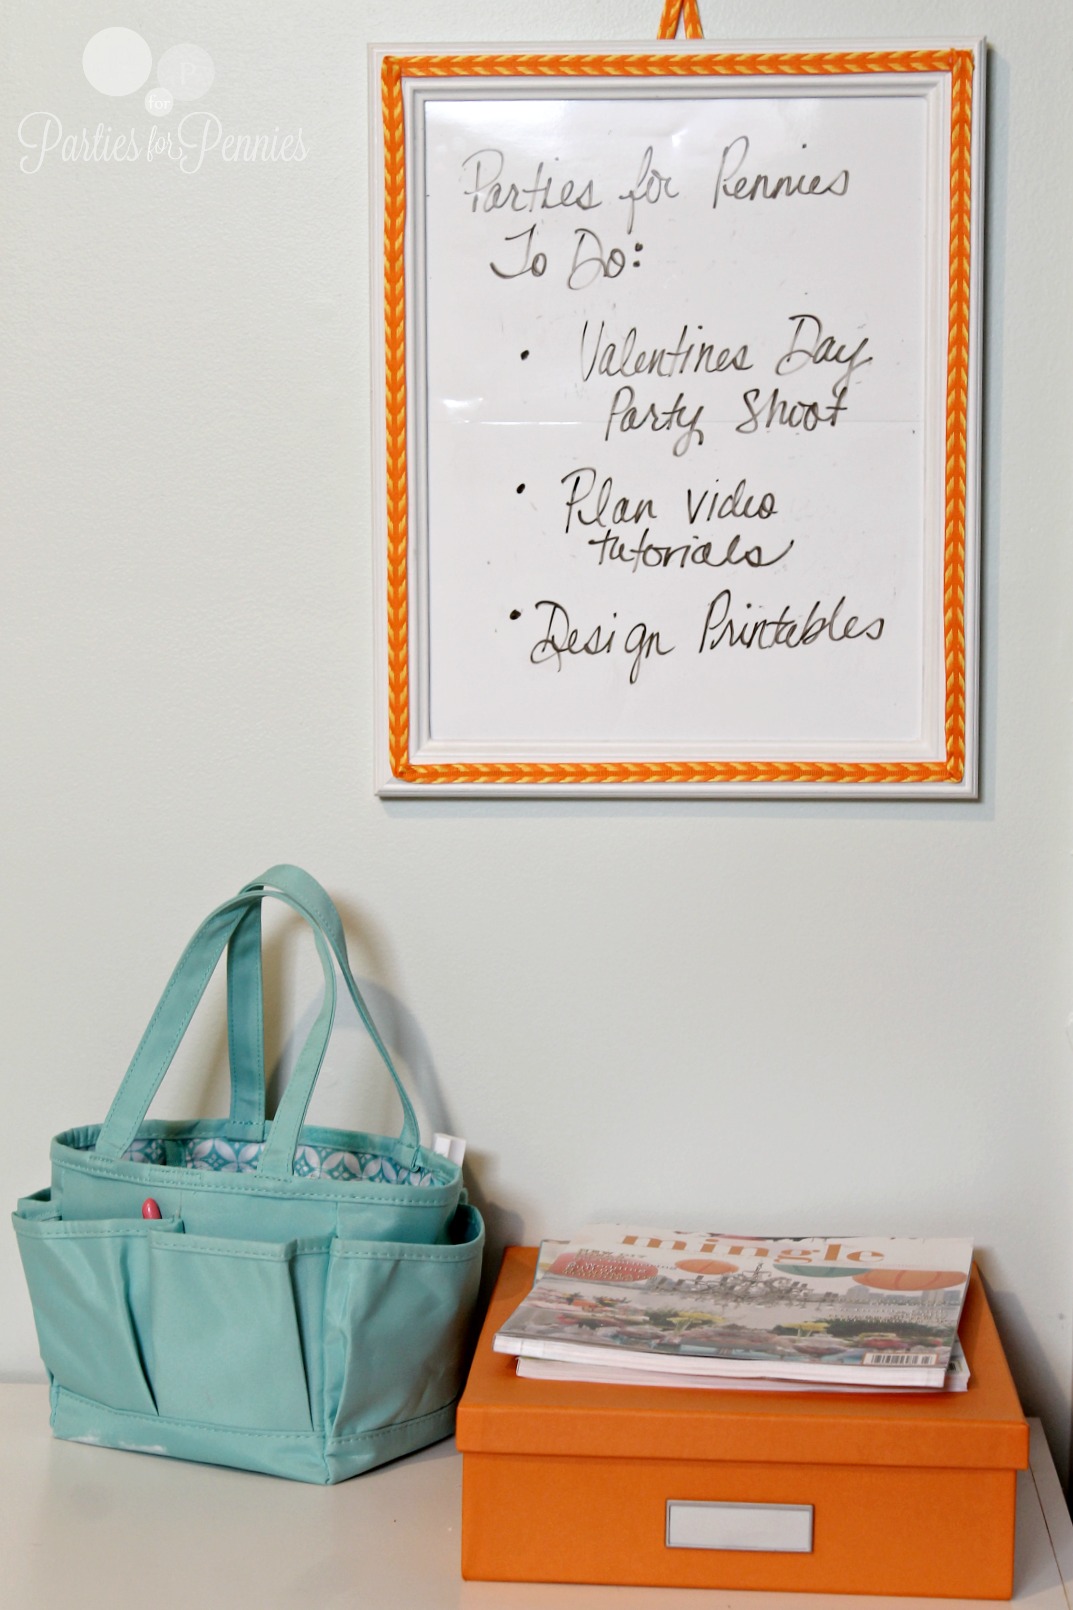
This is my drop-off area. If I have anything that needs to be filed or organized later, it goes here.
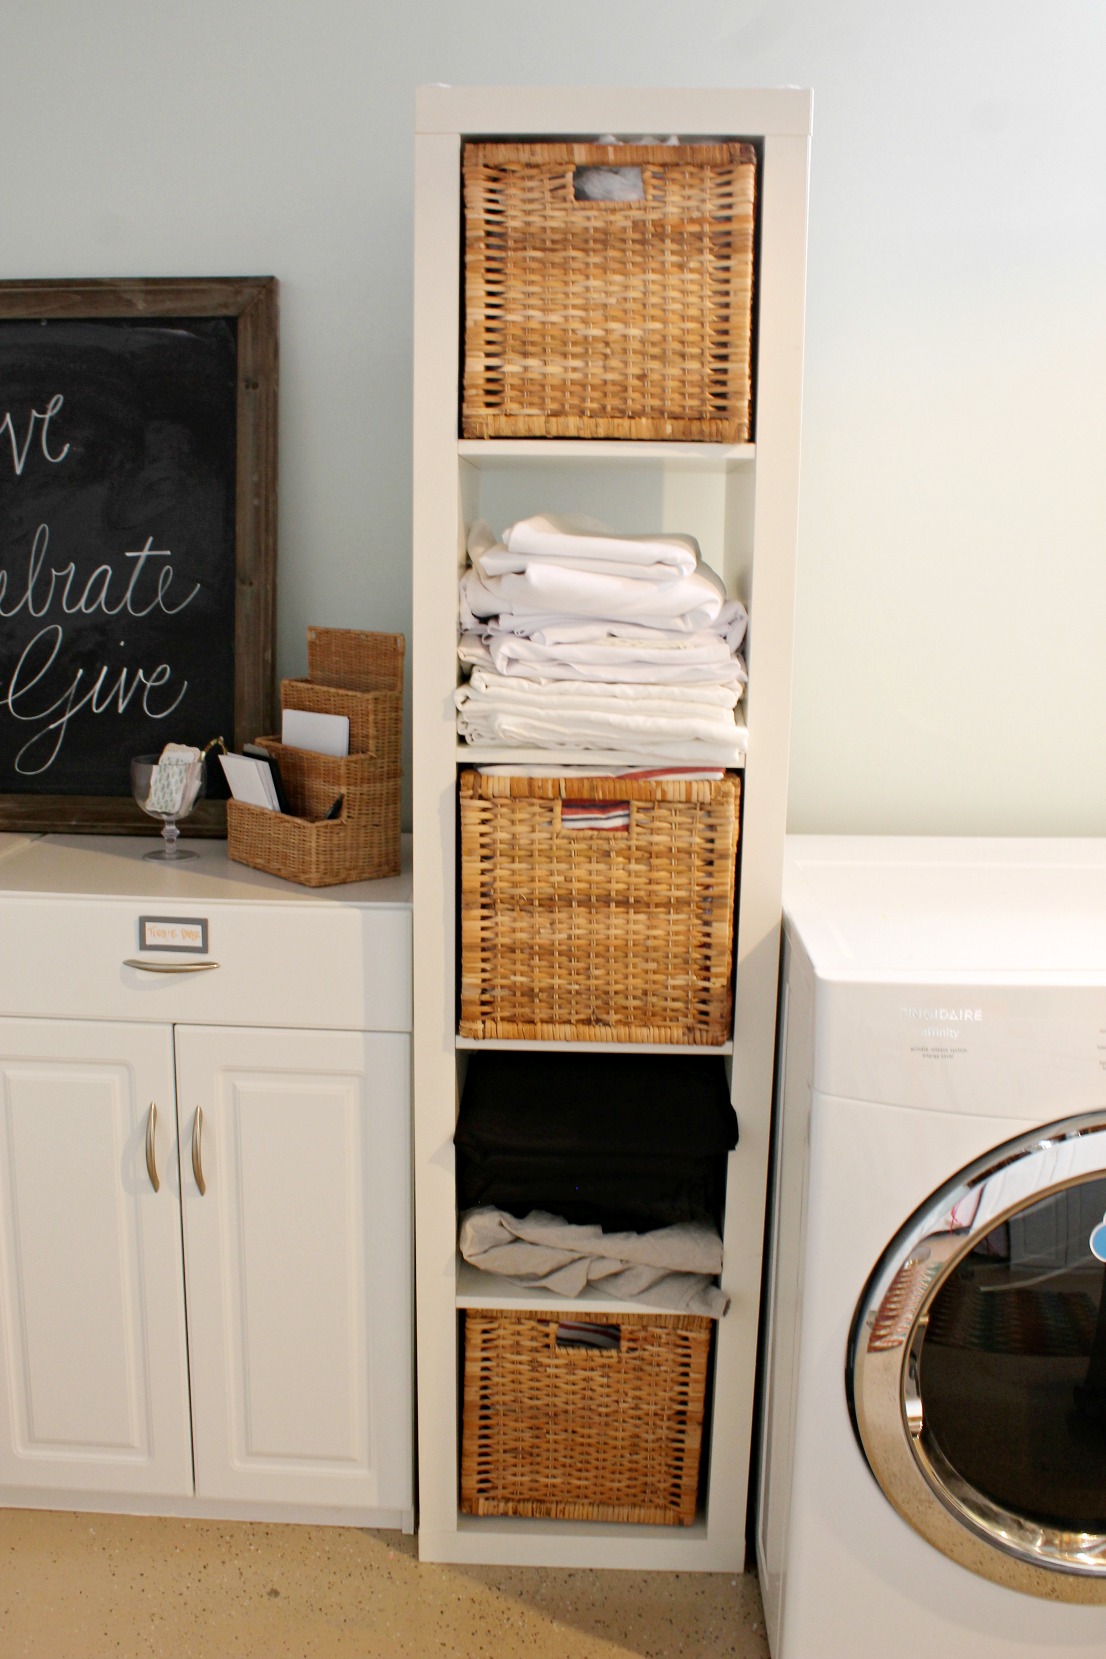
I finally figured out the best place for my tablecloths – right next to the dryer. When they get washed, I can easily fold them put them in these cubbies. I’ve got a space for white, black, and patterned tablecloths.
Now, here are 12 tips I picked up along the way that helped me organize my craft/party room.
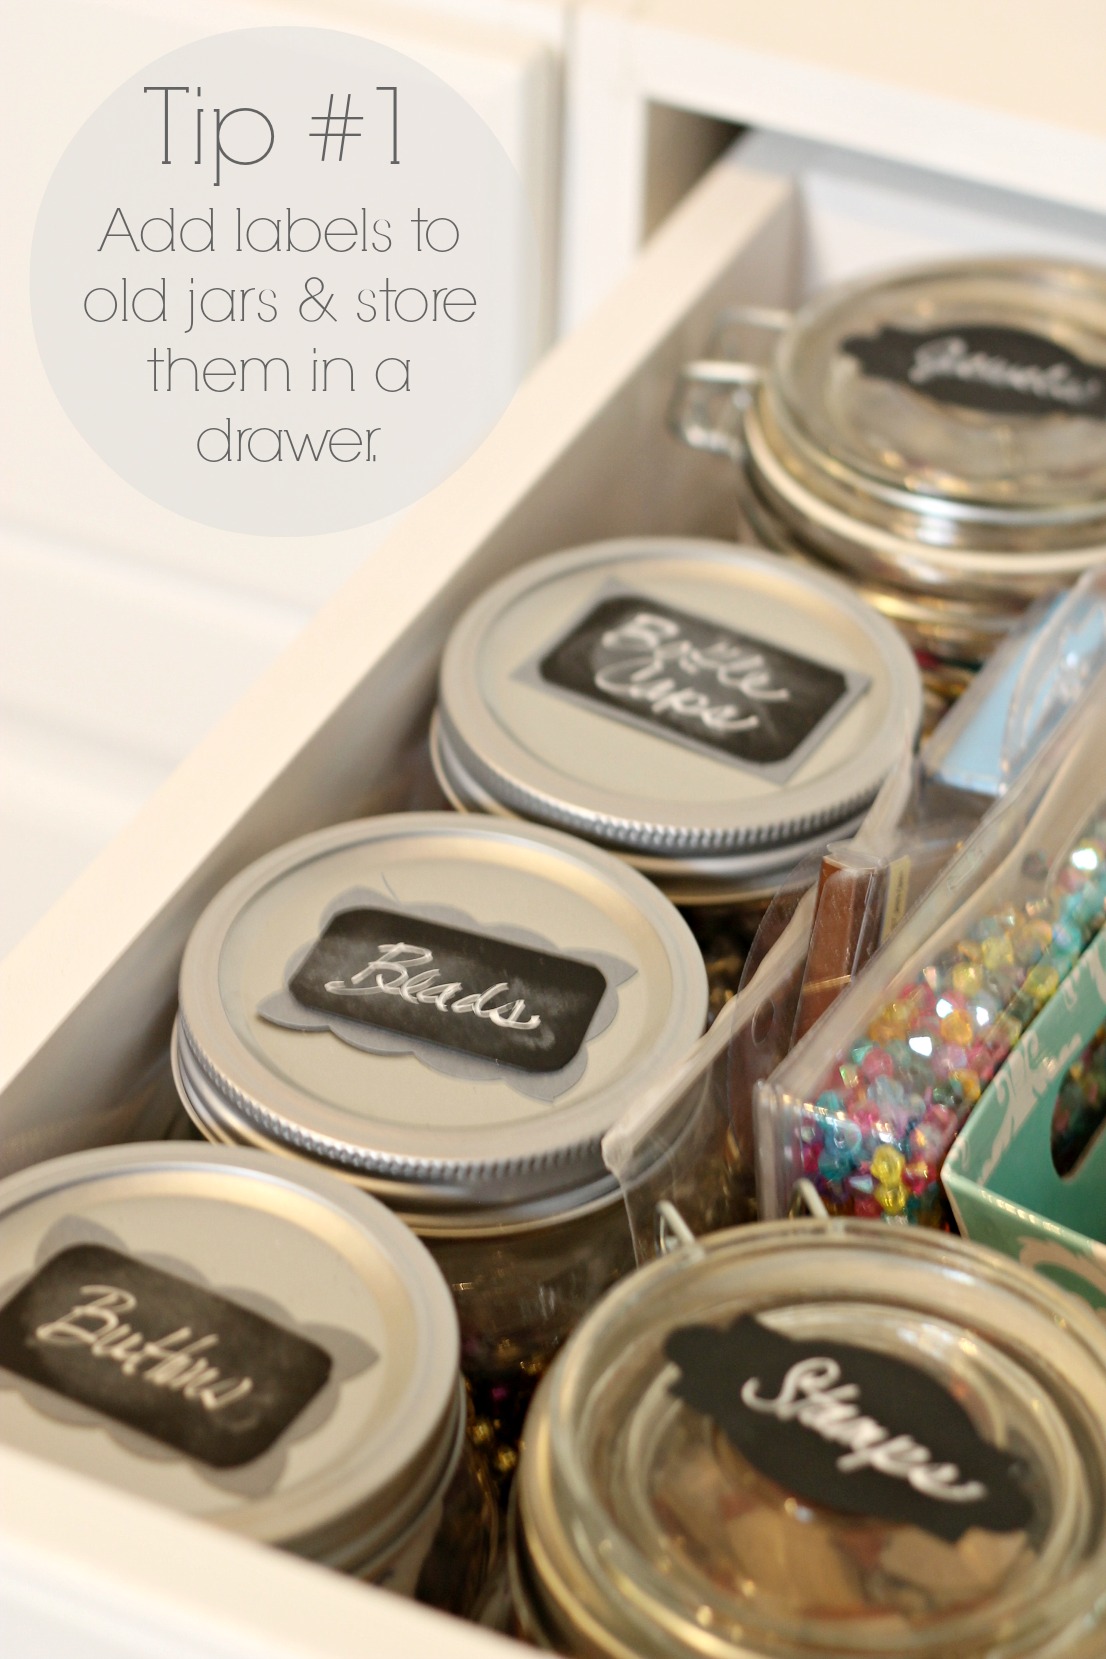
Tip #1: Use old jars with labels to hold small things in your craft drawer. This helps me keep the little pieces together. If I have a project that uses purple jewels, having all of them in a jar helps me find it better.
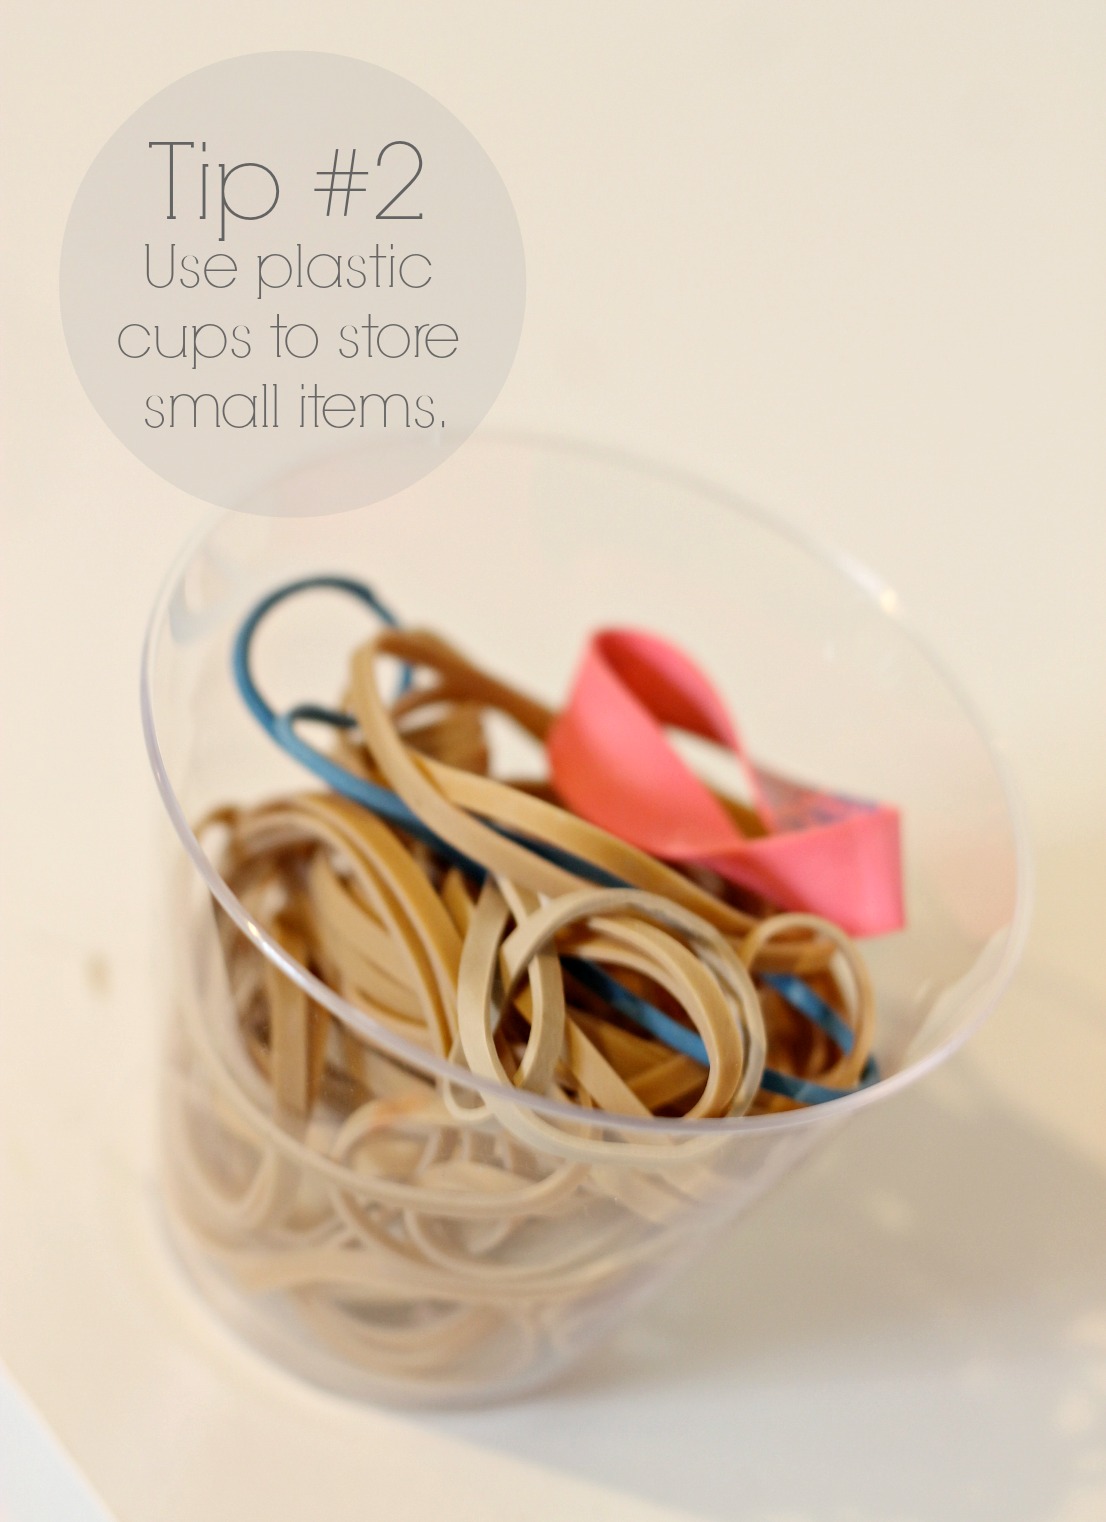
Tip #2: Not only are old jars good for storing things in drawers, but so are cheap plastic cups! I have so many of these plastic cups leftover from parties. They are perfect for holding small items like these rubber bands.
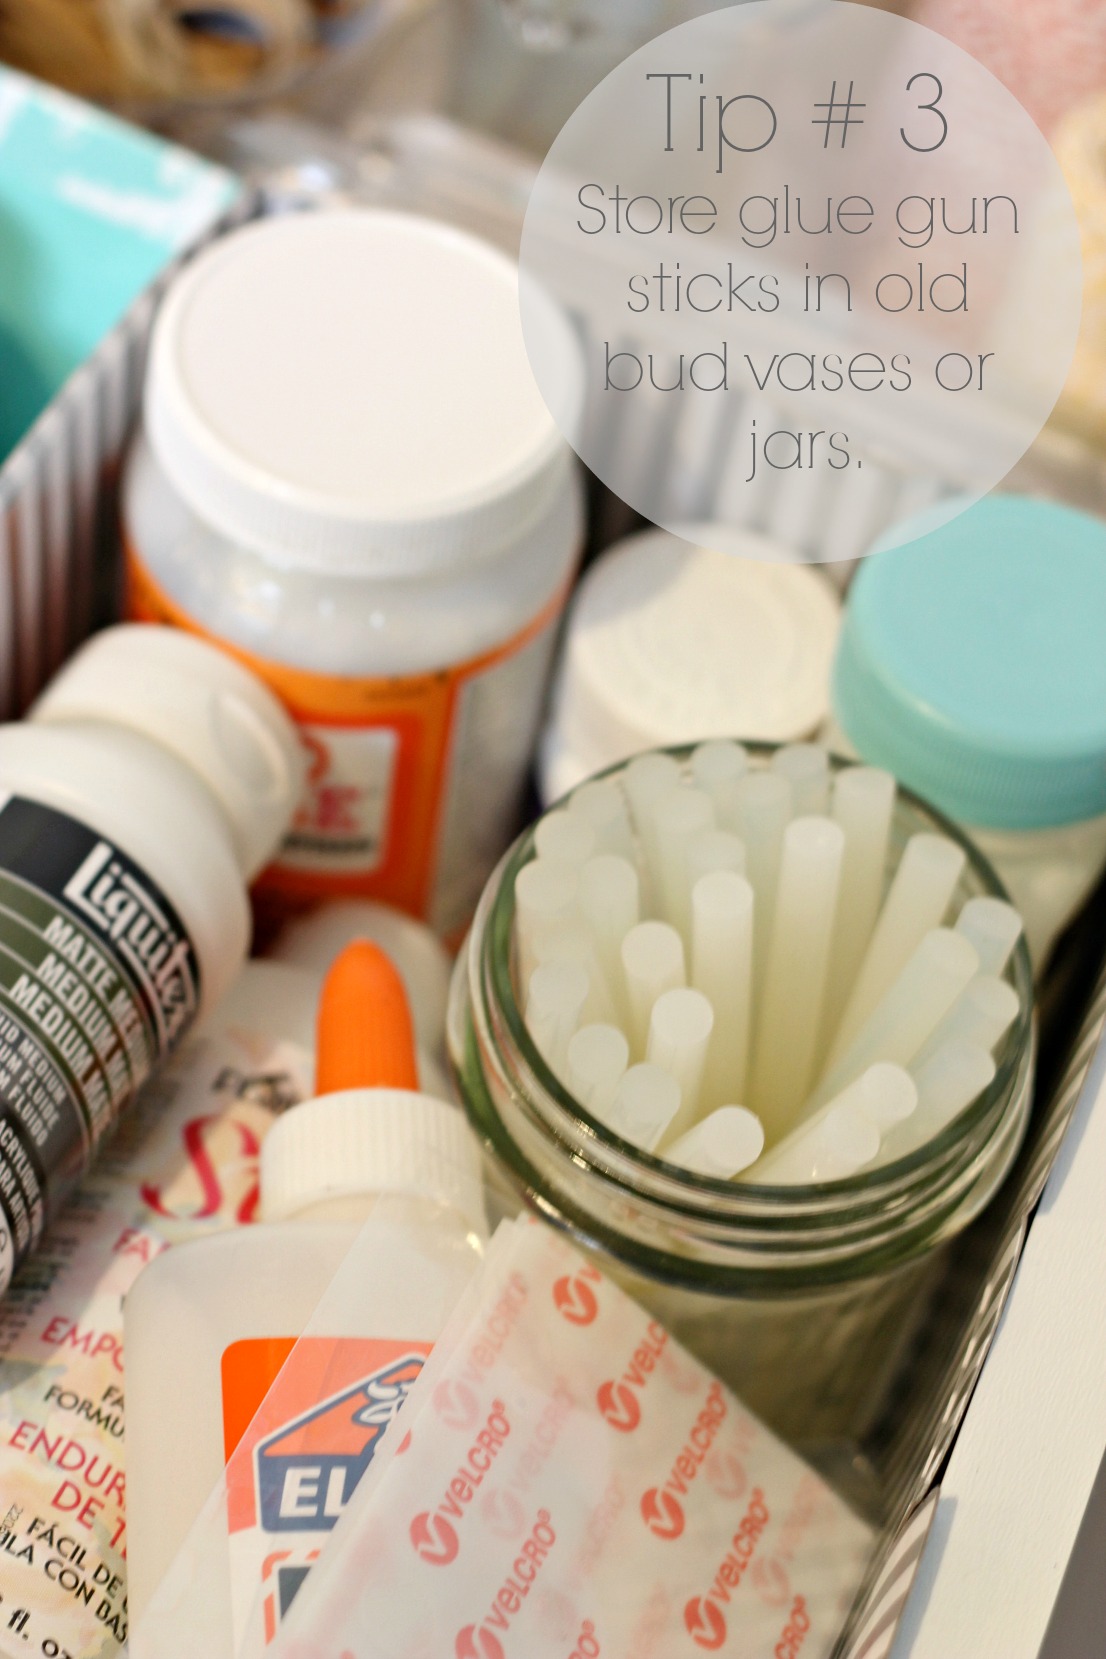
Tip #3: My glue sticks used to be thrown in the back of the drawer. They were such a hassle to get and the drawer looked a mess. Storing them upright in an old jelly jar makes them easily accessible and neater.
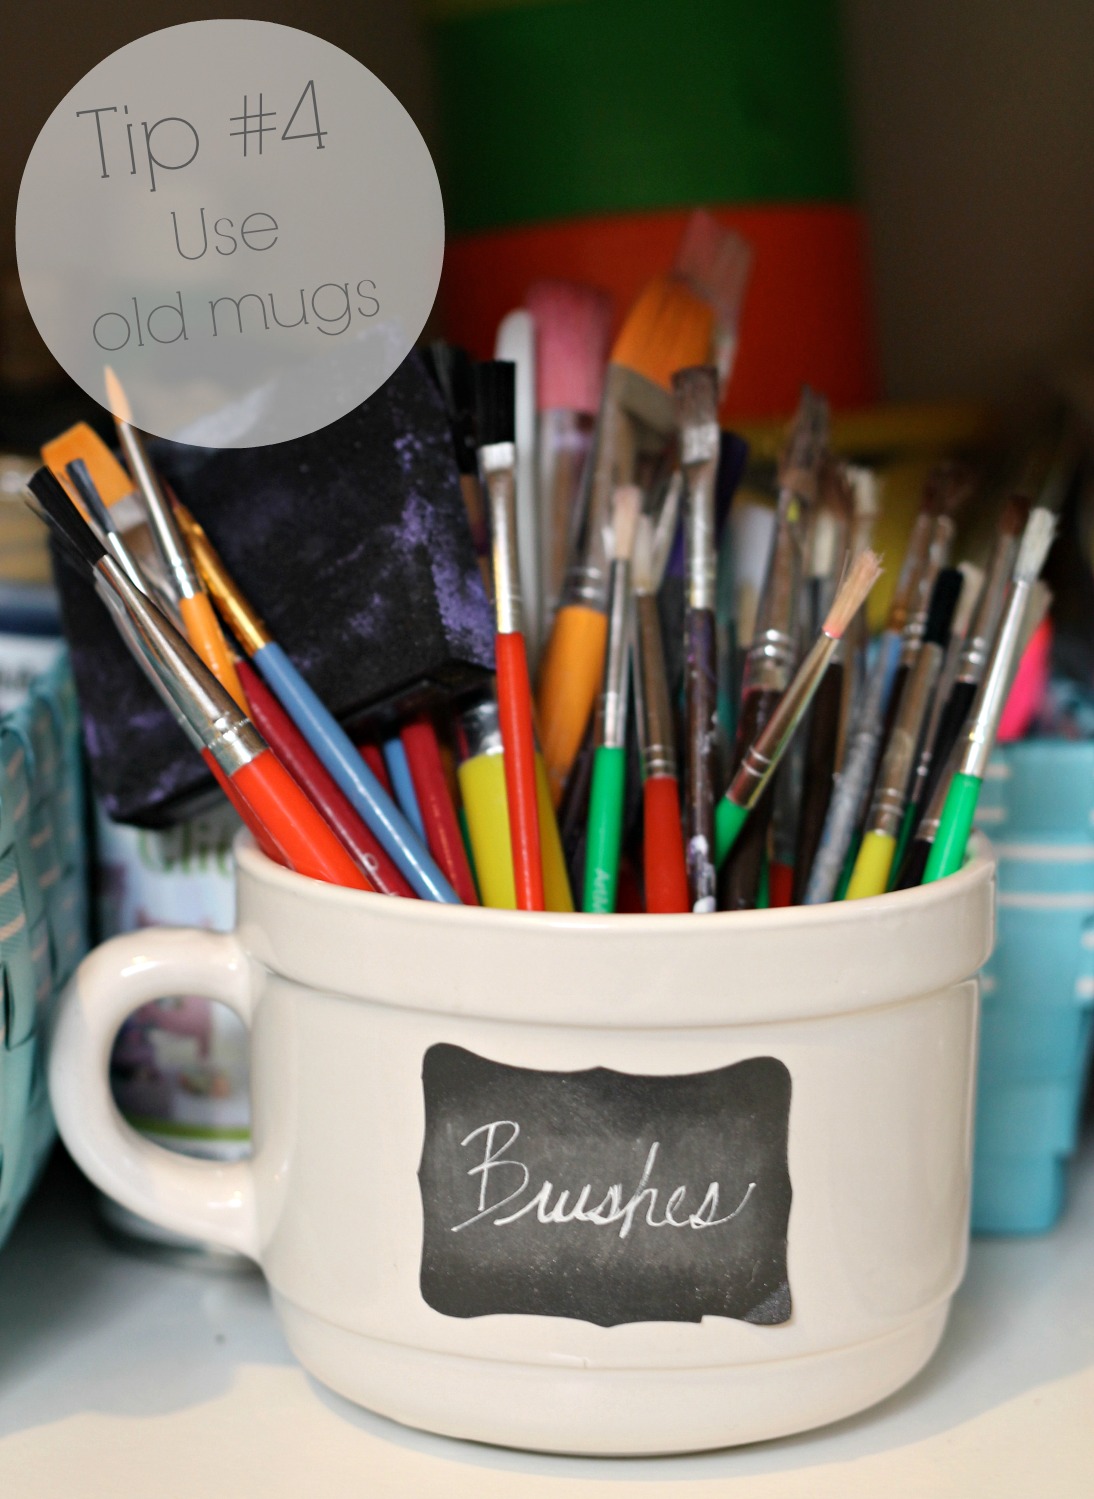
Tip #4: Who doesn’t have extra coffee mugs sitting around the house? Use them to keep craft/party items organized, such as paint brushes, party straws, or markers.
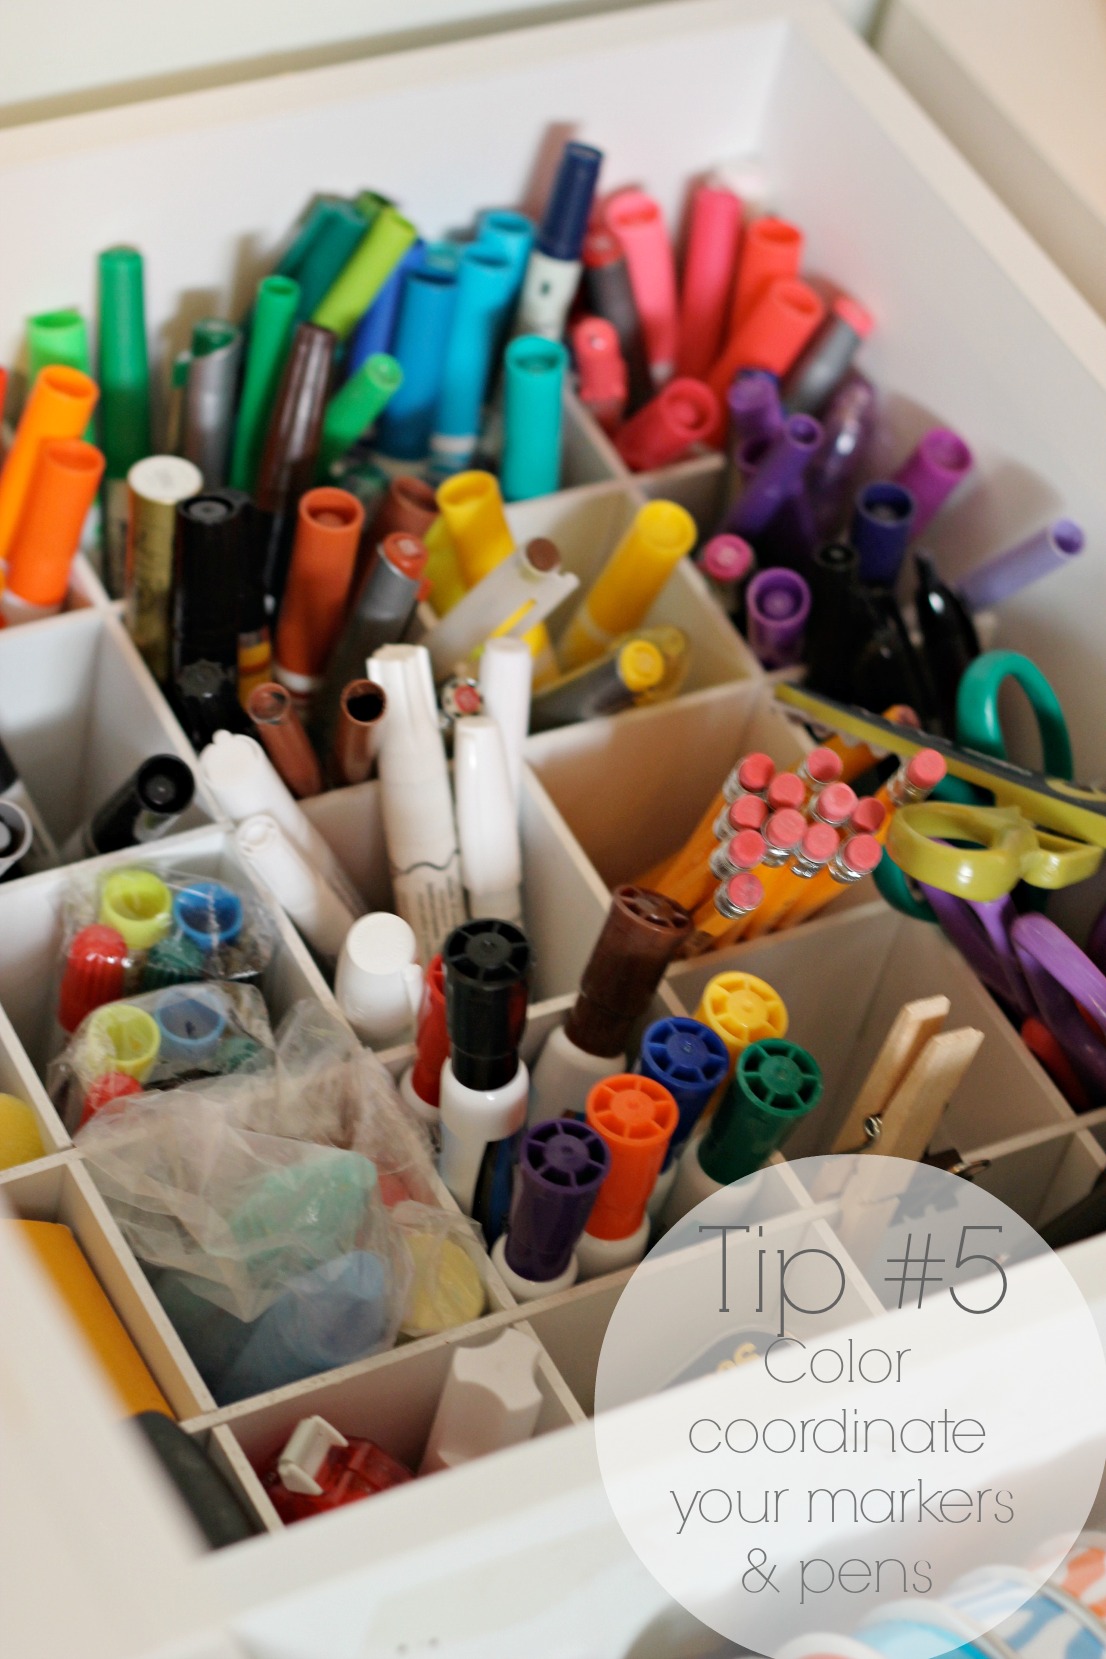
Tip #5: This was one of the best organizing purchases I’ve made. I got it at Michaels when they had a 50% off sale. It ended up being less than $30. It rolls, has drawers, ribbon holders, and these great sections where I keep my pens & markers. The one thing that has consistently stayed organized is the top of this thing! I can always find what I need and it’s easy to put back. I highly recommend something similar to this and to color coordinate your markers/pens.
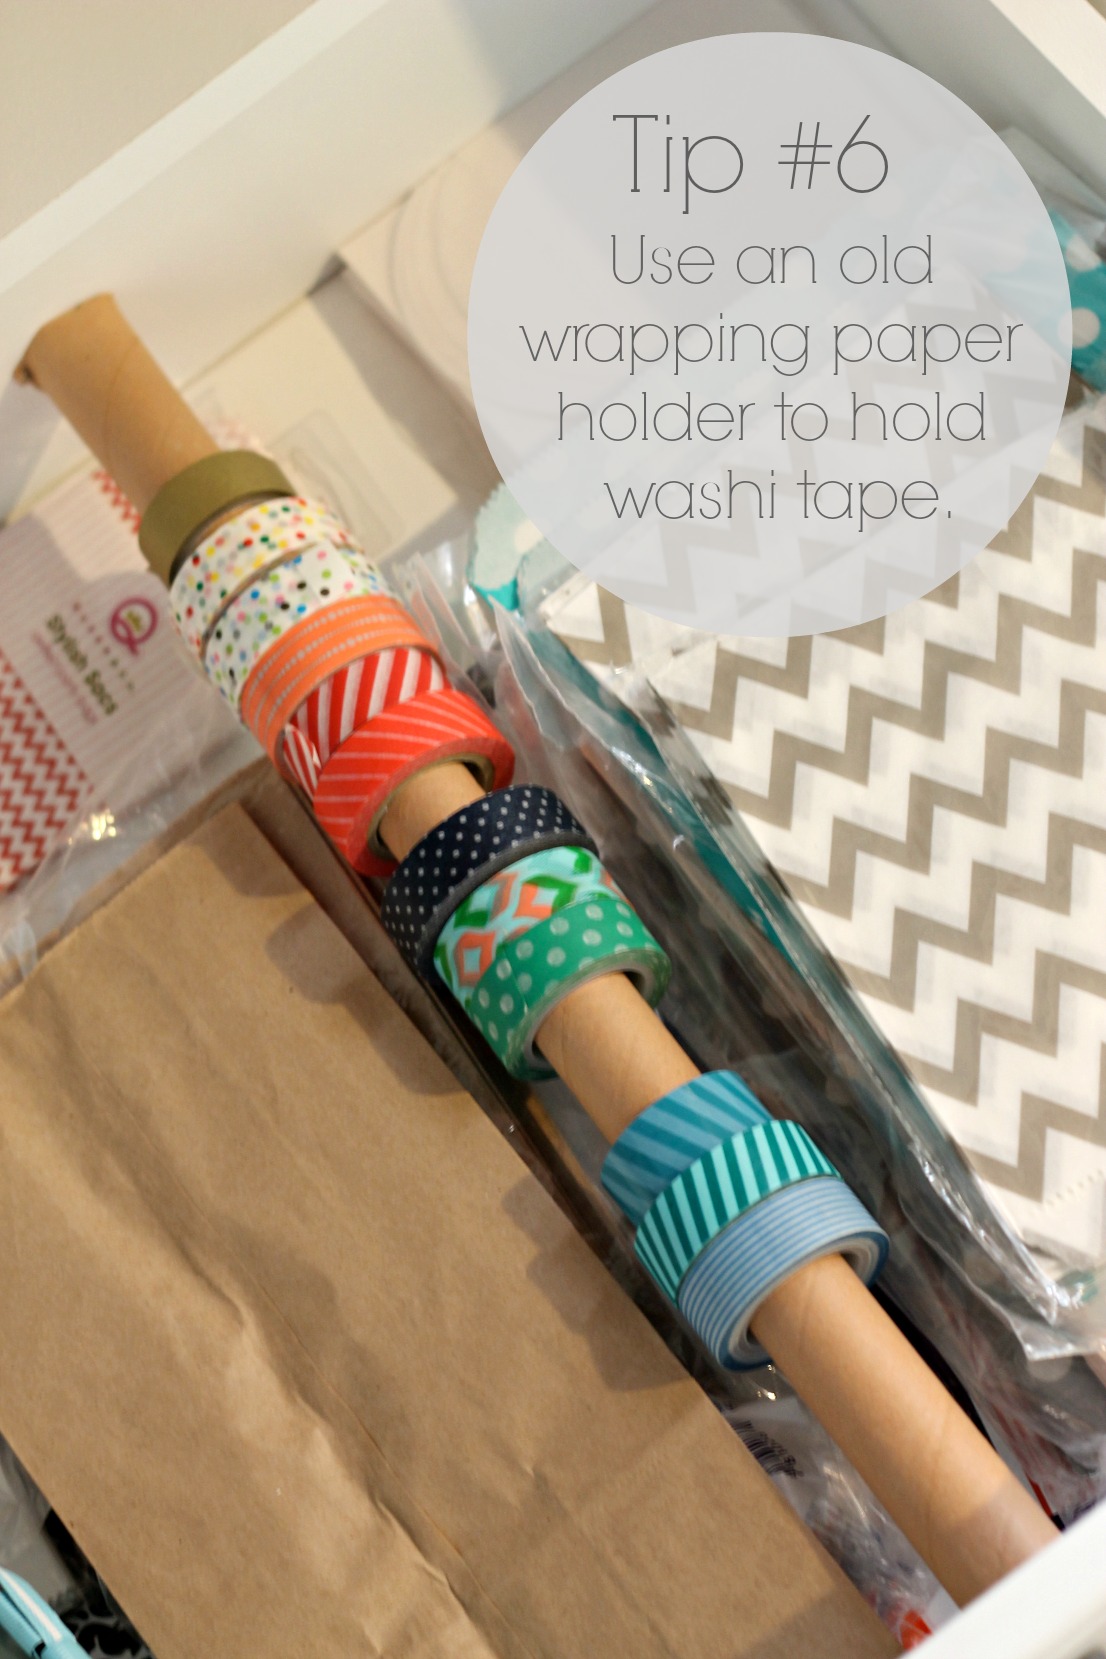
Tip #6: My washi tape collection keeps expanding and I needed a place to keep them organized. This was an old wrapping paper tube that I cut a few inches off to fit in the drawer. It works perfectly holding the tape.
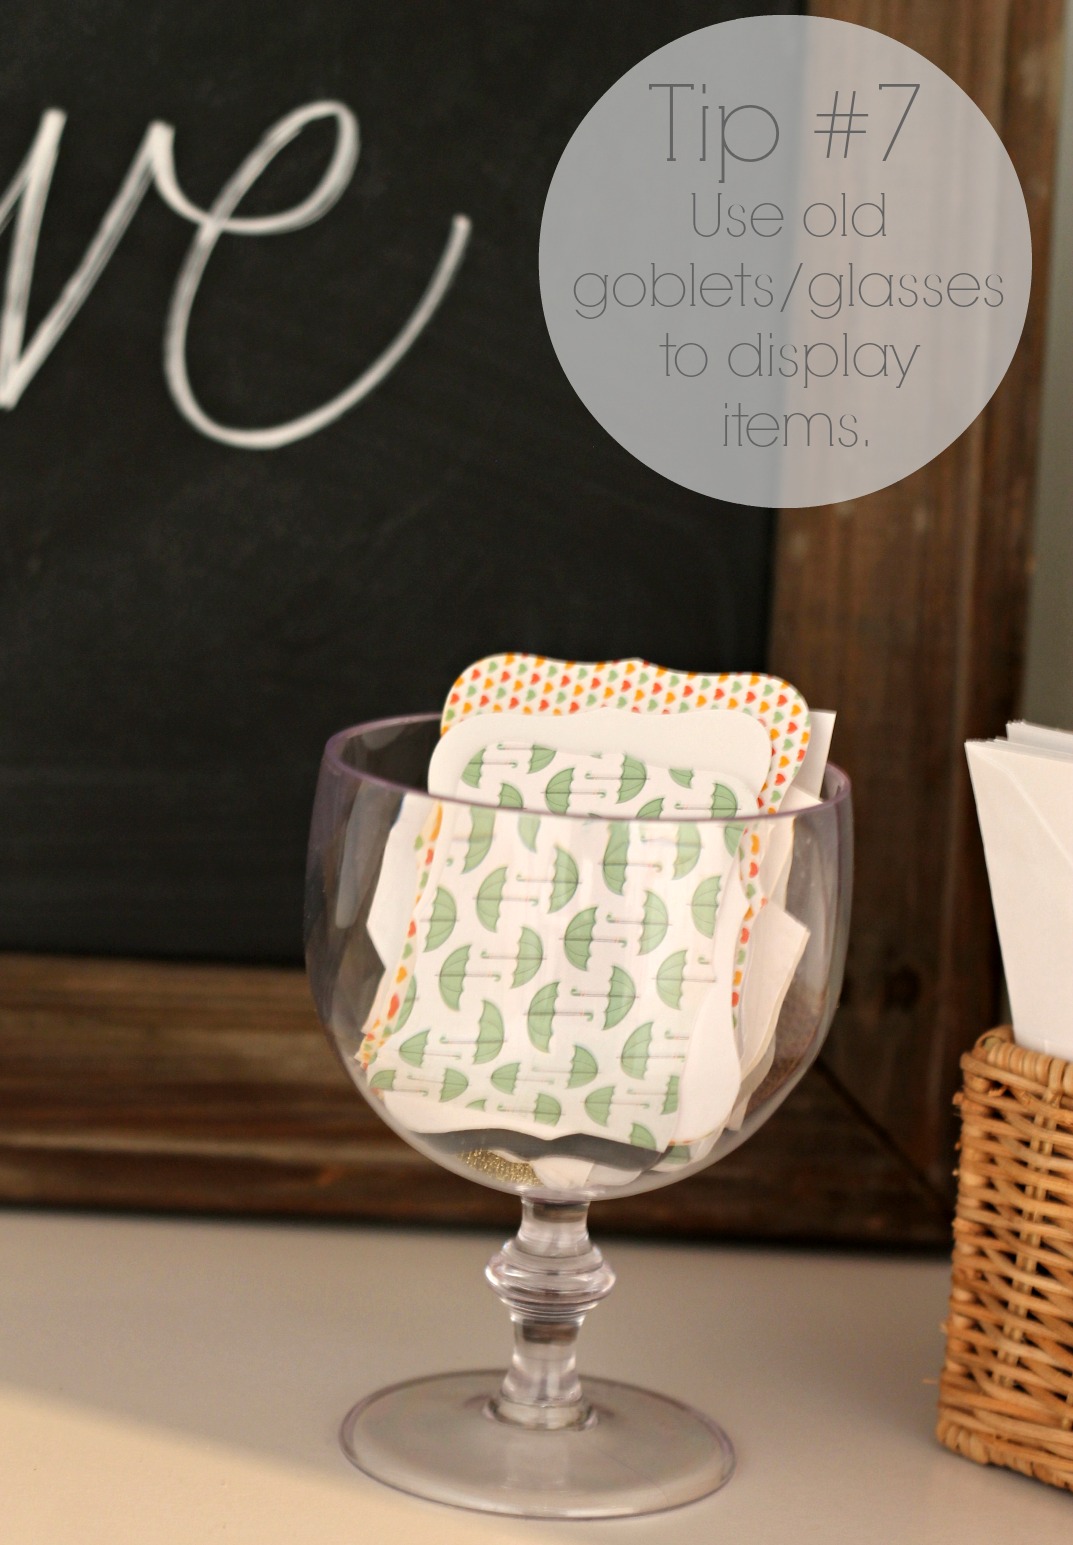
Tip #7: Have a pretty goblet or cup that you don’t use? Re-purpose it to store tags, like this.
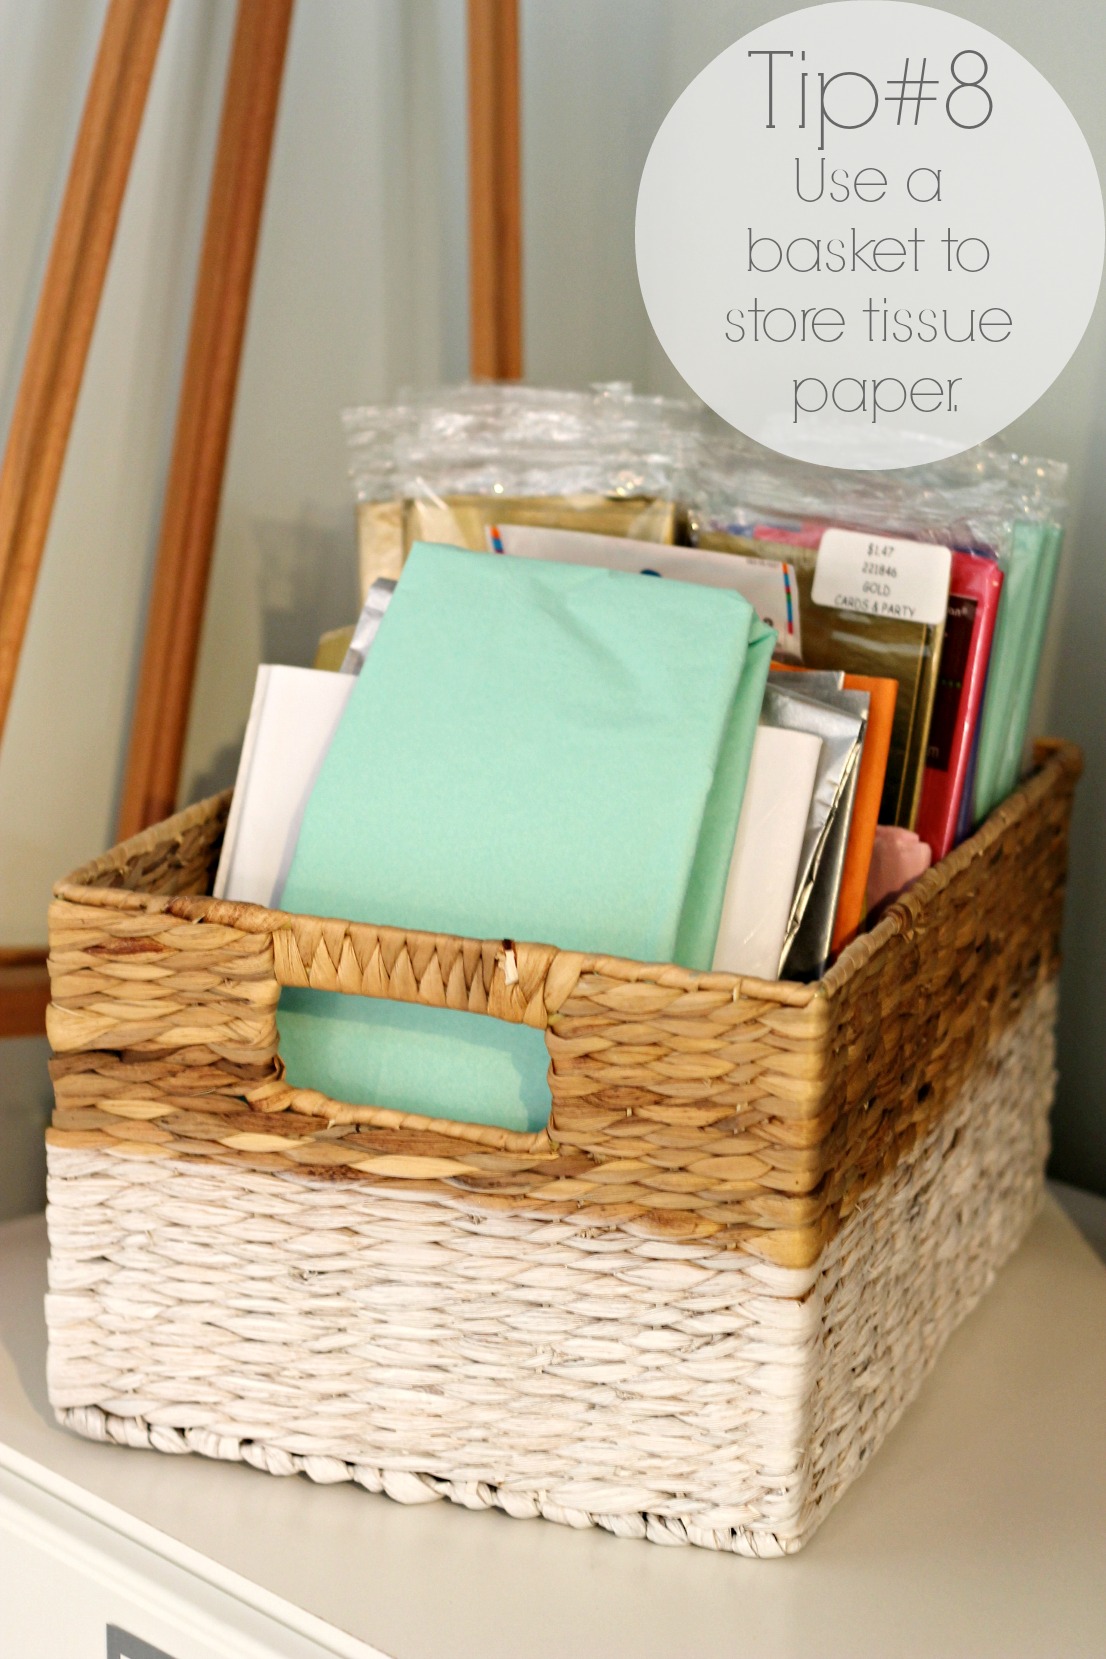
Tip #8: I had my tissue paper in a drawer but they would get so disorganized every time I looked for a sheet. This allows me to quickly find what I’m looking for while keeping the rest of them organized.
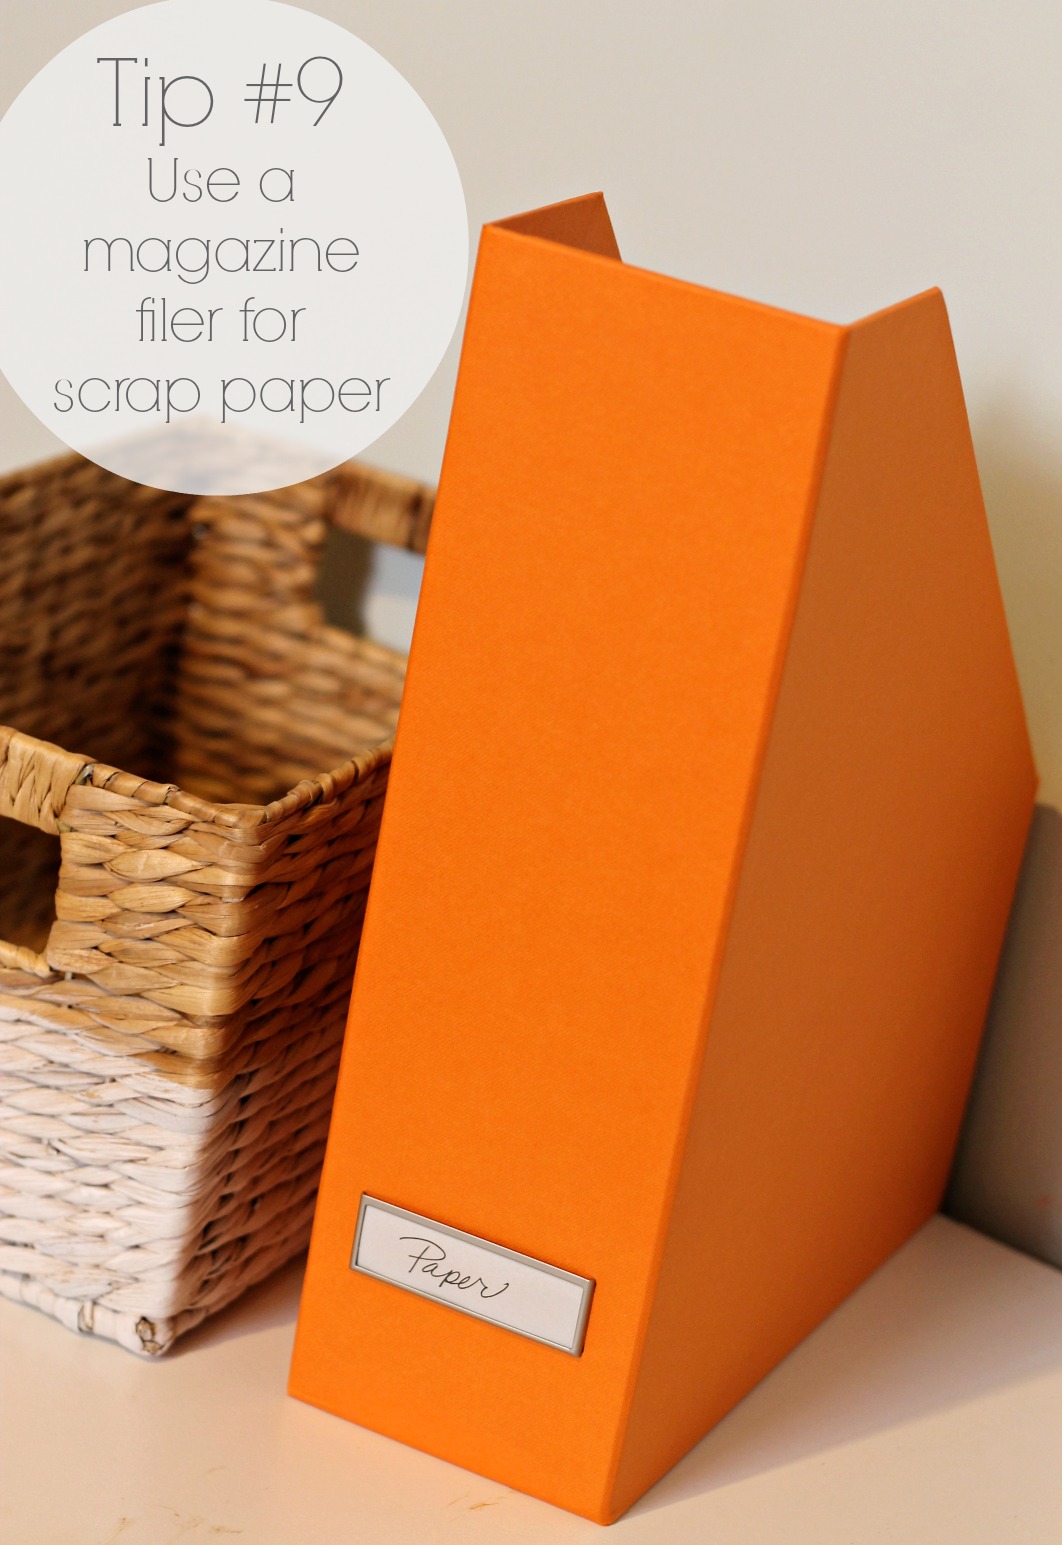
Tip #9: I always have scrap paper all over the place. Whether I’m testing possible projects or cuting something on the Cricut, it can get out of control. I now have a place to keep all the scraps so it doesn’t look like giant confetti all over the place!
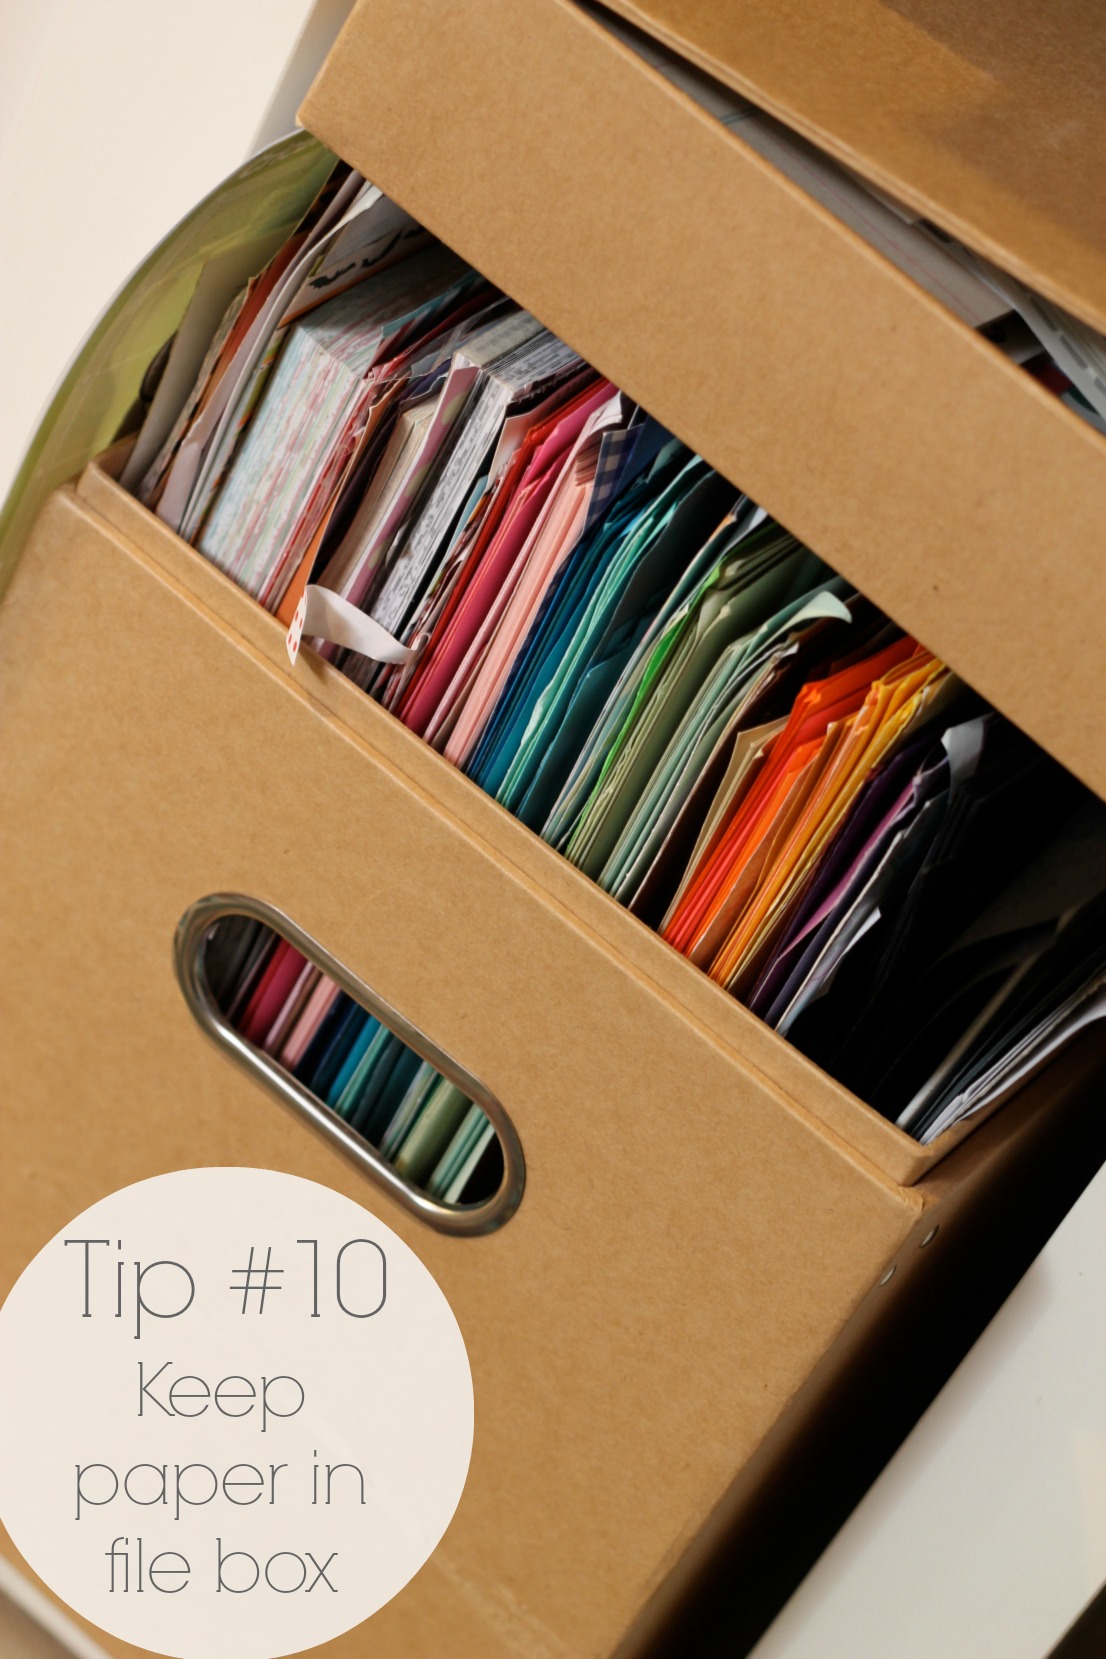
Tip #10: All of my scrapbook/craft paper is in this portable file box. It’s organized by color, which makes it easy to find pieces I’m looking for and helpful for putting things back in place.
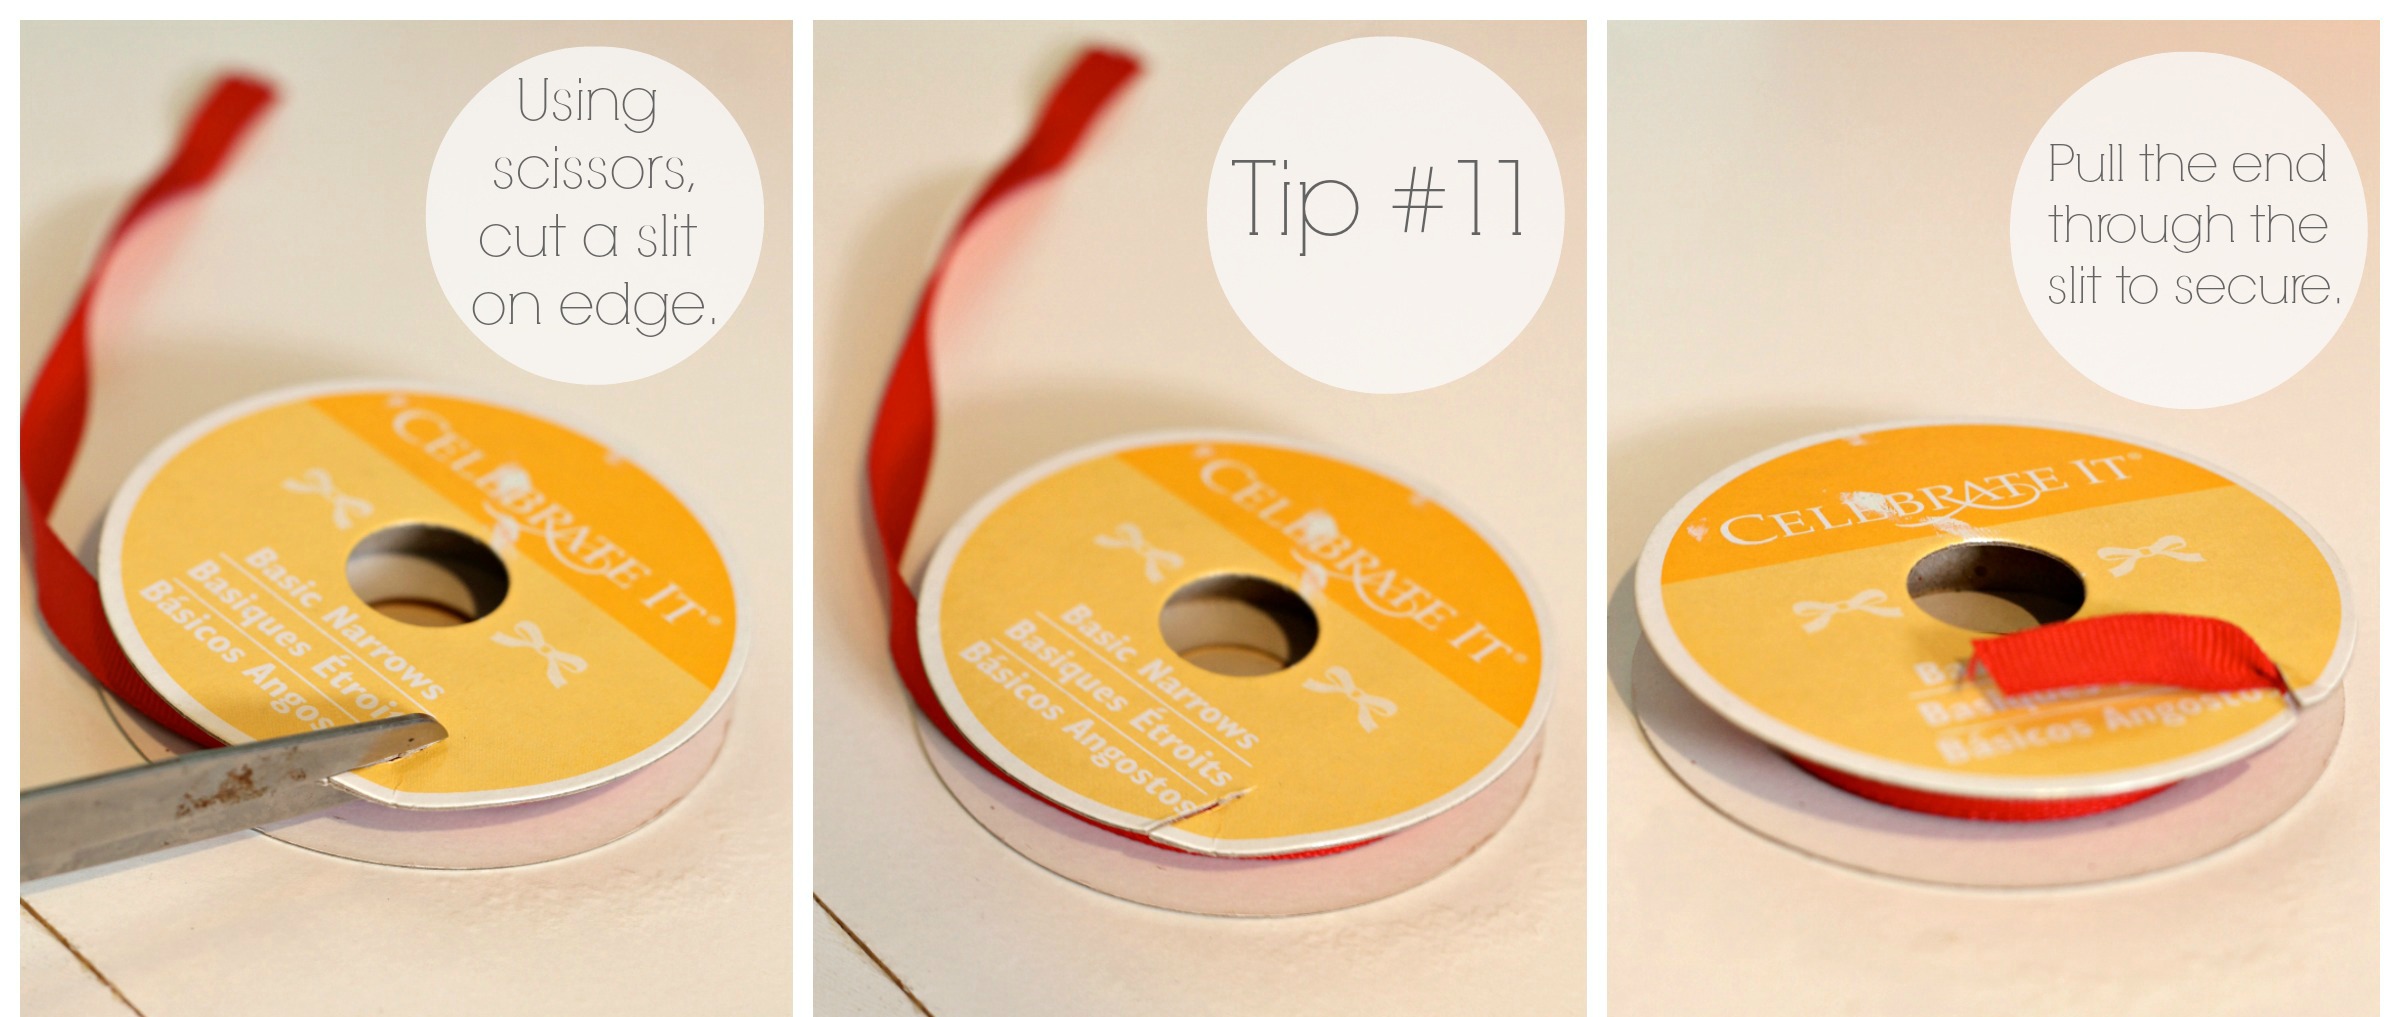
Tip #11: You may already do this but I just discovered how to keep my ribbon from going all cray cray on me. Cut a slit on one edge then tuck the end of the ribbon in it. It keeps it put!
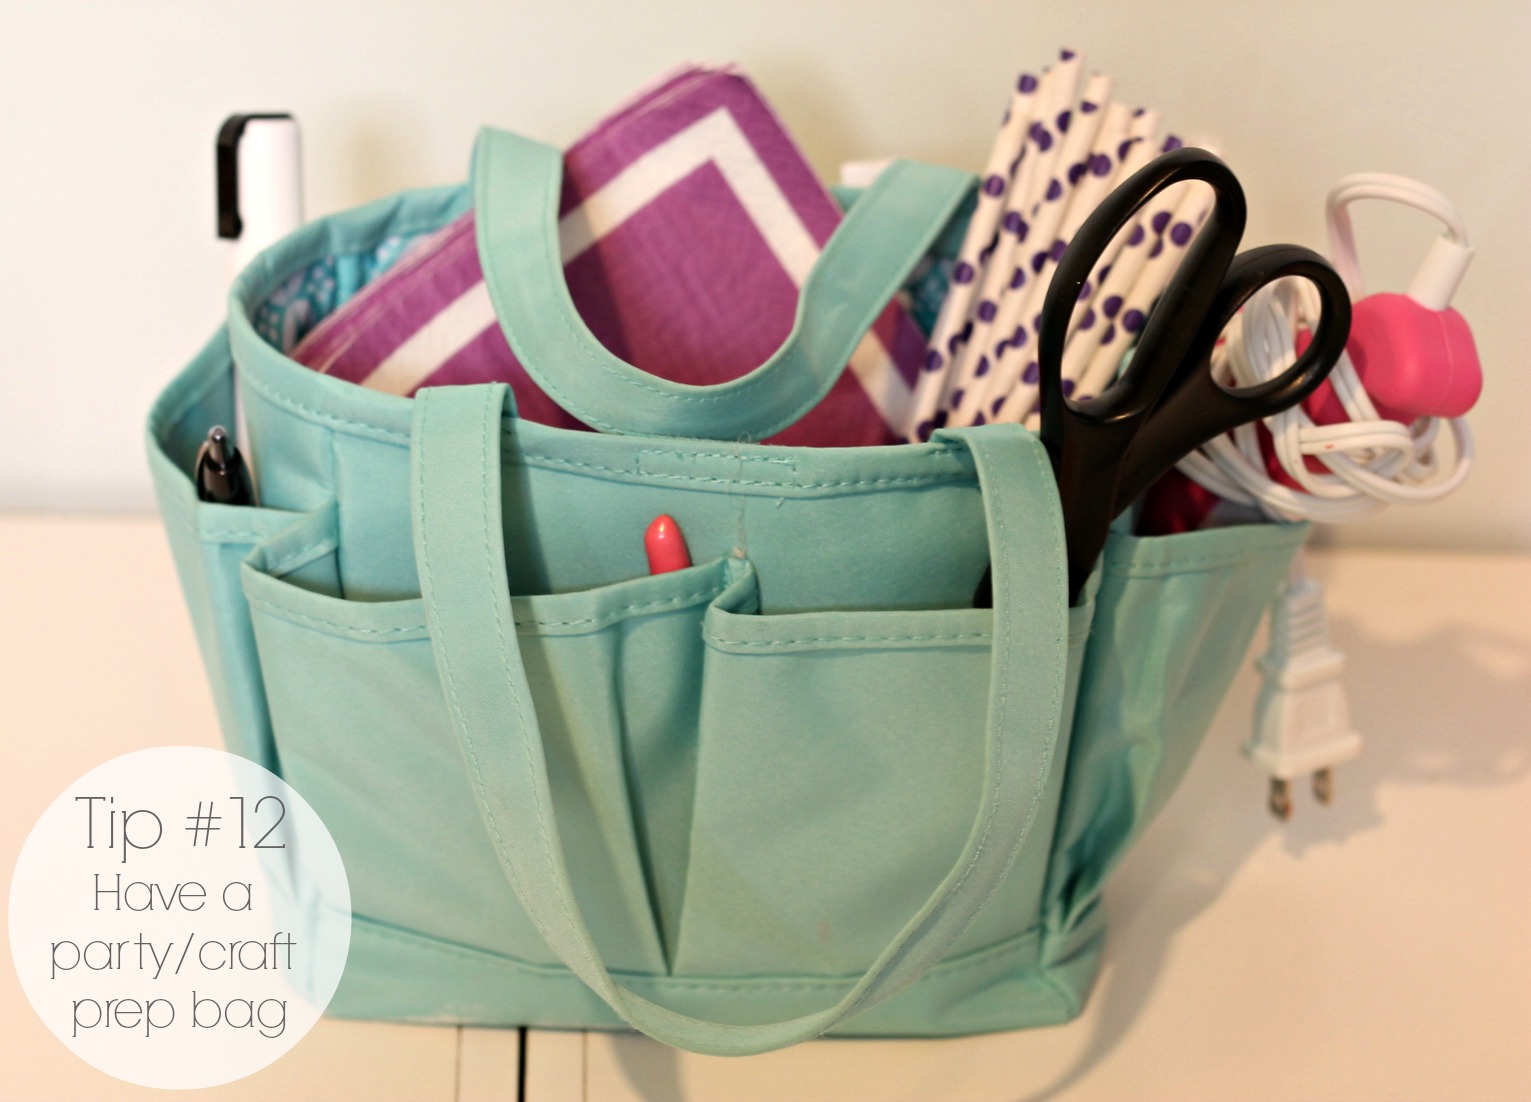
Tip #12: Does your husband (or you) watch Doomsday Preppers? (I have a point, stay with me) My husband does. It’s a show about people that prepare for some type of natural disaster. I always tell my husband…you will keep us alive if anything ever happens and I’ll throw a party! Every day we’re alive is a day to celebrate, right?
So…I’m not exactly a prepper in the terms of natural disaster. I’m a party prepper!
I have my little “bug out” bag, if you will. I usually keep a small glue gun, double-sided tape, poster tape, removable wall hooks, glue stick, scissors, pen, pliers (hey…these come in handy more than you’d think), and any other small party items I may need…like labels, straws or napkins.
So, have you been organizing lately? Have any tips to share? What do you think about my craft/party room? Anything you think I should add or take away?

p.s. This is YOUR official invite to the party… join in on the Parties for Pennies Facebook page, Twitter, Pinterest, Instagram & Bloglovin!



Love it! Ok, now can you come organize my space too? Please?! Haha.
lol! From the looks of your blog, I think I could learn a few things from YOU! I’m going to try to come to the meetup in Jan! Thanks so much for all you do at getting every one together! You’re the bomb! <3 Heidi
LOVE all these tips. Thanks for sharing “your” space! I wish I had this much space – but most of my stuff just gets stored in my closet – which I can barely walk through right now. I just need to take everything out one of these days and organize it all … May have to use some of these!! 🙂
Thanks Yvette! I’m sure eventually I’ll have to start getting rid of stuff or just downsize. I feel like I hog most of our storage space. ;p <3 Heidi
So many great organization tips!! Your craft room looks great – I bet it’s really inspiring to work there. I personally love the silver lamp from Ikea – we bought a similar one for a guestroom makeover we did last year.
Thanks so much Elizabeth!! It’s both inspiring & a good reminder to do laundry! ;p I’m glad you like the lamp. I think I may be coming around. <3 Heidi
Cute little room Heidi, we are lucky enough to live in a four bedroom house but we only need 3 so we have a room spare for an office and a craft room, I’m in the process of redoing it but everything is so expensive and we are on an extremely limited budget plus we need to get everything – bookshelves, 2 desks, frames for walls and storage stuff. It’s currently in a stalled state but I’m hoping to get something done about it in the next few weeks so I can have a place to put all my stuff! You’ve given me some good ideas for some organisation! 😉
Thanks Danielle! I completely understand. It’s so hard to figure out the function of things, in a tight space, on a limited budget & to make it look nice too! I’m sure it will end up coming together. Hope you have an awesome day! <3 Heidi
Heidi, you did an awesome job getting it all together. I really love the idea of storing your wrapping paper on the back of the door. It was kind of a “ah ha” moment.
I love using large carabiner clips to keep ribbon or tape in one place. I hang the clips on the wall and I can see exactly what I need!
Oh that’s a GREAT idea Meredith! Love the carabiner idea!! <3 Heidi
I like your room and tips. I never have enough light in my sewing room, so my husband installed 2 shop lights and they are amazing. Easy to install and inexpensive and give great lighting. I highly recommend them.
Thanks Janet! That’s a great idea! Budget-friendly and helpful! <3 Heidi
Great ideas! I especially like the wrapper tube as washi holder. So clever! Love your new crafts room 🙂
Thanks so much Nicole!! Part of me doesn’t even want to work down there because I want to keep it looking like that! ;p <3 Heidi