Hey party people!
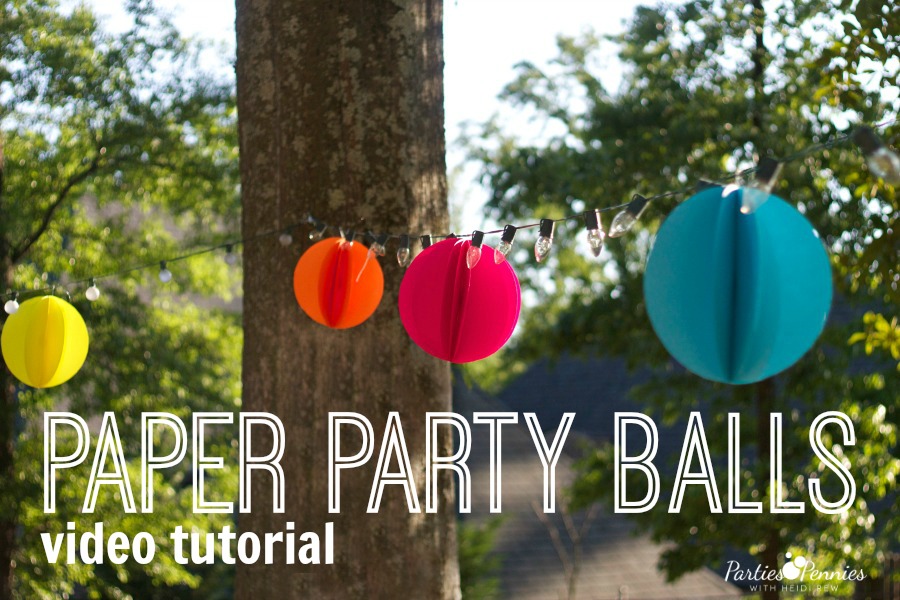
Warm weather is here and that means OUTDOOR parties. All this month I’ll be sharing projects and recipes to help you throw your own outdoor party. Today, I want to share an easy party decoration craft I made for a recent party: Paper Party Decorations.

When they said “ACTION” I had a little trouble with this project. See why and find out how to make your own…
Does anyone else start blushing when you have to say that word? What should I call these things?
Suddenly everything I begin to type here, my mind suddenly goes to “That’s what she said.” So much for PG Parties for Pennies today.
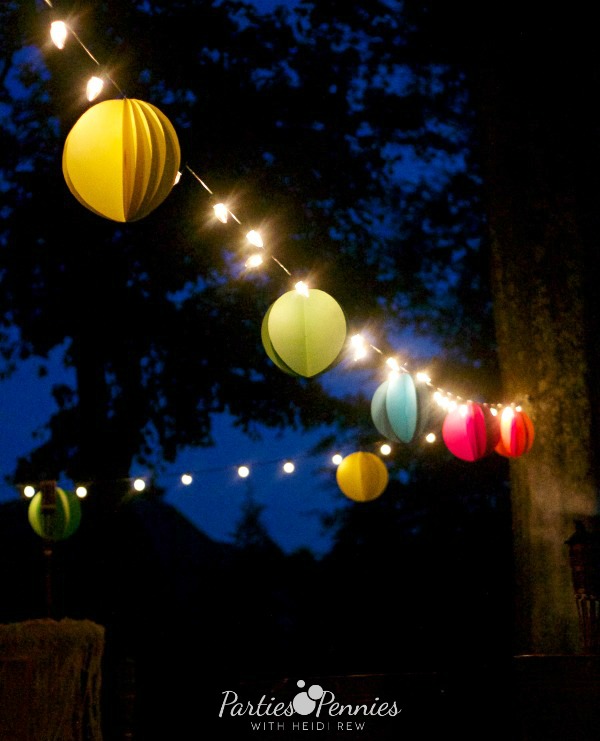
I could’ve gone smaller but I decided to go big (see what I mean??!) for our outdoor party. We (my MIL Barbara and her husband Joe were in town and such a huge help) strung them up along the lights in the backyard and they looked beautiful!

I asked my husband if we could keep them up for a few extra days just so I could enjoy them a little while longer.
For the big balls (oh goodness), I just traced a circle on a large piece of scrapbook paper and cut them out. For the smaller balls, you can use a circle punch, like this one…
Thanks so much for checking out my video tutorials. If you enjoy them, would you mind sharing them? You can also subscribe to my You Tube Channel to get a first-look at new videos.


THIS IS SO NICE! I have always been a fan of string lights and these are just very pretty! Great party decorations!
Thanks Johnnalyn! <3 Heidi
I have to admit I chuckled a little when I watched your video — but am not sure of any other name to use. Sorry! So cute!! I may have to make some of these – awesome rainy day project with my 7 year old! 🙂 Thank you!
Funny how some things still make us giggle like middle school girls, huh??! :p Thanks Yvette! <3 Heidi
Love it Heidi! How about calling them paper poms (or pom-poms)?
Ps. Can’t say “that” word either anymore without blushing or giggling! Who ruined it?!?!?! 😉
I like it Rachel! Thanks…I know! There are so many words that I say so innocently, yet could be taken the wrong way. ;p <3 Heidi
great video! a. How did you say balls without giggling, LOL? hilarious. b. how do you string them? I would think you would have to staple a string into the structure?
Thanks Melissa! It was super awkward because my film crew was made up of all males (thanks Dynes Media)! ;p You could staple a string, but we used clear fishing line and attached it with a needle. If it’s super windy the staple option may not work as well. For the smaller balls, I used a glue gun to attach a fun straw to it. Thanks again, Melissa! <3 Heidi
These are cool, maybe they could be called paper party spheres?? Or puffs??
Party Spheres…sounds out of this world! 🙂 Thanks Danielle! Great idea. <3 Heidi
It’s just one of those awkward words, isn’t it! I can’t think of anything else to call them though.
I needed this idea a couple weekends ago. Now, I know what to use for color pop during my next patio party! Do you think you could store them folded and reuse them?
haha..exactly. Yes. You can totally store these flat. You may have to really “fluff” them up when you’re ready to use them but they will lay flat. <3 Heidi
Too funny! Thanks for sharing such a “real” moment, I like Party Spheres or Party Orbs 🙂
🙂 Orbs sound cool! Like it. Thanks so much, Michelle! <3 Heidi
You are just too cute! Ha! I want to make a bunch of these for a an outdoor graduation party I’m hosting in a few weeks! For the really large party pom poms, how many pieces of paper do you recommend using?
Thanks Kim! These would be perfect. I used 4 sheets of the large square cardstock. I’d recommend 4-6 sheets for each ball. I bought one pack of the 12×12 neon colors card stock multipack (on sale, of course…so it was about $6) and I made at least 10 balls. Here’s something a little extra I did – since the balls were a little larger, they were having a hard time staying open between the sheets (oh man, oh man…I cannot do crafts with that word in it )…so I cut out smaller circles, wedged them between each sheet, and glued them in place with a glue stick. That helped open them up. It takes a little extra time…but just a tip if that bugs you. <3 Your foul-mouthed blogger friend ;p
Okay – could you be any cuter? And, I think you just saved my tush. 20 minutes ago I realized that the day before I am suppose to have centerpieces finished for 20 tables for church I will be chaperoning a trip to the city all day! Out go the fresh flowers – in go the “paper poms” :)! You clever girl!
And could you be any cuter?
Oh that’s awesome Laura!! I just adore the beach house you did on the blog recently! You are so talented. <3 Heidi
oh- and one more thing – I missed where you staple / glue – is it down the middle?
On the smaller ones, staple in the middle. Some of the larger ones, that’s more difficult to do. I stapled at either end. <3 Heidi