Hey party people!
Last weekend, I hosted a dinner party for a group of my girlfriends. Everything turned out great, despite still having all of my Christmas decorations up the day of the dinner. I was able to get them all put away in time, but…it was a close one. #Motivation
I’m going to do a whole post tomorrow on How to Throw a Budget-Friendly Dinner Party, but first I wanted to share a little trick I did to hide the fact that I didn’t have matching silverware sets for everyone.
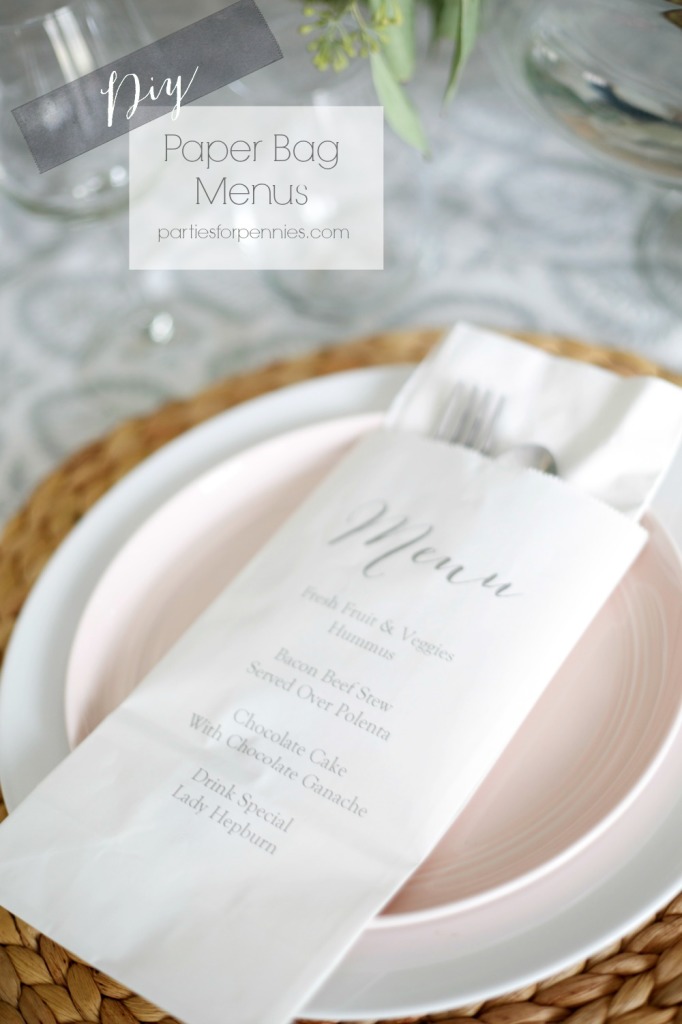
I know. Not having matching silverware sets totally wins the award for #firstworldproblems. Somehow our silverware must be conspiring with our socks because we constantly lose random pieces. Not only did I have the issue of non-matching silverware for my dinner party, but I also needed something else for the table. It was just missing something.
I went through my party supplies and found these paper bags. I got them from a craft store and thought they may add the perfect touch. They did! I was able to print my menu on the bags, then hide the mismatched silverware inside the bag.
I literally did this 30 minutes before my guests arrived. It’s super simple. Here’s How to Make Paper Bag Menus…
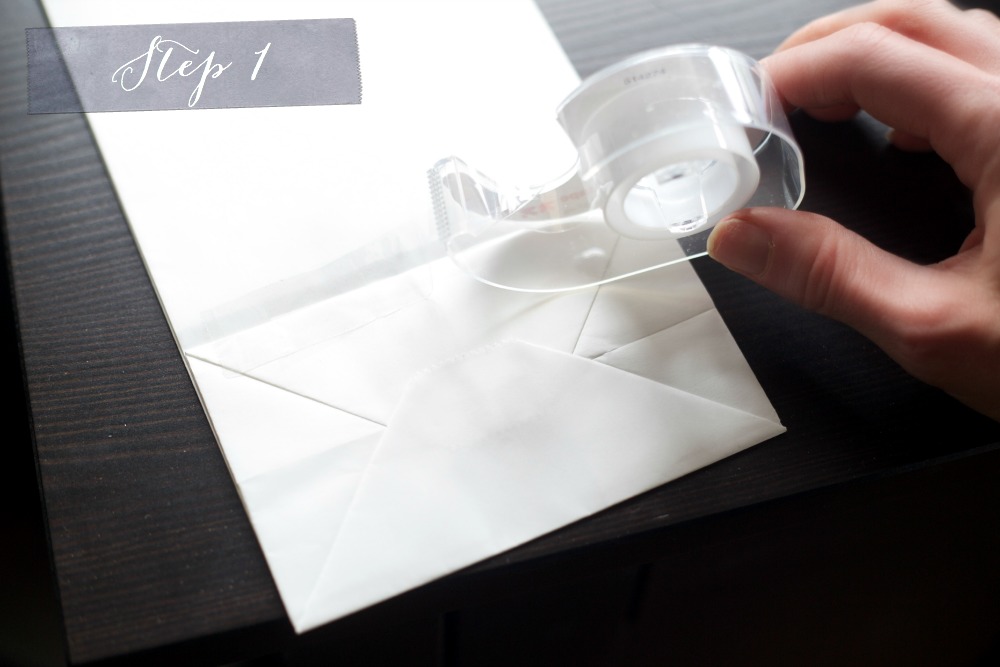
| STEP 1 |
Use transparent tape to attach the bottom of the bag to one side so that it will lay flat. Then, fold a small piece of tape over the top of the bag, so it’s closed. This keeps the bag from getting caught in your printer. TIP – for the top of the bag, let more of your tape hang over the side where the bottom is taped up.
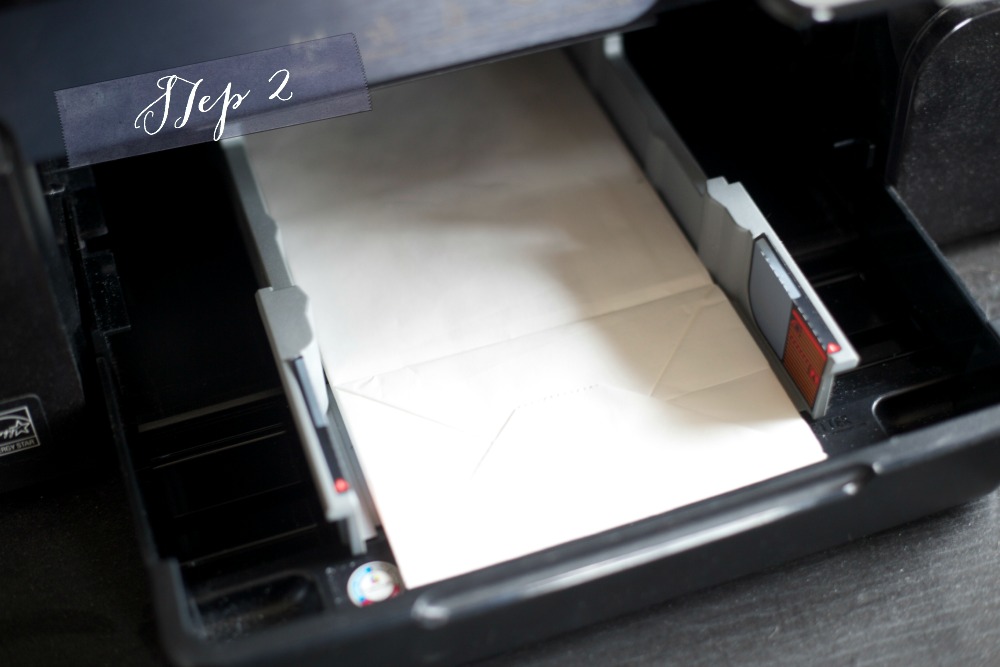
| STEP 2 |
Adjust your printer tray to hold your paper bag. Place your taped bags bottoms up in your printer tray.
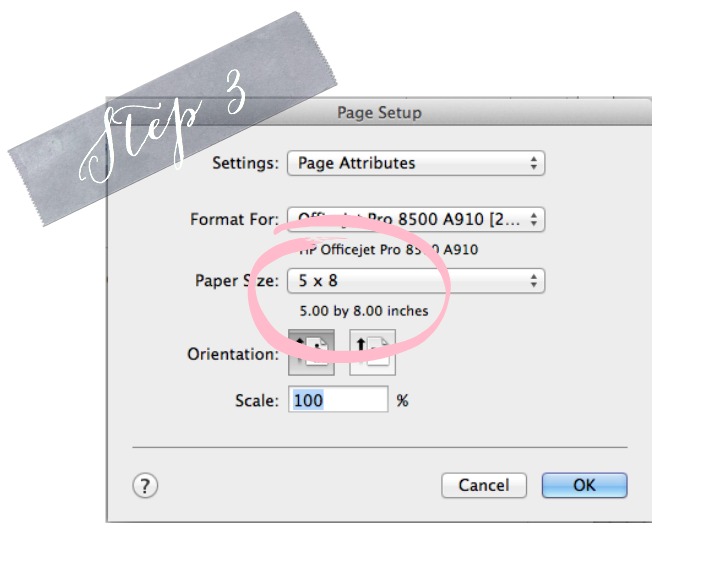
| STEP 3 |
Open up Word, then Publisher. Click on Page Setup, under “File.” Click on the drop down menu that says “paper size.” Click on “Manage Custom Sizes” at the very bottom. Put in the width and height of your paper bag and click okay.
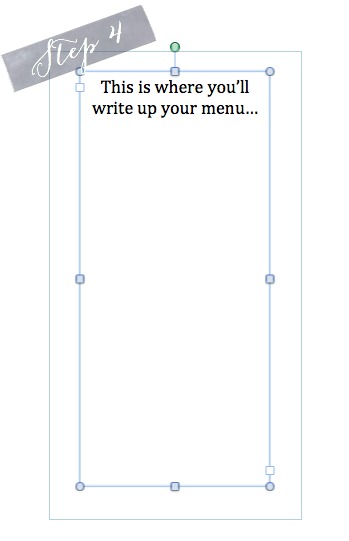
| STEP 4 |
Once you hit “okay” on your page setup, it should automatically change your publisher page. Open up a text box and begin creating your menu. Once you’re down, just print.
If you want to put your napkin and silverware inside your Paper Bag Menu like I did, simply take some scissors and cut a small sliver off the top of each bag. This is a lot faster than trying to peel the tape off the top of each bag.
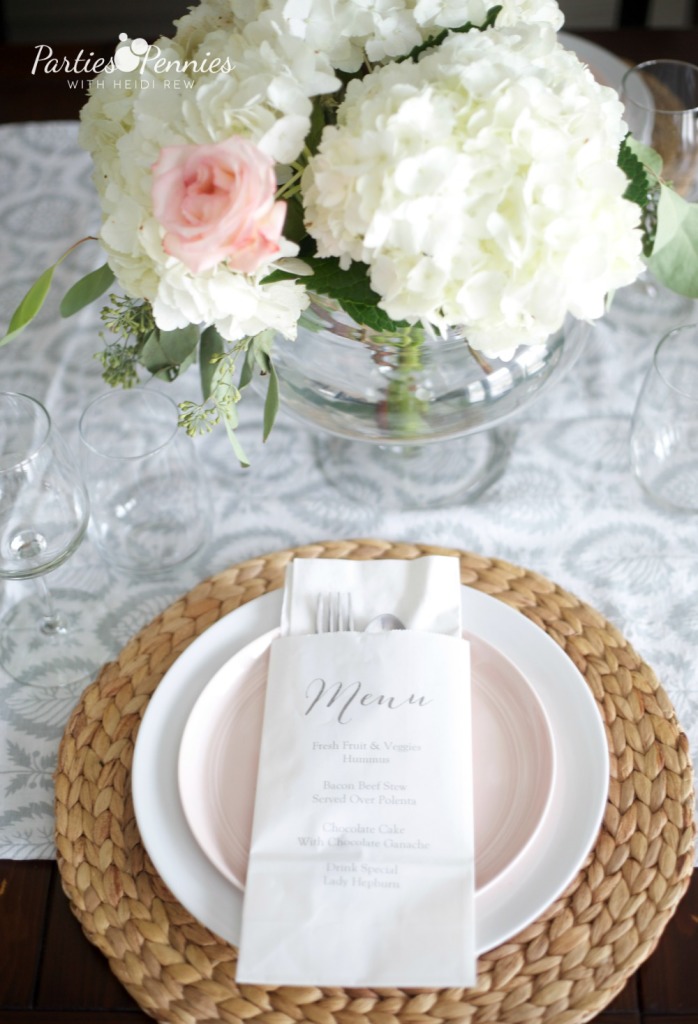
You can also personalize these by putting each guest’s name on their menu. That way it doubles as a place card.
How do you feel about dinner parties? Does the thought of hosting them stress you out? Do you enjoy throwing them? Any funny stories of recipes gone wrong?


We are a proud supporter of the remarkable cancer research being done by Cancer Antibodies Inc. 501(c)(3) non-profit Cancer Antibodies
Copyright © 2023 · Parties for Pennies – A WebStuff Web Property


Heidi,
I love this! Not only am I pinning this for my next dinner party. We are going to feature this post on our Saturday selections on Saturday this week. So cute! Hope you had a great time ringing in 2015. Cheers
Thank you so much, Jordan! I really appreciate it! Hope you are doing well & 2015 is going good for you so far! <3 Heidi
Love this idea!!
Could you be more clear about taping the the top of the bag?????
Thx
Yes, sorry if it wasn’t clear Beverly. The tape just keeps the printer from wanting to eat the paper bag. Simply take a small piece of tape and fold it over the top of the bag (where the opening is). You may be fine without the tape. I just used it as a preventive measure. <3 Heidi
What an adorable idea! These are so pretty!
Kari
http://www.sweetteasweetie.com
Thanks Kari! <3 Heidi