Hey party people!
I’m guessing that you’ve already figured out this post isn’t necessarily party-related but it did result in a party in my casa.
An organizing party, that is…and it was a blast!
First, meet my husband, Mike.
Isn’t he hunky? ;p There is never a dull moment and I love it.
You may know, if you’ve been reading for awhile, that we bought our house a little over 2 years ago. It’s an older home, built in the early 60s, so we’ve had to do some renovations. A lot of things were already done but one of the things we did was add a garage door. It has made a huge difference and we’re so thankful we did.
We’re still wanting to add some epoxy to the garage floor but for right now, we needed to get organized. That actually goes for a lot of our house but let’s just take one morsel at a time.
You know how our mom’s passed on recipes to us, well Mike’s dad passes down building plans. Dave (Mike’s dad) sent some plans for a garage shelving unit (a MACDaddy shelving unit) and a workshop table/bench. The first phase he tackled was the shelving unit. Here’s how to build shelves for your garage…
Is there anything more sexy than seeing a man work with tools…especially when it’s for organization sake??? Nope. Not much. Maybe if you throw in him holding a baby. Yep…that’d be the trifecta of sexiness…let’s see a Ryan Gosling “Hey Girl” with that one!
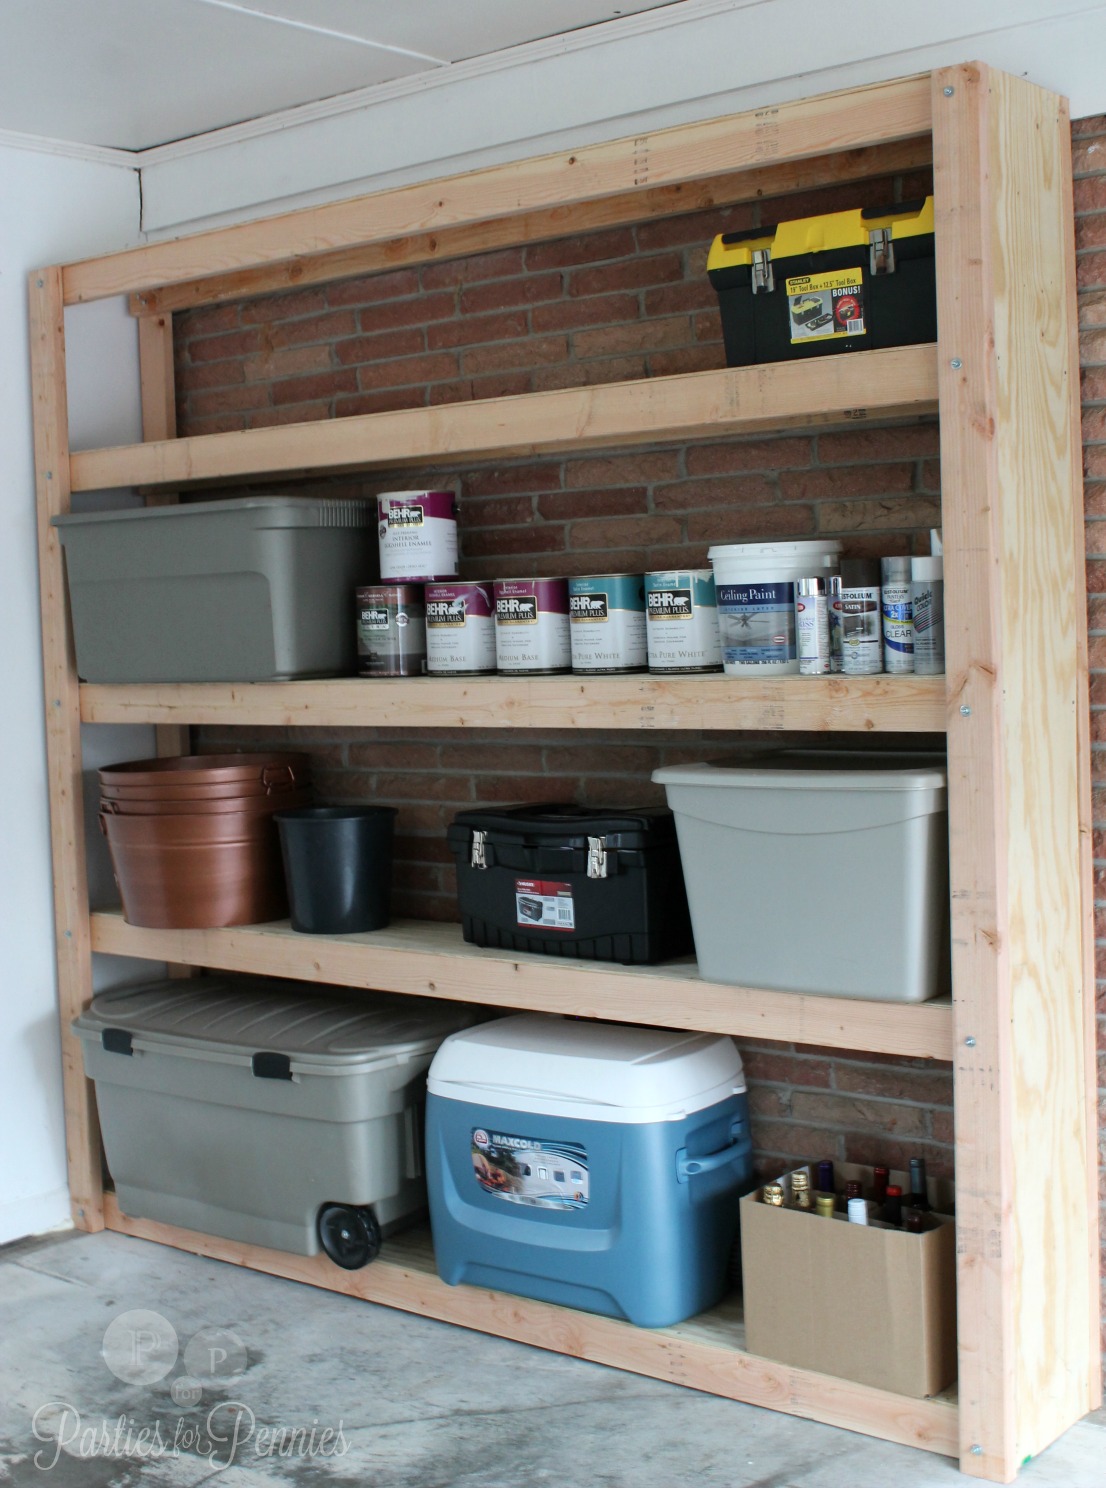
This is the finished product. I love how high it is! I have short-girl syndrome, so tall things intrigue me. This also means…more space to color-coordintate things in an organized dream world.
HA! That did not & will not happen. Mike won’t let me. Not in his garage area. The hall linen closet…okay. His garage/workshop…heck no, techno.
(Mike here: umm, nor the “Den o’ Bro’ness”….for the record.)
BUT…he did let me stage it for pictures…
So…just so you know…it is not color coordinated or have nice little labels on it. Mike put his foot down.
It HAS, however, been great for our garage. We were able to bring a lot of things up from our basement because of the massive amount of storage space we have now. Before we just had a small metal shelf and now we’ve tripled our storage space.
Mike wanted to pass on the plans to you too. And the best part? It won’t take a ton of tools – just the basics: hammer, drill, wood saw (and a little help from your local hardware store to cut the plywood). Here’s the “shelving unit recipe” Mike’s dad gave him. Print them out by clicking on the link that says, “Garage Shelving Plans.”
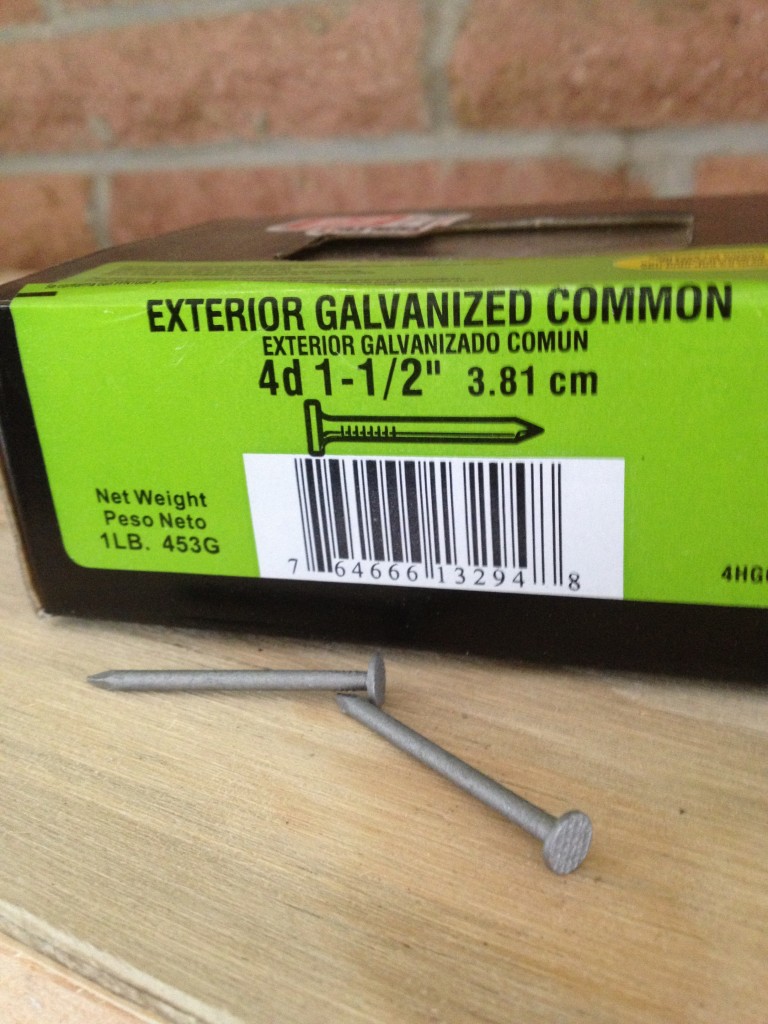
One thing Mike said was to use galvanized nails. They hold the wood together better the shiny ones. Here’s a picture of what he used:
If you have any questions, Mike would be happy to answer them. You can either comment here, email (heidi@heidirew.com), facebook or tweet your questions/comments.
Are you organizing or doing any spring cleaning this weekend?
Party On…even if it’s an organizing party!

p.s. This is YOUR official invite to the party… on the PartiesforPennies facebook page! Click here.
LINKING TO:


Oh yes! Much much organization and cleaning is happening over here! I’ve washed all my curtains and now I’m scrubbing on my blinds And windows. I’m also going through all the kids clothes (and the hand-me-downs) which is a never ending Vortex. Next up? The garage. 🙂 Thanks for such a helpful post!
Whitney…I dub you super woman! That is amazing! Are you going to put any of your tips on your blog?? I do have to say…you inspired me. Over the weekend, I also scrubbed a blind…yep…just one…but it’s clean now. ;p Thanks Whitney! <3 Heidi
Nice job Mike and Heidi like the staging! How did you guys stabilize it to the wall or is it heavy enough that it won’t fall once you add your items to it?
Thanks Amy! I’m so glad you asked. I forgot to mention that. We did stabilize it. We ended up bolting it with 5-5 1/2″ screws to the wood right above the brick. Mike said you can bolt it to the brick too. Just ask the associates at your local hardware store for a kit to do that. Sorry…I should’ve just let him answer your question. I forgot what kind of kit it was. ;p Anyways…we just bolted it at the top of the shelving. He said once kids come along, he may bolt it at the bottom as well…just to be safe. Hope this helps. If not, I’ll just let him answer the question. ;p <3 Heidi
I agree with him about the bottom part as well when the kids come along. I assume he is talking about some kind of masonry bolts or hardware but yes, asking him would be helpful! 🙂
This is certainly a thing that everyone must do.
It’s a quick and additionally easy method to make things straight-forward.
Simple tips like these are what I look for when I’m finding options to improve my home. My dad has built all sorts of different shelves in his home, but some of them were better than others. I’m looking around to find some options that I like for a corner in my garage and a small space in the shed. These shelves may be a good option for me to look at a bit more. Thanks!
Sure! Good luck, Andrew! – Heidi Rew