Hey party people!
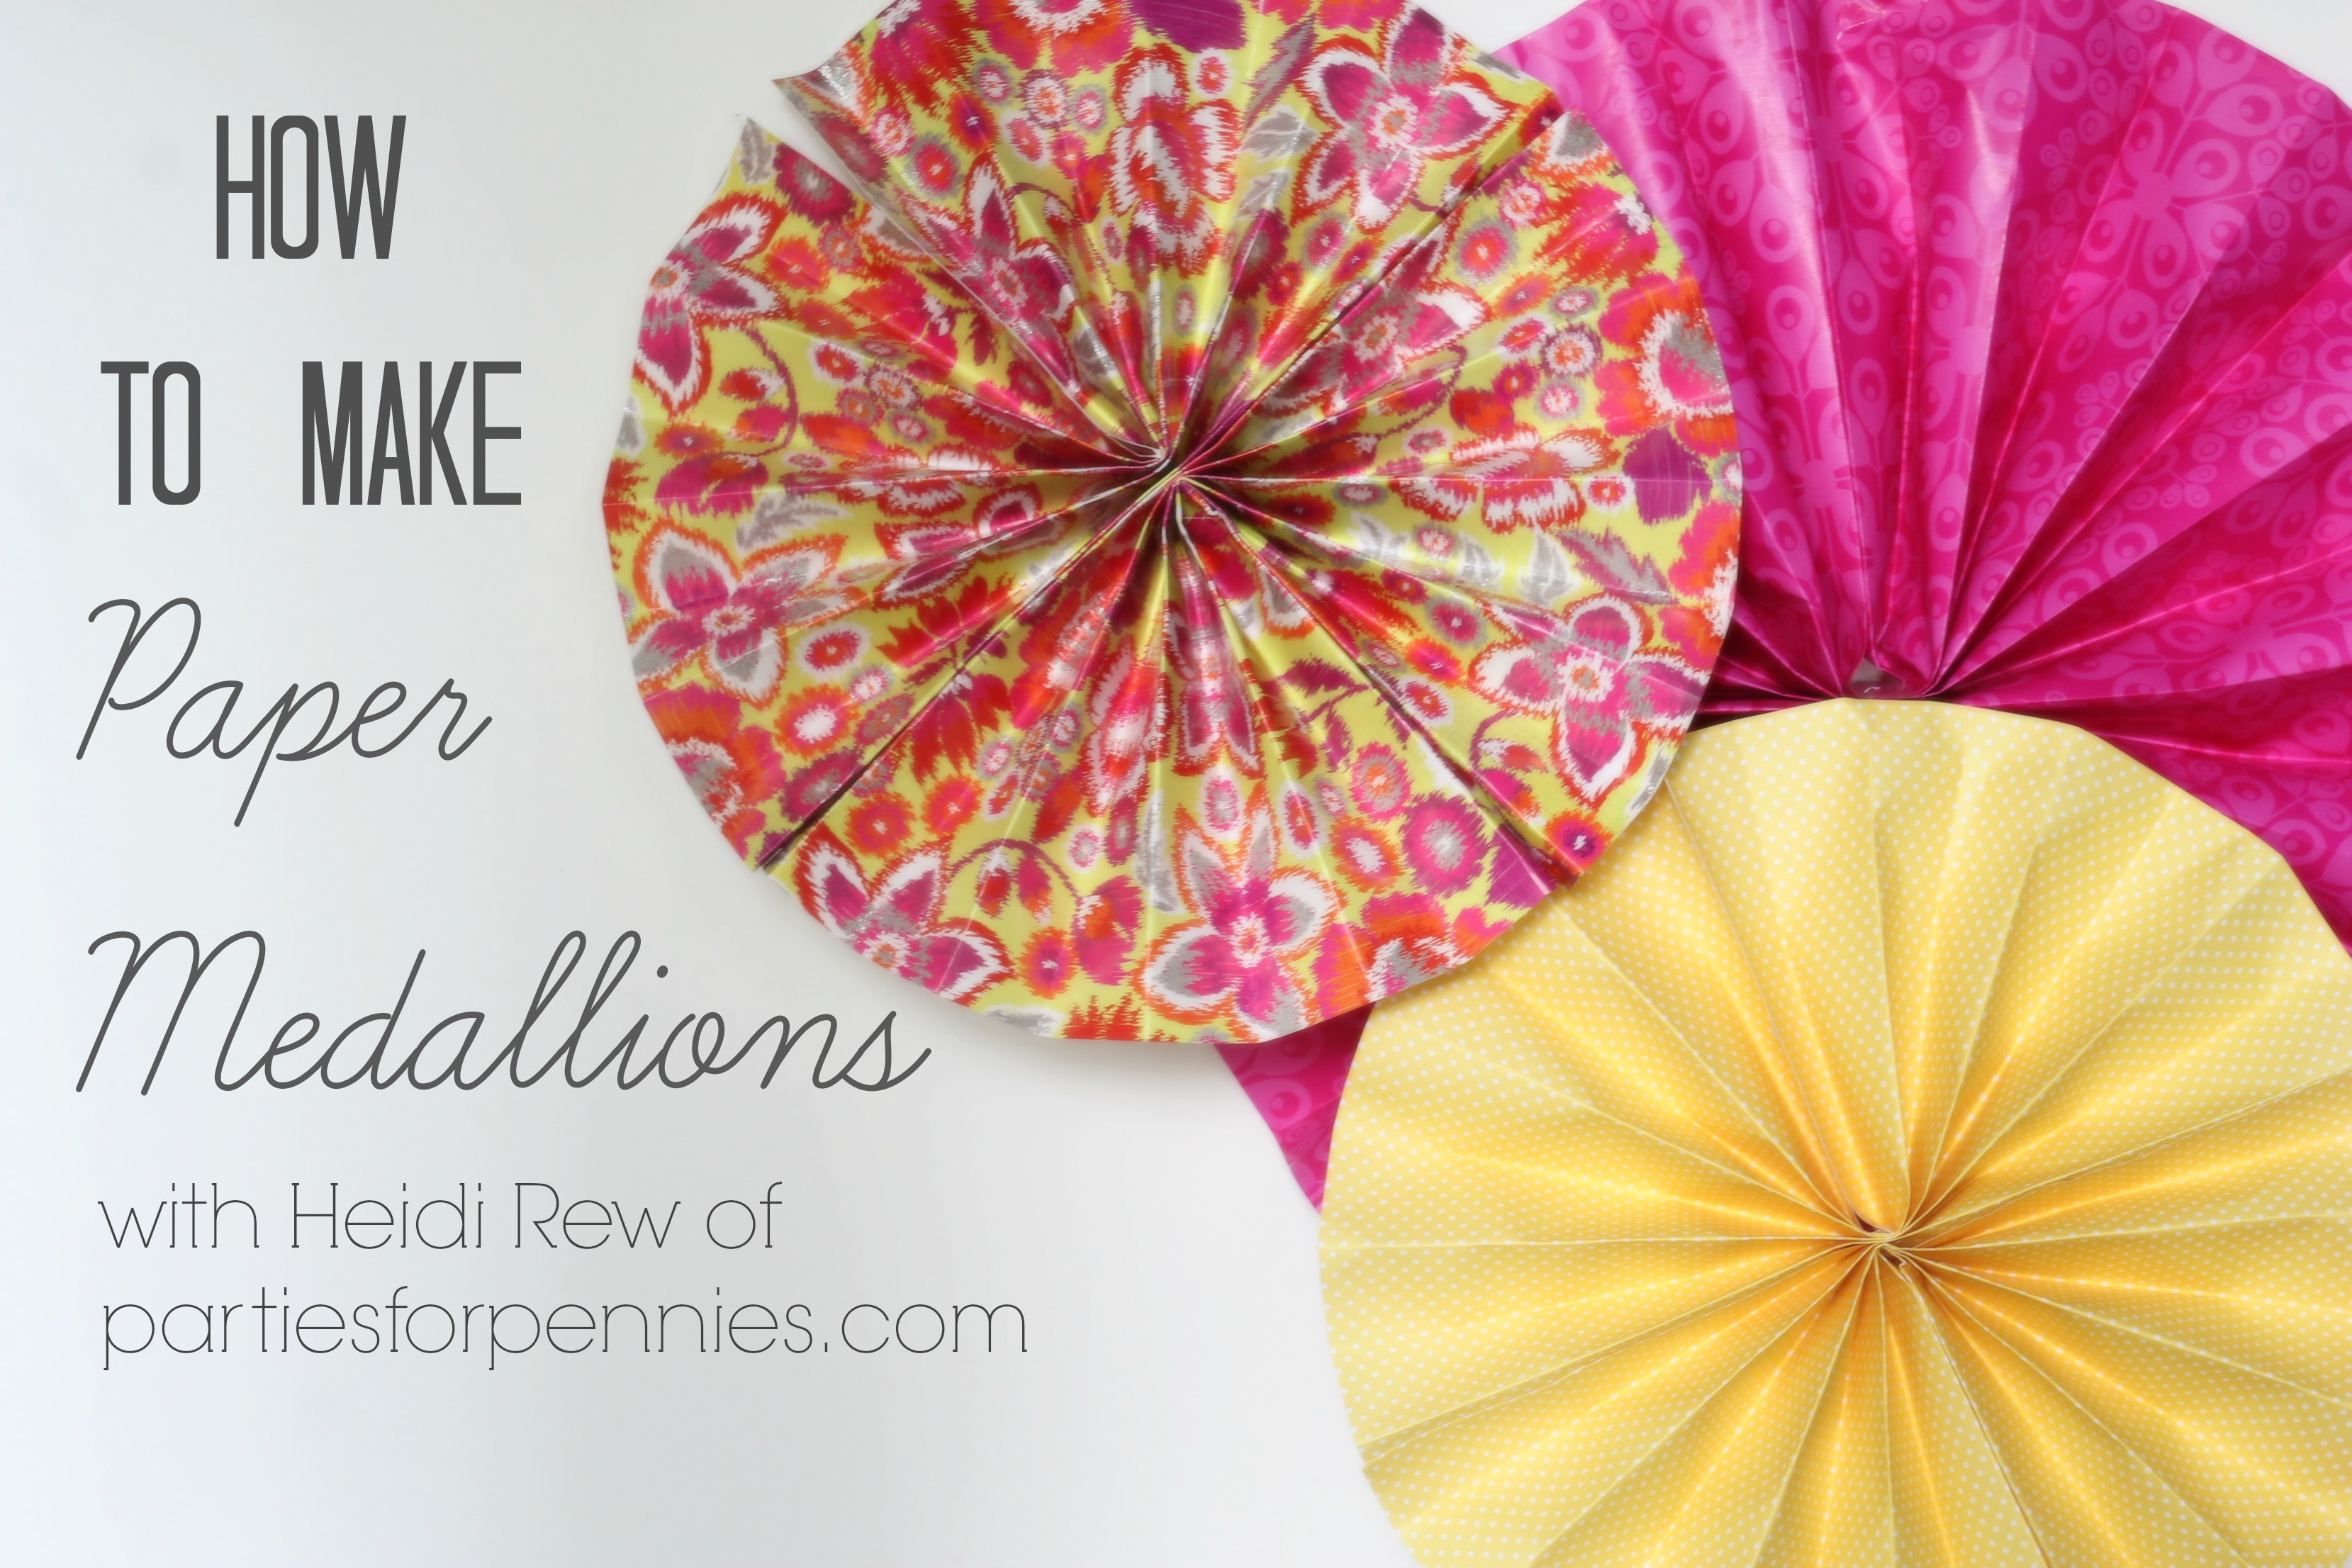
No matter how crafty you are, you can make these party decorations. Paper Medallions are a party decoration that you can use for just about any party: birthday, shower, wedding, etc. And here is a video tutorial showing you how to make these paper medallions.
Can I ask for your help? I’d love to do more of the video tutorials but I want them to be something really helpful for you! Would you mind sharing what you liked, didn’t liked, or what could be improved?
Stop back in on Wednesday for an easy way to party-ify your invitations! Until then…Party On!

p.s. This is YOUR official invite to the party… join in on the Parties for Pennies Facebook page, Twitter, and Pinterest!
Great Job, Heidi! I think seeing how easy it is and giving additional hints/suggestions as to what you can do with them is perfect. Maybe at the end of the videos you could put a few pictures of your crafts ‘in action’ if you’ve used them before at any of your own parties. Sometimes seeing them on ‘display’ will help give additional ideas on how to make them work too.
Thanks for all you do to help us “un-crafty’ folks become more and more ‘crafty’!
~Ruthi
Oh that’s a GREAT idea Ruthi! I love that! Thanks soo much for your input. Really, really appreciate it!! <3 Heidi
I thought this was very informative Heidi!!! I really like how you showed the supplies and the final product in the beginning. You did a great job on this video…I might have to have a party so I can make these!
Thanks Dani Beth! Would it be too over the top for our bookclub dinner thingy? ;p Maybe a little much for that. Really appreciate it! <3 Heidi
Very Nice Heidi. Enjoyed your tutorial. 🙂 Thanks for sharing your tips.
Enjoyed your tutorial. Thanks for sharing. 🙂
Thanks Rachel! I appreciate it! 🙂 <3 Heidi
Thought it was a great tutorial. Very easy to follow! Keep it up.
Thanks so much Amy! Really appreciate your feedback! <3 Heidi
Heidi, I loved this tutorial! I am definitely doing this with Christmas wrapping paper to fill in some of the walls this holiday season:-) Thank you!
Great idea, Jackie!! Such a beautiful & stress-free Christmas decoration! Thanks so much!! <3 Heidi
LOL could I make these for my own birthday next week?? JK! I love this and can’t wait to watch! 🙂 I also need to get busy on my fall wreath! I have a few to do and may have a craft day for mom and also my friend to come join me! Also, I love the idea as Christmas decorations. Have I ever showed you my mom’s way of making a Christmas tree with a magazine? It’s neat!!! I may post a pic on fb!
Kim….HAPPY BIRTHDAY!!!!!!!!!!!!!!!!! Hope your birthday is filled with joy, confetti & cupcakes! Oh…can’t wait to see your fall wreath & the magazine Christmas tree! Would love to see pics. Thanks so much, Kim! <3 Heidi
Great job, Heidi! I’ll definitely steal this. I like the video tutorial over the written instructions for this diy because there are several steps, which seems intimidating in writing, but it is actually quite simple when you SEE it done. Thanks for sharing!
Since you asked to be critiqued, I would suggest adding some words to the screen while you are talking, especially going through lists. For instance, when you go through the materials list, have bullets pop up next to you as you say the item so that I can read it and see it. Or, it would have been neat for your Mom’s quote to pop up when you were talking about it, and again a list when you were going through the ideas for uses at the end. It isn’t really necessary for content because you were very clear, but it would add visual interest and make it look even more professional. Of course, I was watching trying to be picky since you asked. I thought it was a great tutorial, and I always enjoy your posts!
Thank you so much Tonya, especially for your critique!! Great suggestion…now I’ve just got to figure out how to do that in iMovie. ;p I’m sure there’s an online tutorial somewhere. Seriously…thank you for the awesome feedback! Really appreciate it! <3 Heidi
Hi, I love your video, and it seems pretty easy but you don’t give any dimensions. Is one side of the paper supposed to be longer than the other side? If so, then by how much?
Tabatha, I’m so sorry. I should’ve done a better job at going over the sizes. It all depends on what size paper medallion you’re wanting. Typically, this formula works – DIAMETER SIZE OF MEDALLION X 3 = LENGTH OF PAPER. DIAMETER SIZE OF MEDALLION divided by 2 = WIDTH OF PAPER. For instance, if you want to create 4″ (diameter) medallions, you’d need to cut a piece of paper that’s 12″ in length and 2″ in width. Hope that helps! Thanks so much Tabatha! <3 Heidi