Hey party people!
Can you think of anything more fun that showering some one with a burst of confetti?
Not a lot comes to mind. ;p
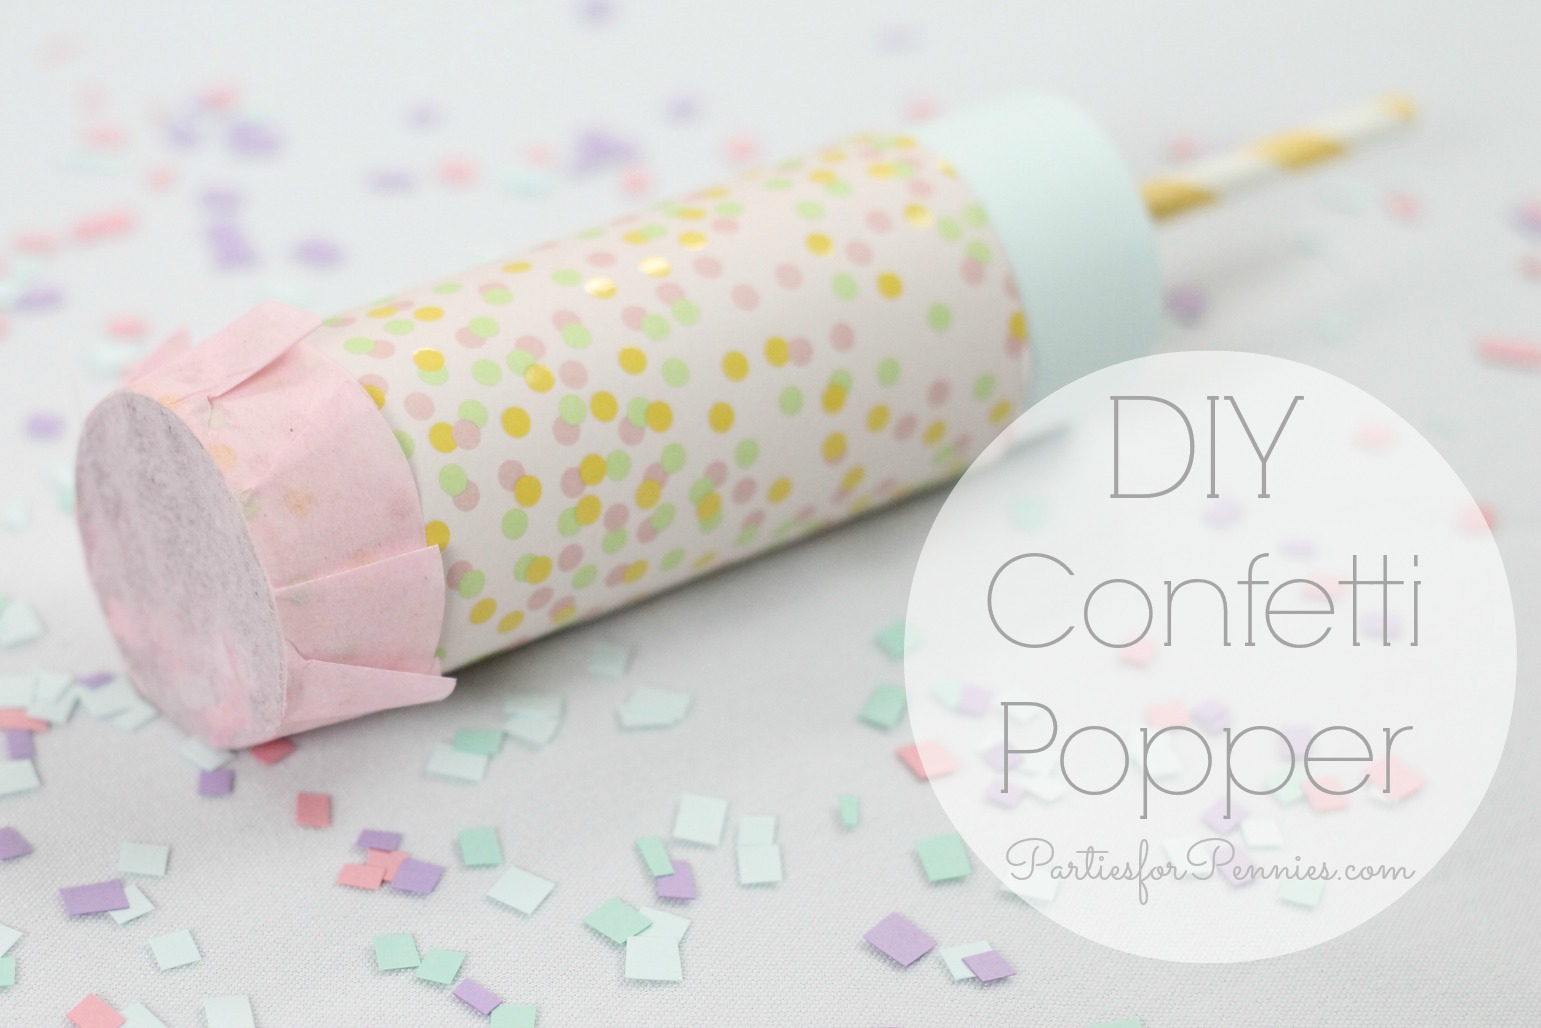
Get a jump start on the fun with this easy DIY confetti popper.
This would be a perfect little favor for a birthday party or even a craft project at a birthday party.
Once everyone finishes their confetti popper, get the birthday girl in the middle & let the confetti rip (while you snap away like a mad woman for some fun pictures).
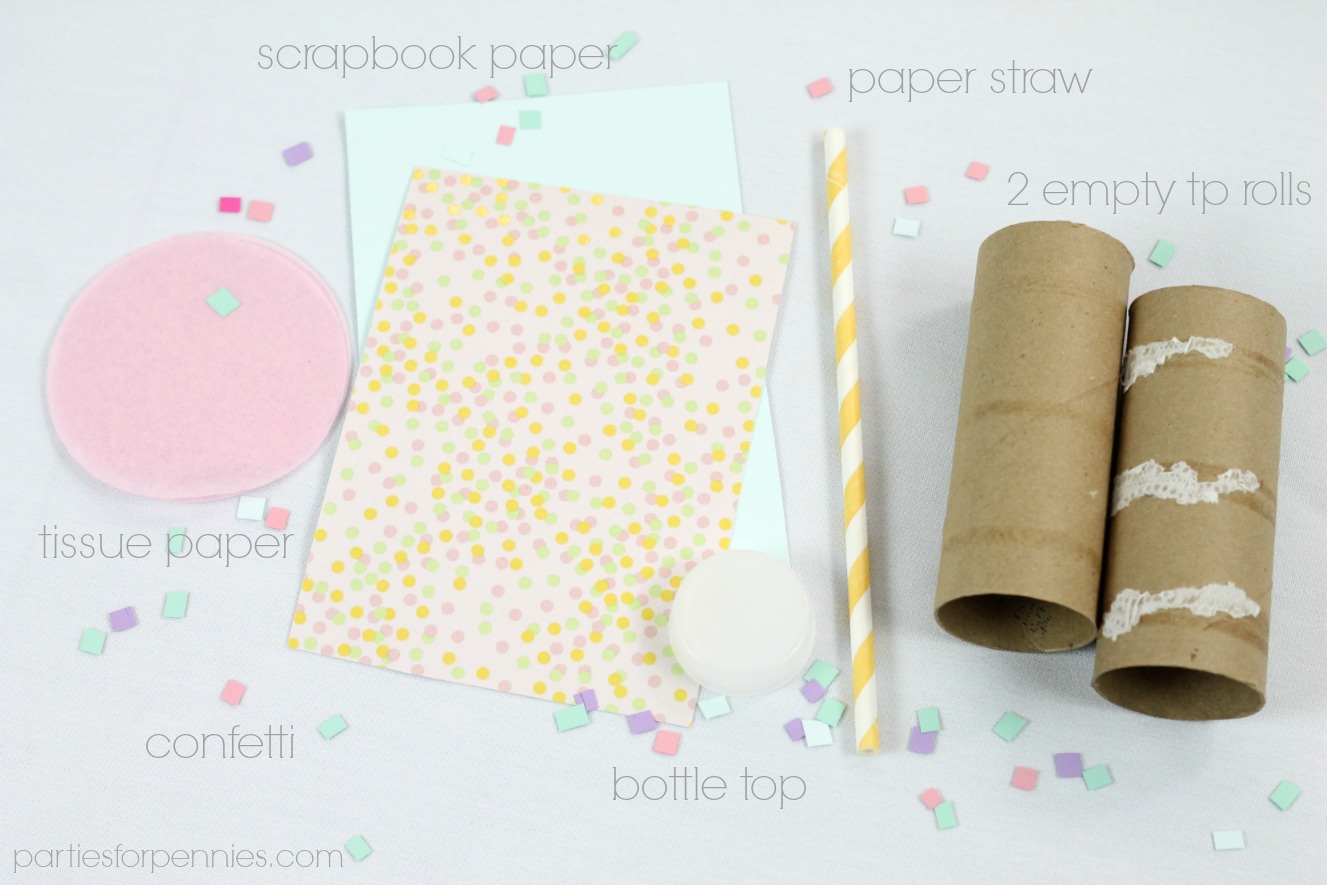
Here are the materials you’ll need:
scrapbook paper (to decorate the tp rolls & to make your confetti)
tissue paper (to cap the confetti popper)
paper straw (if you don’t have this…it’s okay…I’ll show you a way without the straw)
empty tp rolls (you’ll need 2 for each popper)
bottle top (I drink the “naked” juices a lot, so I used that top. Make sure it can fit inside the tp roll)
Additional supplies:
Glue gun
Double-sided tape
Scissors
Glue Stick
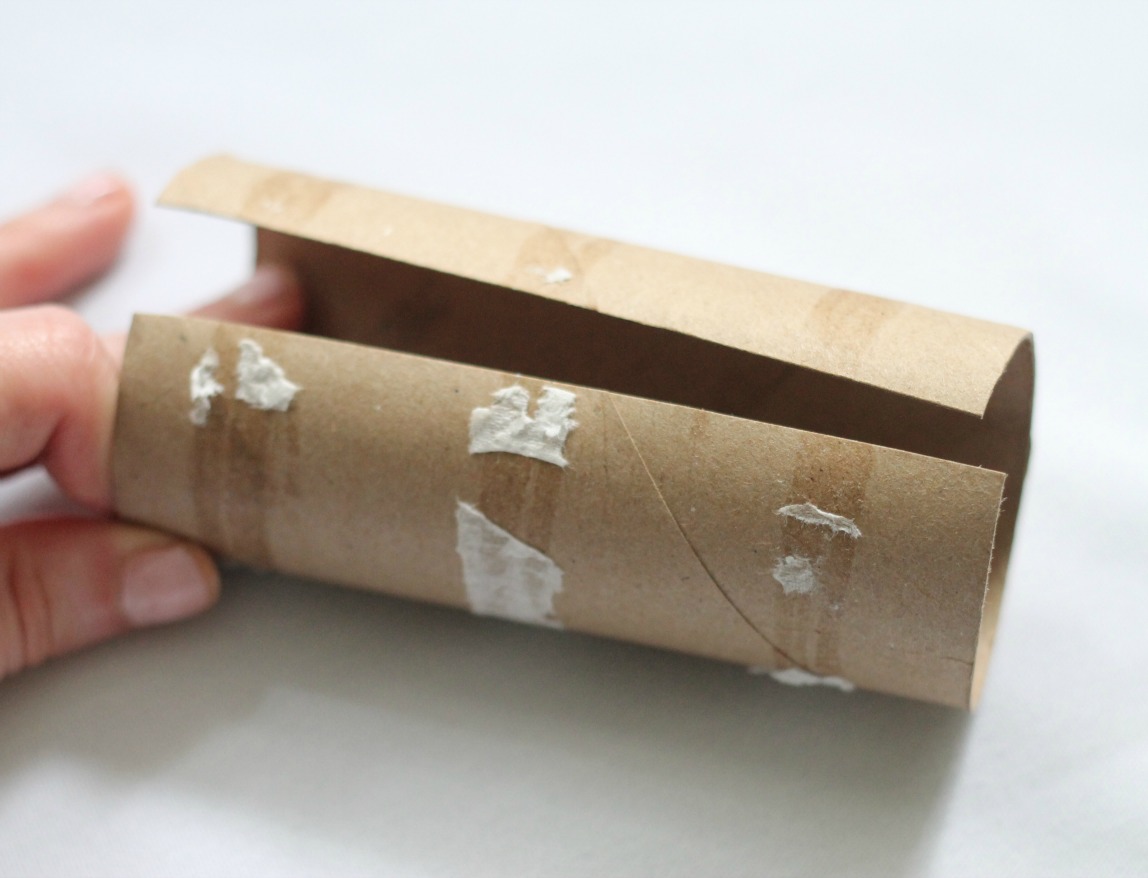
Step 1:
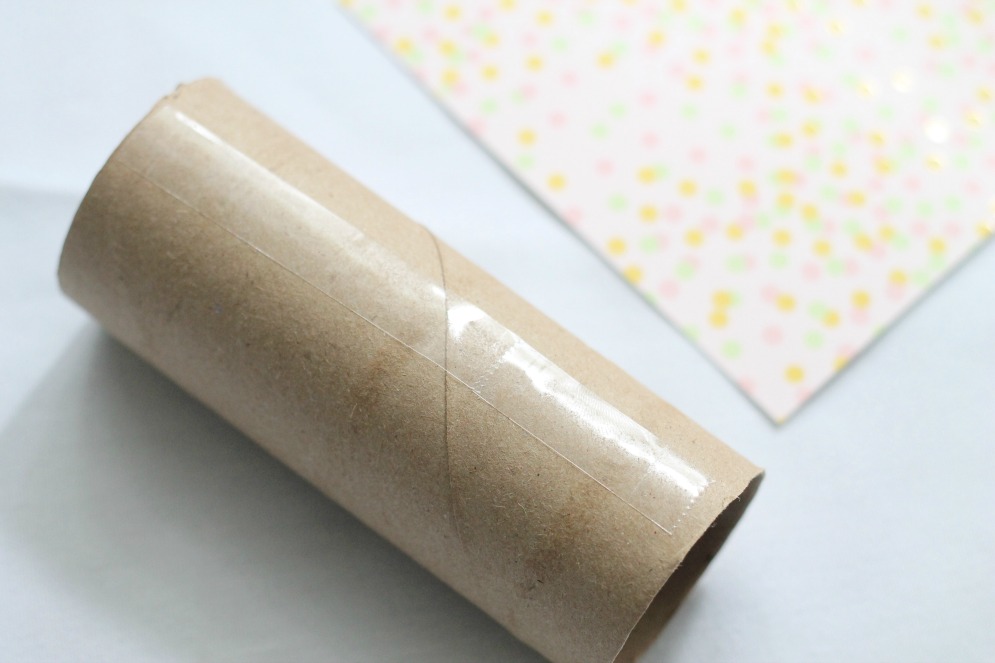
Take one of the tp rolls & cut a slit all the way down.
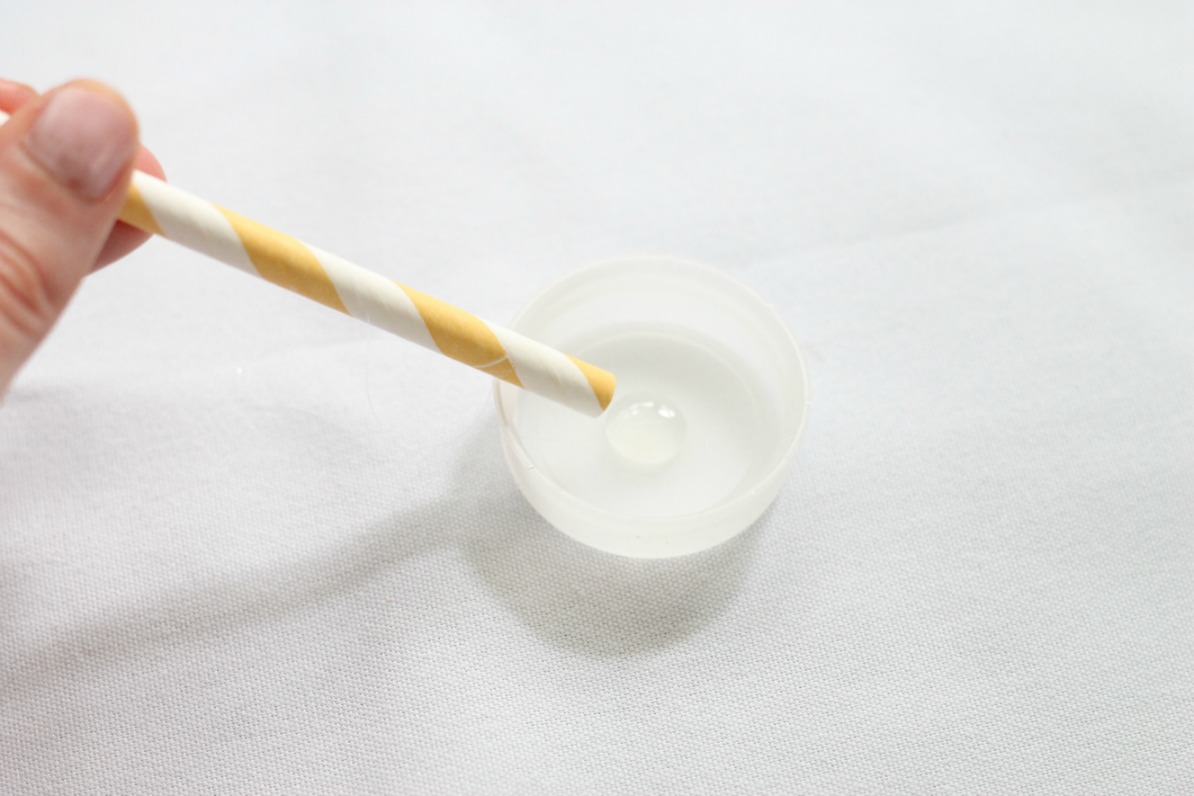
Step 2:
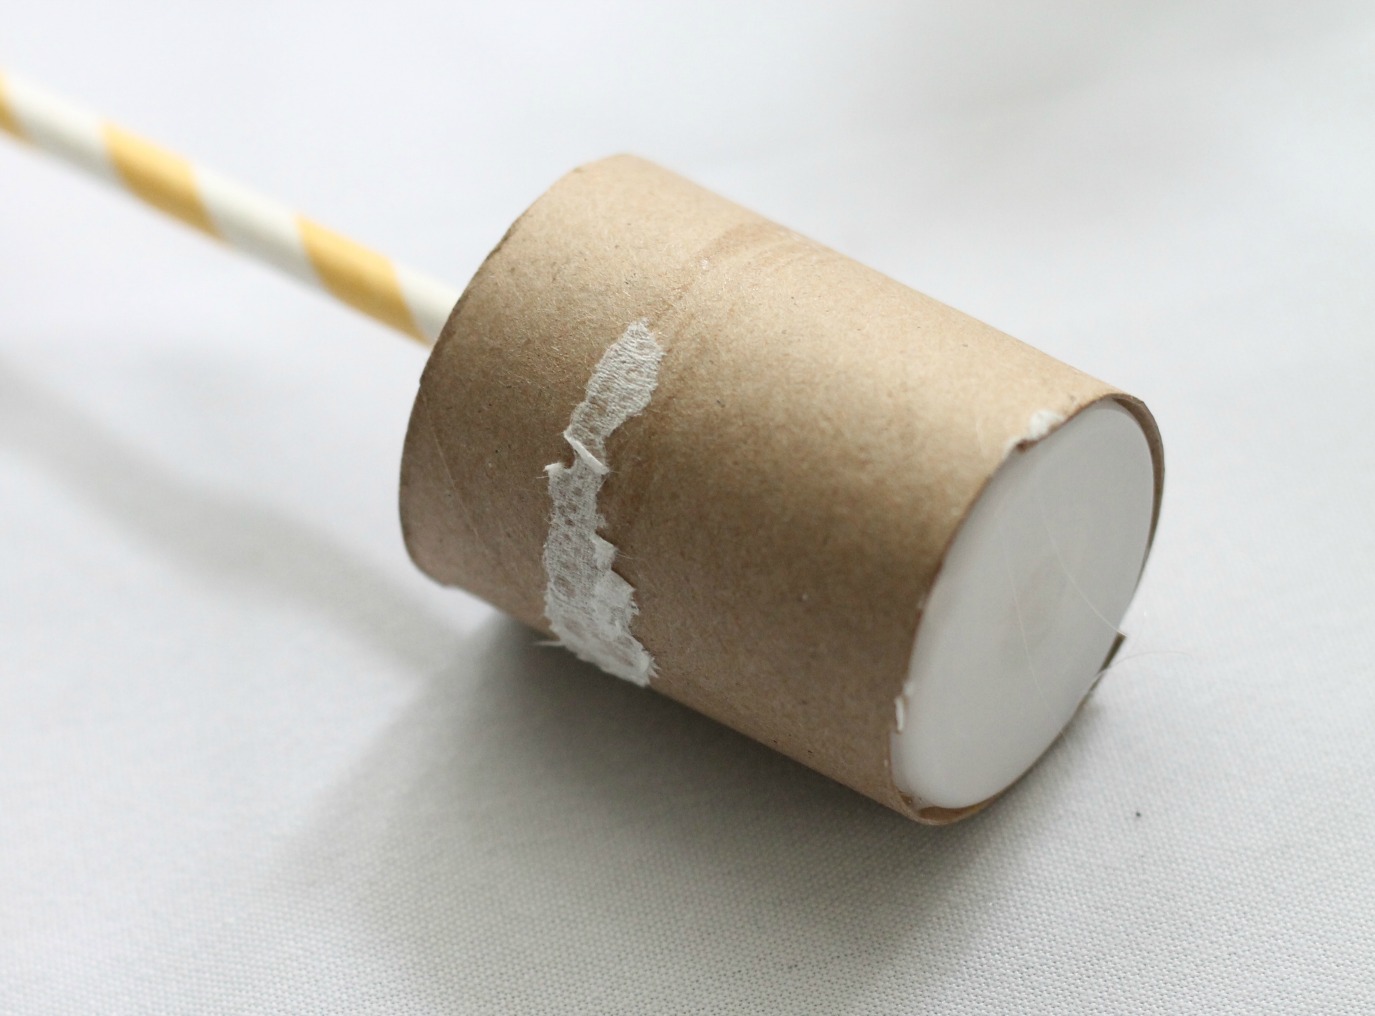
Use your glue gun to adhere the straw to the lid.
*Optional – I honestly did both ways (with a straw & without) and it seemed to work better without one. I think it looks pretty with a straw but it seemed like you needed to push harder. It’s up to you.
If you don’t have a straw, skip this step.
Step 3:
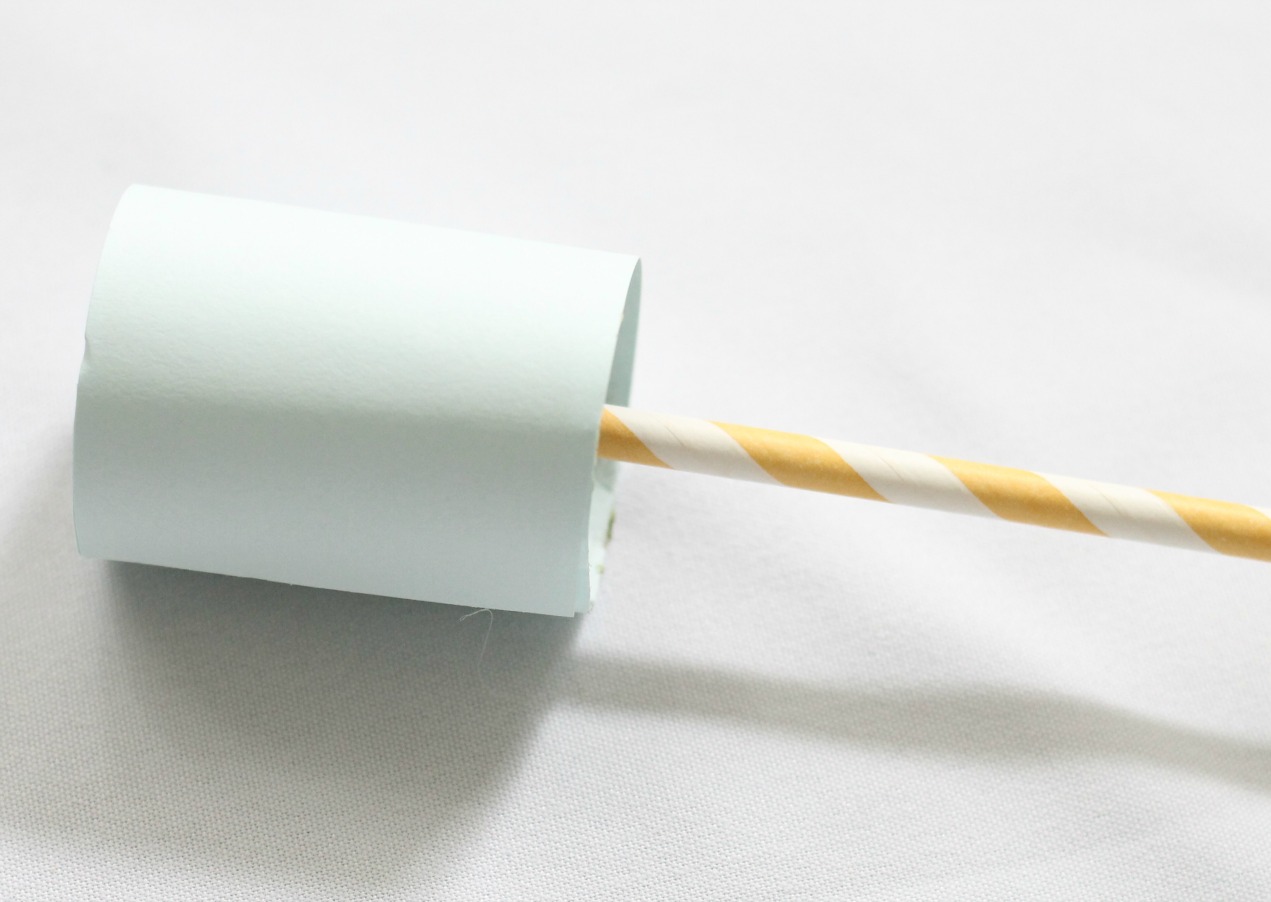
* Disclaimer – the reason the tp roll looks smaller in this one is because I thought it’d be better to shorten the roll but it’s not better. Use the entire roll that you just cut through.
Take the tp roll you just slit through and, with the glue gun, adhere it to the bottle cap. Before you do this, make sure it can fit inside the other tp roll smoothly. It shouldn’t have too much space in-between the rolls but it also shouldn’t be too snug where you can’t push it through.
Step 4:
Time to pretty-it-up by wrapping it in scrapbook paper. I used double-sided tape to secure it. You could also use a glue stick.
Step 5:
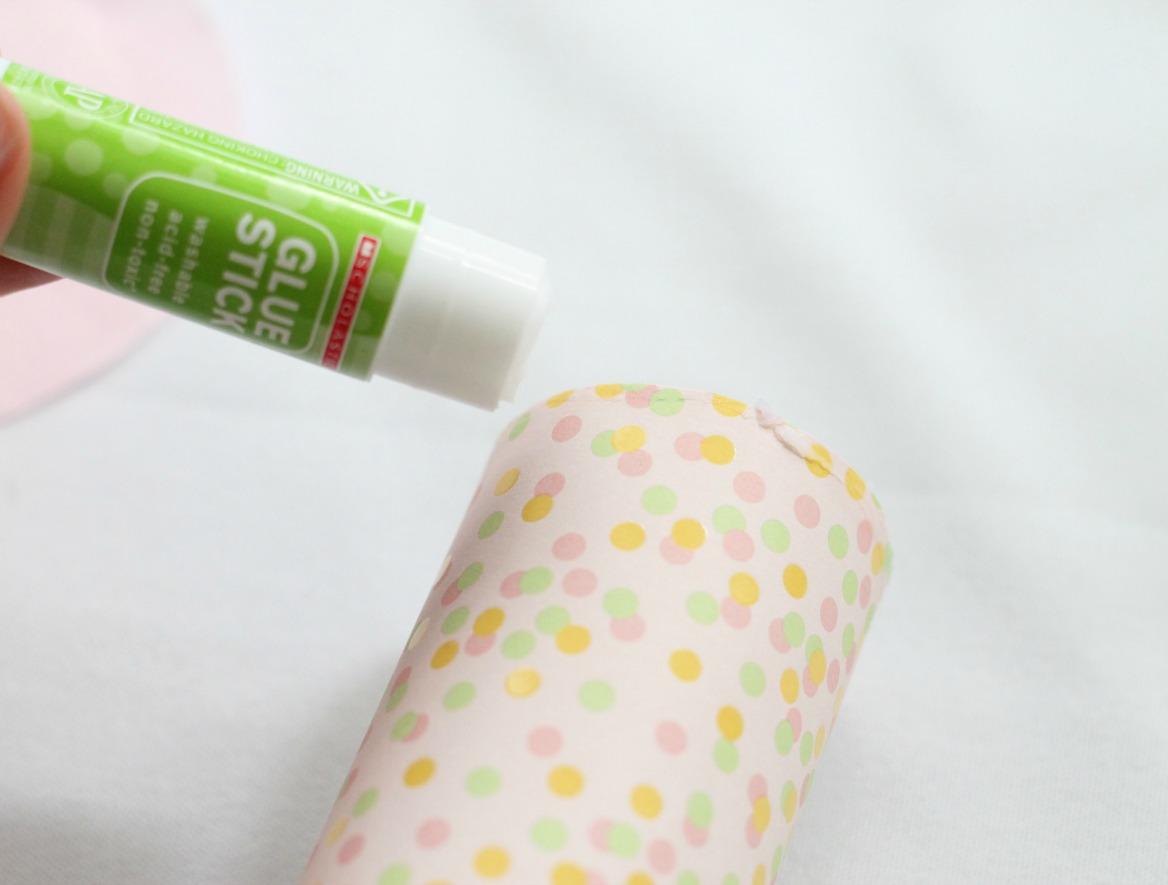
Wrap the second tp roll in scrapbook paper using double-sided tape or a glue stick.
Step 6:
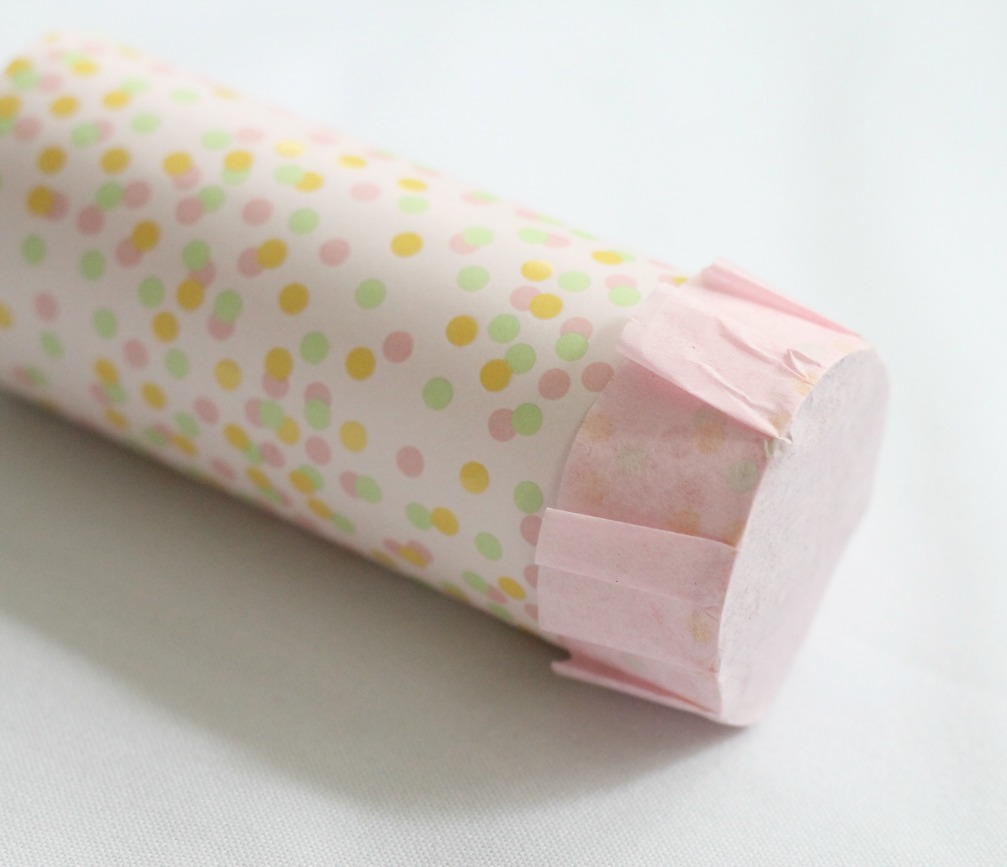
Using your glue stick, line the rim of the 2nd tp roll (not the one with the bottle cap) and place your tissue paper over the opening & attach to the sides.
Cut your tissue paper circle 2.5 – 3″ in diameter.
This is what it should look like when you’ve added the tissue paper circle.
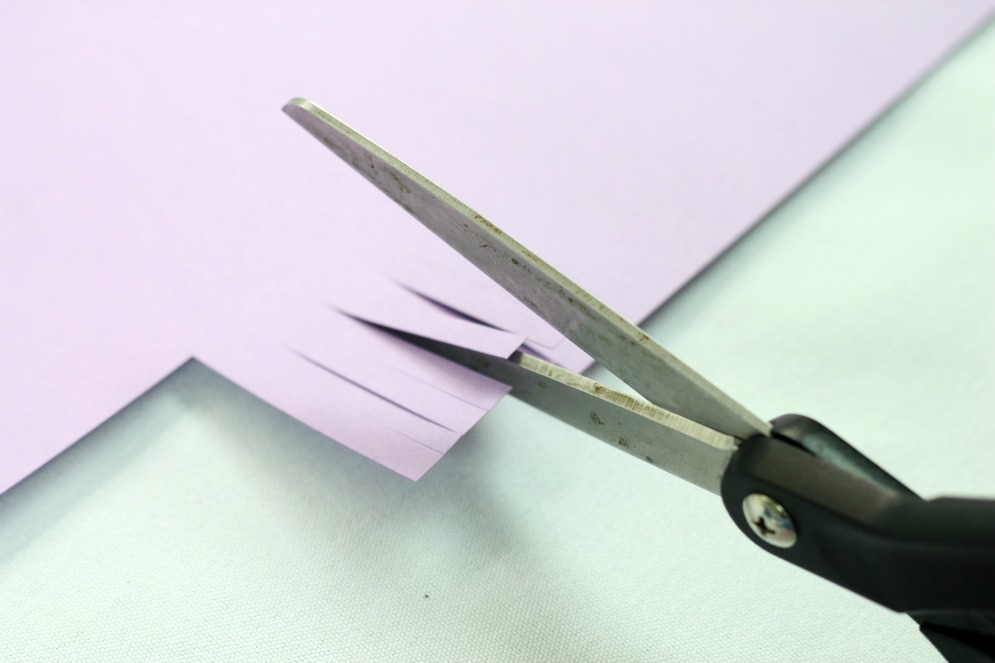
Now to make your confetti.
This was the quickest way I found.
1) Cut slits down the paper (like the pic above).
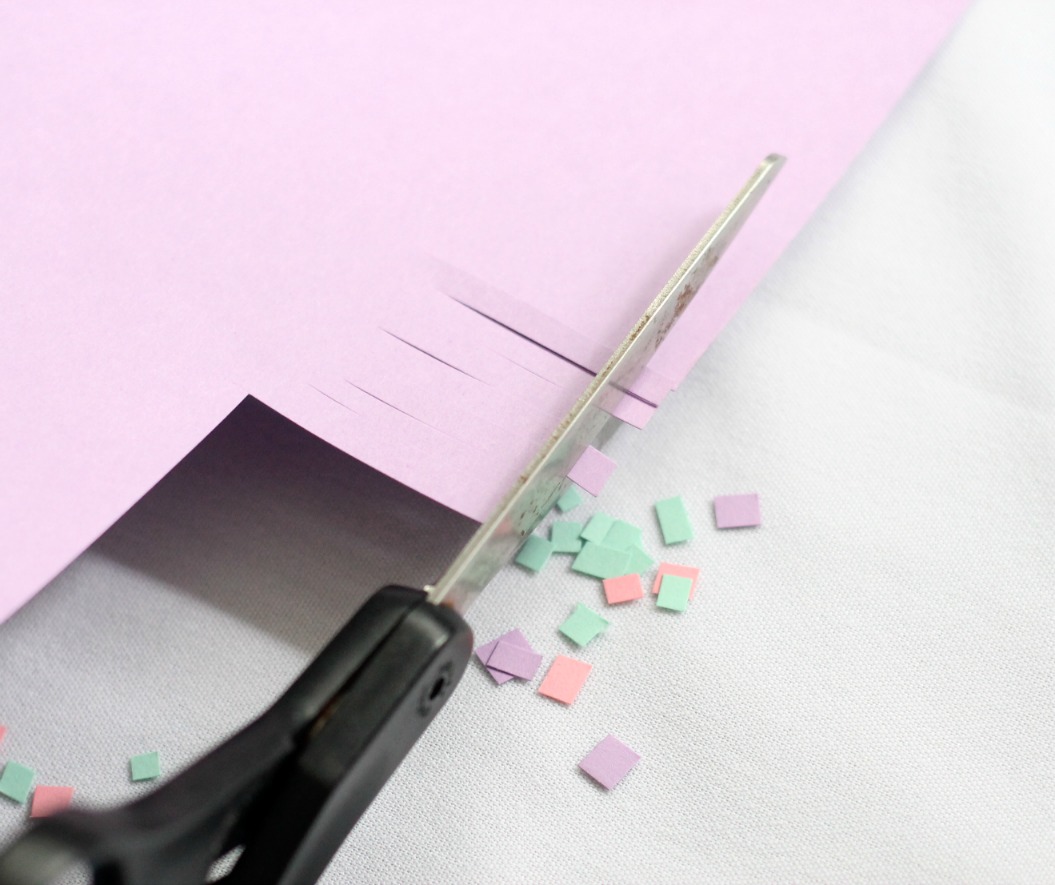
2) Cut across those slits to create little square pieces of confetti.
It took me no time at all to create fun confetti this way. I originally tried to cut confetti using a hole punch but that took FOR.EVER!
Step 7:
Add your confetti to the tp roll with the tissue paper on top, then slide the tp roll with the bottle cap inside.
Once you’re ready to let the confetti fly, pull it back then quickly force it through. The tissue paper will break and the confetti will fly.
I decided to film a little demonstration for you…
My husband helped me tape this…and he goes, “Oh…that’s why there was confetti near the washer & dryer.” Poor man. ;p
You don’t want to miss Friday’s post. It’s a super easy gift idea!
Until then…hope you have a confetti-filled day!

p.s. This is YOUR official invite to the party… join in on the Parties for Pennies Facebook page, Twitter, and Pinterest!
LINKING UP TO:
Oh My! Creative


Heidi, this is TOO cute! It is going to be so much fun following you! 🙂 if you have time, please come share this or any other of your great projects at our Best Of The Weekend party Friday at 8:00 pm. Would love to have you party with us! Have a fantastic day!
Thank you so much Cindy! I feel the same about your blog! :p I’ll definitely try to post it this Friday. I’ll be at BlogHer, so if I don’t get a chance this week…I definitely will soon. Thanks again, Cindy! <3 Heidi
This is great! I had been searching Youtube for a confetti popper for half an hour or so, and had an “Eee! That’s it! A-ha!” moment when I saw your video. This is exactly the kind of popper that I was looking for! I’m planning on making it for my husband’s birthday, and blast him with it first thing in the morning. He has to work that day, but at least it’ll be a little something fun to send him off with. Thanks for the tutorial! <3
Oh yay!!! I’m so glad! That’s such a fun idea! I’d make 2 so you can practice with it. My first one had a little kink in it that I had to work out (just something got stuck in it). You’ll have to let me know how it turns out! <3 Heidi
Hi! I am wondering how it works without the straw. If I skip the straw step, then how do we “push” the confetti out? Wanting to make these for my gender reveal! 🙂 SUPER excited!!
Amanda
Hey Amanda! If you don’t use the straw, you’d just have to fill it really full with confetti. I think it may work just as well without…just really fill it with the confetti so you don’t have to push it all the way through. Does that make sense? Congratulations on your baby…and finding out the gender soon! Very fun! Let me know if you have any other questions or concerns. You can also email me at: heidi@heidirew.com <3 Heidi
I made these for my daughters 4th birthday last week and they were super awesome. I actually made without the straws… and, after lots of trials, I have a recommendation for this option:
I cut the outside roll about 2cm shorter than the inside one. This meant that when you push the inside one forward with force it pushes right through the tissue paper and propels the confetti with gusto!
Also- regarding testing, you can test and then just re-cover the end with the tissue paper so that you’re familiar with the feel. I actually made 6 poppers and will be able to re-fill and re-top them for future events.
A big thank you for your beautiful tutorial and a terrific party project.
Jasmine
Thank you so much Jasmine!! I’m so glad they were a hit & I love your idea!! <3 Heidi
Heidi, I was looking for a diy to do my confetti popper, and your are the best! Thanks for the explanation.
Kisses from brazil <3
You’re so welcome Giovanna! Thanks so much for stopping by! <3 Heidi