Hey party people!
I’ve had this project in my mind for awhile: I wanted to create a wishbone placecard holder to use for my Thanksgiving placesetting. But I wasn’t sure the best way to create my own. I wanted an easy way that would also save some pennies. Then I saw Roeschel, from DIY Show Off, post this Anthropologie Wishbone Knock-off tutorial.
I haven’t ever worked with clay but I loved playdough as a kid…so I figured this was just like it, right? Then I discovered this great modeling clay that you don’t bake, it just air dries!
Here are the supplies I used:
Yep. That’s it. All for about $12 and I didn’t use the entire modeling clay package (or the paint).
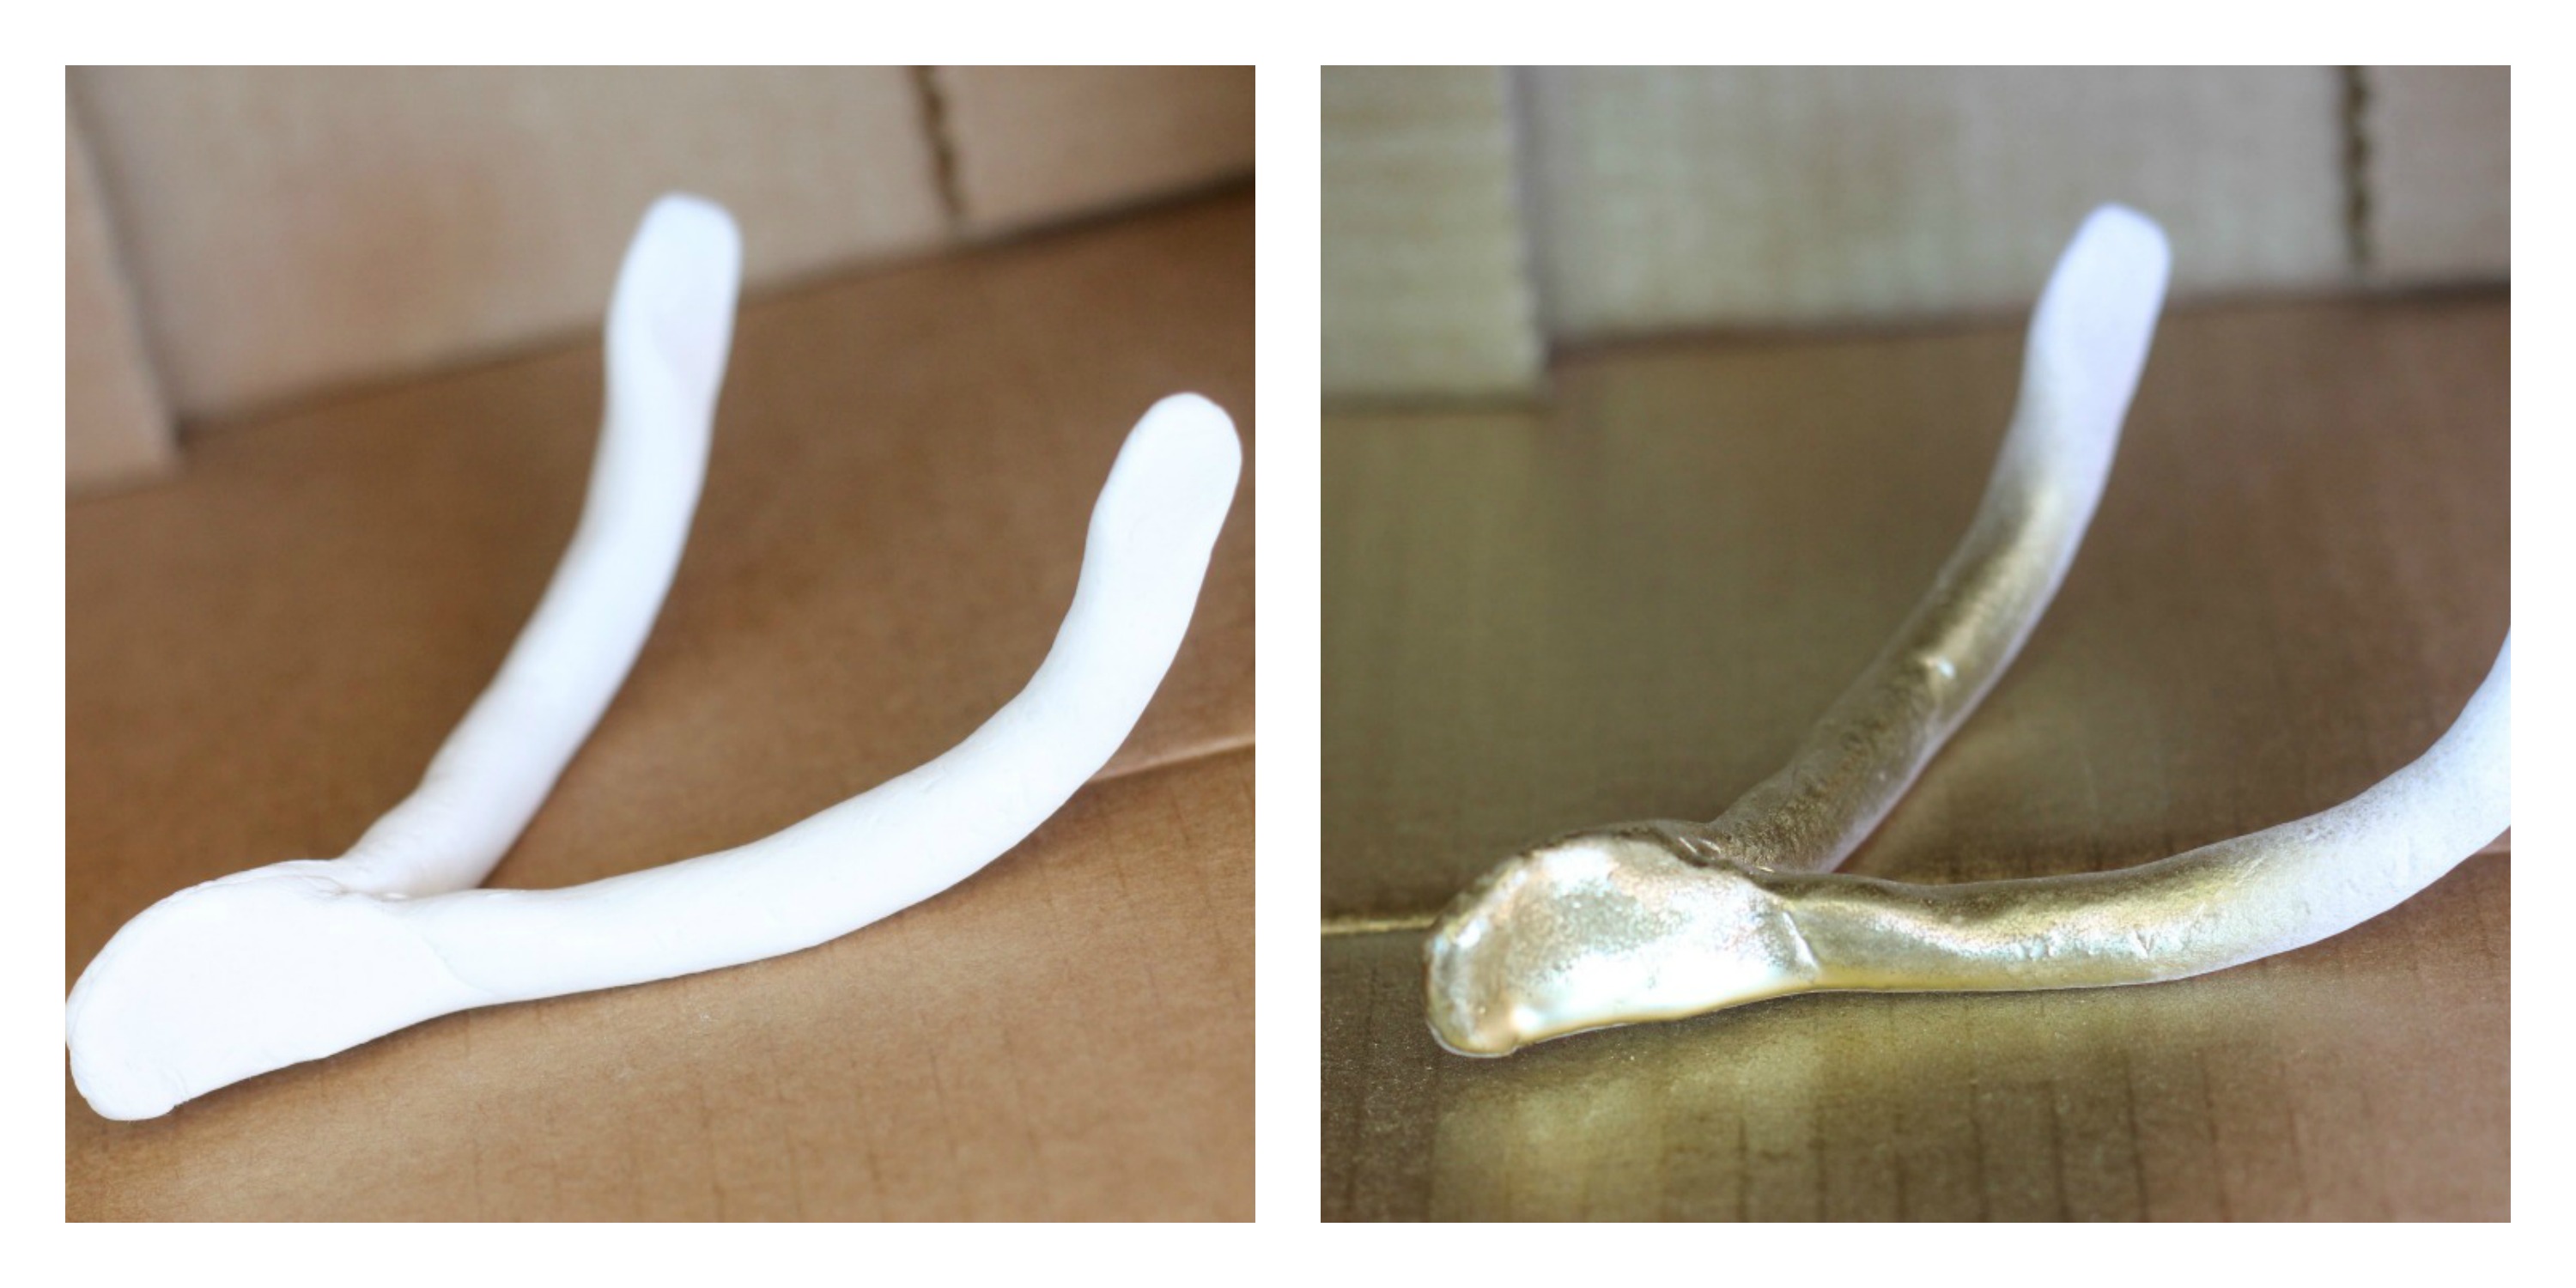
I followed Roeschel’s tutorial but instead of creating one long “snake” form, I did two and pinched them together at one end. And I wanted my wishbone to be curved a little more at the non-pinched end.
Once I let that dry for 24 hours, I did a couple light coats of the gold spray paint.
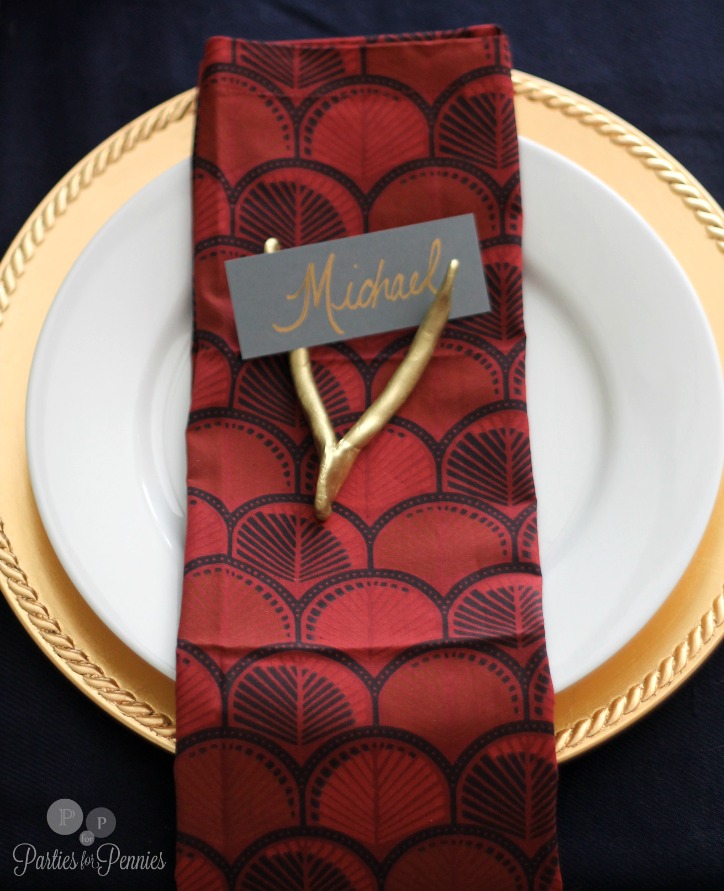
I love how it turned out.
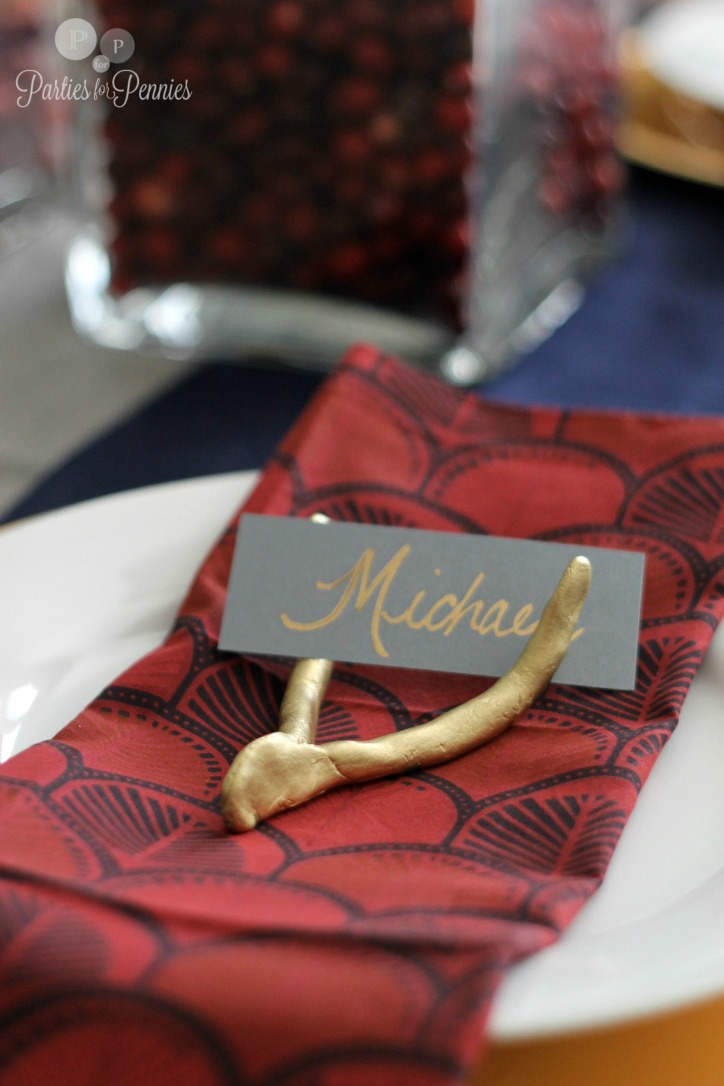
I wanted the non-pinched end to curve up so it could hold a name card but the wishbone was a little too slick for the card to stay up by itself.
If you want the name card to stay up, you may want to make a slit in the modeling clay before it dries to be able to slide the card in.
The greatest problem I had was trying to make sure every square inch of the wishbone was super smooth. It’s so pliable, which is awesome, but that lends itself to small marks every time you handle it. You can see it in this picture a little better.
I’ve still got 5 more to make for my table, so I may experiment with some different things to iron that out. I’ll let you know if I come up with any solutions.
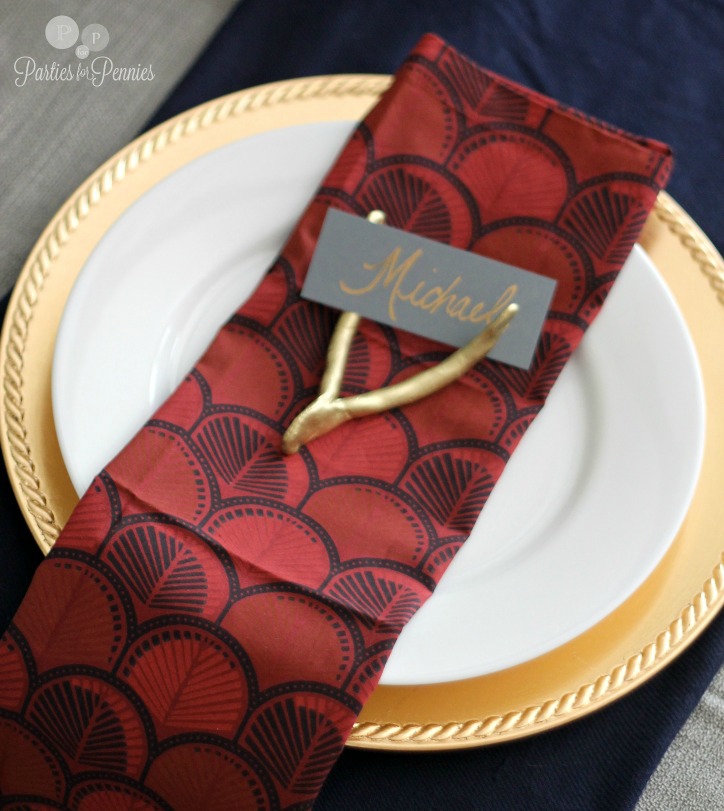
This really turned out just how I imagined it! Don’t you LOVE when that happens?
I’ll show you the rest of the table coming up soon. You’ll never guess what that navy piece of material was made from. 🙂
If the wishbone isn’t your style, I’ll show you a more rustic idea for your Thanksgiving table this Friday! Until then…Party On!

p.s. This is YOUR official invite to the party… join in on the Parties for Pennies Facebook page, Twitter, Pinterest, Instagram & Bloglovin!


Oh I love this idea, Heidi! How cute! Thanks for sharing.
Thanks Ashley! I was just reading up on your baby room today! It looks awesome. <3 Heidi
Usually if you wet your fingers or a paper towel you can smooth out the little creases that come with working with clay. Good luck!
Thanks Connie!! Really appreciate it! <3 Heidi